I have seen a lot of “it towed fine last time” trailers on the shoulder with a smoking hub or a wheel cocked at a bad angle. Trailer brakes and axles are not glamorous, but they are where safety lives. The good news is most of the core maintenance is straightforward if you take your time, keep things clean, and do not ignore warning signs.
This guide walks you through a practical DIY routine: inspection, bearing service, brake adjustment, and final checks. I am going to write this like I am leaning over the fender with you, because the goal is a safe, confident tow, not a perfect Instagram rebuild.
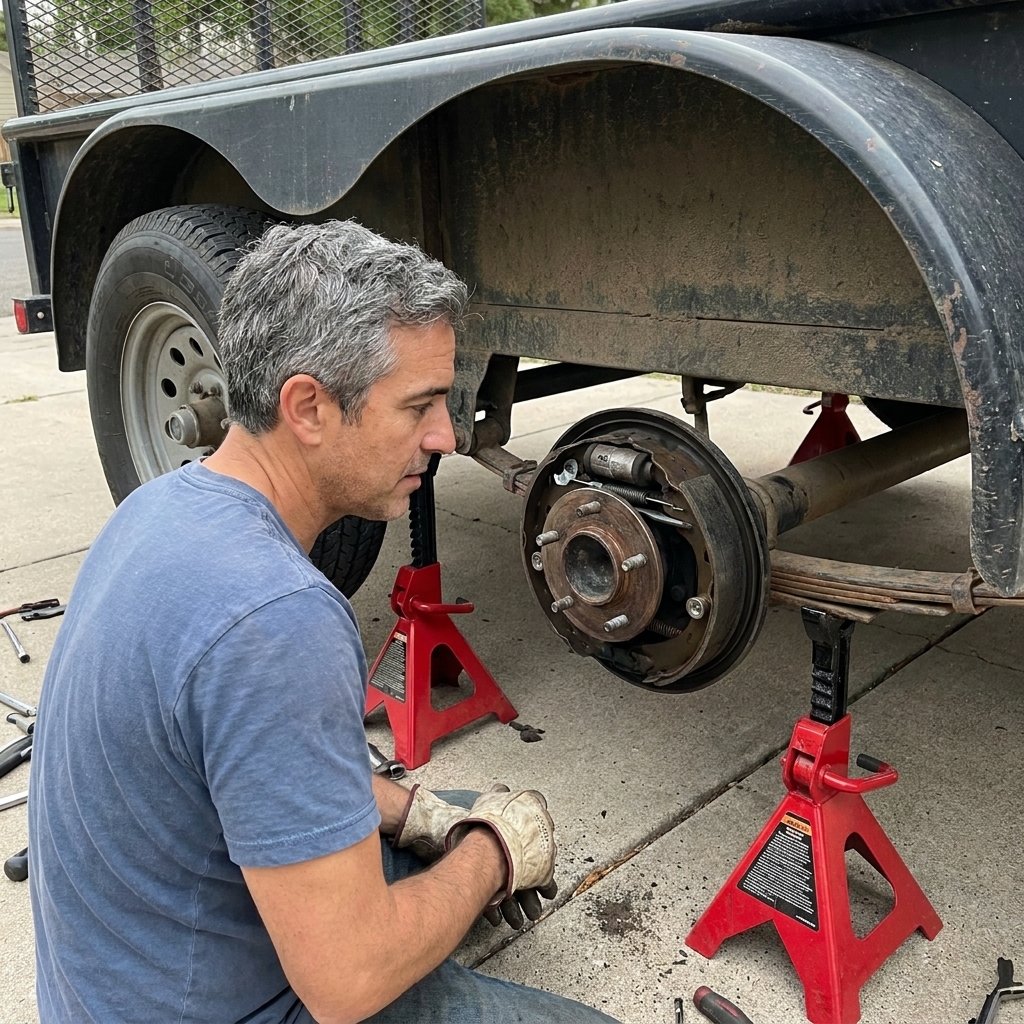
Before you start
Know what you have
Most towable trailers fall into a few common brake and axle setups:
- Electric drum brakes (most travel trailers and utility trailers). Adjustable shoes inside a drum.
- Hydraulic surge drum or disc brakes (common on boat trailers). Actuated by the coupler compressing under braking.
- Electric-over-hydraulic disc (higher-end or heavier trailers). Uses a brake controller but applies hydraulic pressure.
This article focuses on the most common DIY-friendly setup: electric drum brakes with serviceable hubs and bearings. If you have sealed “never-lube” hubs, oil bath hubs, or hydraulic disc brakes, some steps change, but the inspection mindset stays the same.
Tools and supplies (what I actually use)
- Wheel chocks
- Floor jack and jack stands rated for the trailer
- Lug wrench or impact and correct socket
- Pliers and a flat screwdriver
- Side cutters (for cotter pins)
- Torque wrench
- Brake cleaner
- Rags and nitrile gloves
- High-temperature wheel bearing grease (marine grease for boat trailers)
- New cotter pins or tang washers (do not reuse mangled hardware)
- New grease seals (highly recommended every time you pull the hub)
- Brake adjusting spoon or a flat screwdriver
- Optional but helpful: infrared thermometer, dial indicator for endplay, bearing packer
Safety rule I never bend: If the trailer is off the ground, it is on jack stands. A jack is for lifting, not for living under.
Brake dust note: Do not use compressed air to blow brake dust around. Use brake cleaner or a damp wipe method, and wear a mask if you are working with unknown or older brake shoes.
Quick pre-trip inspection
If you do nothing else, do this quick check before longer trips. It catches the big stuff.
1) Walk-around and smell test
- Look for a trailer that is sitting “off” (one corner low can hint at a broken leaf spring or shifted axle).
- Look at the tires for uneven wear, cords, or bubbles.
- Sniff near each wheel after a short test tow. A hot, sharp smell can be dragging brakes or a failing bearing.
2) Non-contact heat check
After 5 to 10 miles, pull over safely and check hub temperatures. The safe way is an infrared thermometer.
- All hubs should be in the same neighborhood temperature-wise.
- One hub much hotter than the others is your clue: over-tight bearing, failing bearing, sticking brake, or grease contamination.
Do not chase a single “magic” temperature. Ambient temps, sun exposure, load, and even fresh service can bump readings. You are looking for relative differences side to side and wheel to wheel.
3) Brake function check
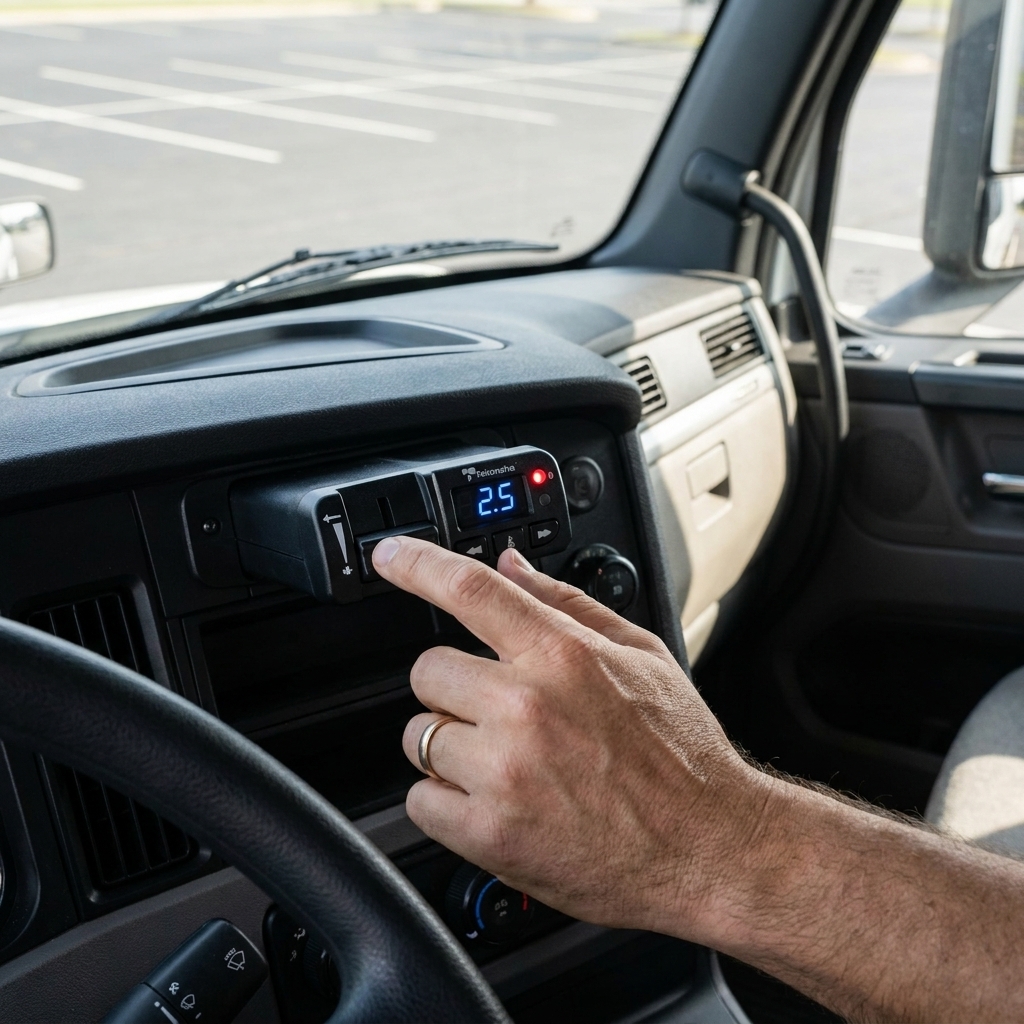
In an empty lot, use your brake controller manual lever (electric brakes) and confirm the trailer tugs back smoothly. No jerking, no pulling hard to one side.
Lift it right
Chock first, then lift
- Chock the wheels on the opposite side of the one you are lifting.
- Break lug nuts loose slightly before lifting.
- Lift under the frame at a proper jack point, then support with jack stands.
Tandem axle tip
On tandem-axle trailers, lifting one corner can load the equalizer in weird ways. If you are not sure where your trailer is happiest, lift by the frame near the spring hanger so the suspension can hang naturally, then set stands under the frame. Avoid getting yourself into a bind where the trailer wants to roll as the equalizer shifts.
Wheel-off inspection
With the wheel removed, you can learn a lot fast:
- Grease slung inside the wheel: often a failed rear grease seal.
- Brake dust caked and wet: grease has likely contaminated the shoes.
- Loose, missing, or rubbed-through wiring at the backing plate: common cause of weak or intermittent braking.
Hub and bearing inspection
Check bearing play
Grab the hub at 12 and 6 o’clock and rock it. A tiny bit of movement can be normal depending on adjustment, but clunking or obvious wobble is not.
Pull the dust cap
Tap the dust cap off carefully. If you see milky grease, water has been inside. If you see burnt, dark grease, heat has been inside.
Remove the spindle nut
Most common setup is a cotter pin and castle nut, or a tang washer retainer. Remove the retainer, spin the nut off, and slide the hub forward just enough to catch the outer bearing as it comes free.
Inspect the spindle
Clean the spindle with a rag and inspect for:
- Blueing or discoloration (overheating)
- Scoring or grooves where the bearings ride
- Damage on the seal surface
If the spindle is damaged: do not just “throw bearings at it.” You might be looking at a new axle or spindle repair. This is one of those stop-and-fix moments.
Repack wheel bearings
1) Remove inner bearing and seal
Flip the hub over. Pry out the grease seal. Most seals deform during removal, which is exactly why I plan on replacing them. Pull the inner bearing out.
2) Clean everything
Old grease hides problems. Use rags and brake cleaner to clean:
- Inner and outer bearings
- Races inside the hub
- Inside of the hub cavity
3) Inspect bearings and races
You are looking for:
- Pitting, flaking, or scoring on rollers
- Discoloration from heat
- Roughness when you spin the bearing in your fingers
- Races that show grooves, pits, or a dull, hammered look
If a bearing or race looks questionable, replace them as a set. Bearings are cheaper than tow bills and fenders.
4) Pack the bearings
You can use a bearing packer, but hand-packing works fine:
- Put a glob of grease in your palm.
- Press the bearing edge into the grease repeatedly until grease pushes out between the rollers on the top side.
- Work your way around the bearing until it is fully packed.
5) Install inner bearing and new seal
Drop the packed inner bearing into the race. Tap the new seal in square. A seal driver is great, but a flat block of wood can work if you are careful.
6) Reinstall hub and outer bearing
Slide the hub back on gently. Install the outer bearing, washer, and spindle nut.
7) Set bearing adjustment
This is where people get into trouble. Too tight cooks bearings. Too loose beats up races and wobbles wheels.
- While rotating the hub, tighten the nut to seat the bearings.
- Back the nut off.
- Re-tighten by hand until it is just snug, then back off to the nearest cotter pin slot or retainer position.
You should be able to spin the hub freely with no gritty feel. There should be minimal endplay, not a wobble.
Important: exact procedures and endplay targets vary by axle, spindle nut system, and bearing size. If you can find your axle manufacturer’s method, follow it. If you have a dial indicator, use it to verify endplay instead of guessing by feel.

Service electric drum brakes
Pull the drum
On many trailers, the hub and drum are one piece, so you already have it off. With the drum off, you can inspect the entire brake assembly.
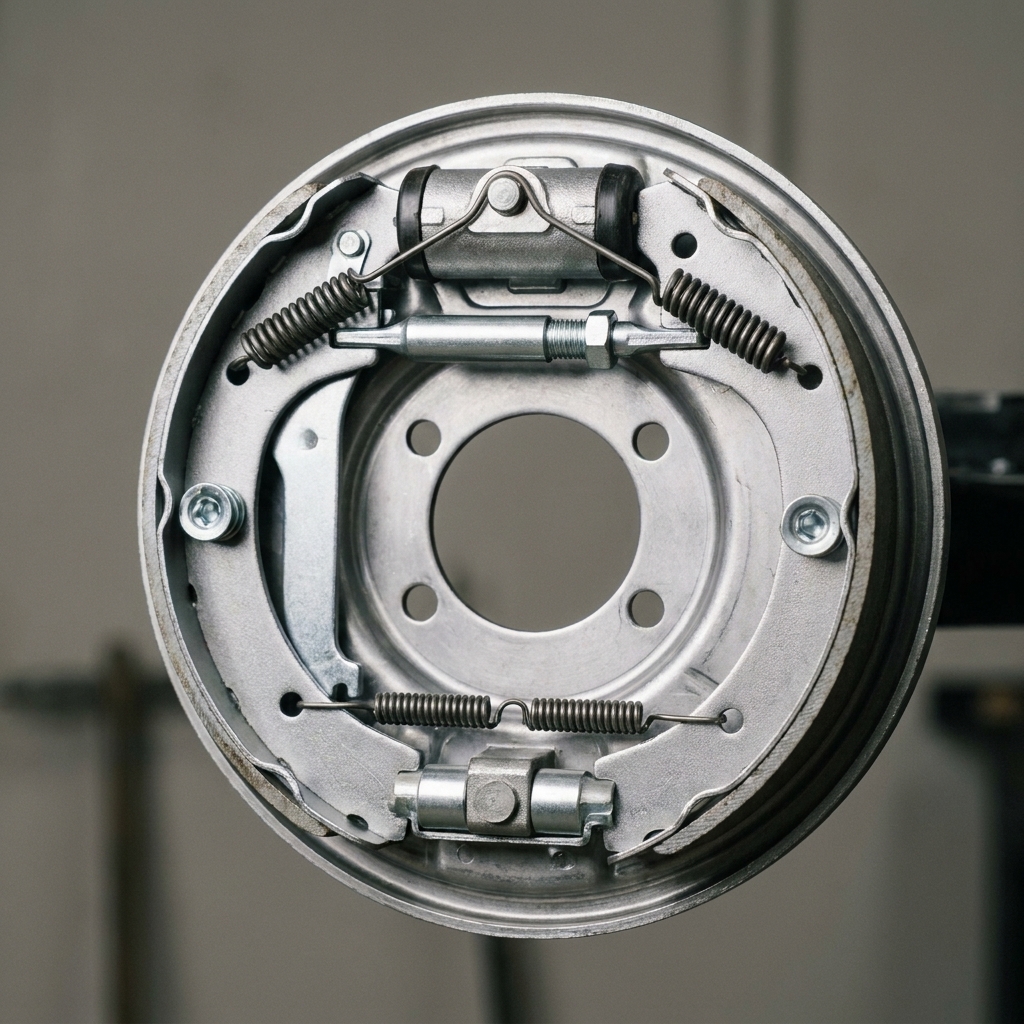
What good brake parts look like
- Shoes: even lining thickness, not soaked in grease, not cracked or separating.
- Drum surface: smooth, no deep grooves, no heat cracks.
- Magnets: even wear face, wiring intact and not rubbed through.
- Hardware: springs not stretched or broken, adjuster turns.
Red flags that mean replace parts
- Grease on shoes or inside drum (usually means new shoes and a new seal, plus a deep clean)
- Heat checking or blue spots on drum
- Magnet worn unevenly or with chunks missing
- Any friction material down near the rivets or metal
Clean the assembly
Use brake cleaner to remove dust and grime. Avoid blasting debris directly into the magnet face and wiring. Let everything dry fully.
Adjust brake shoes
Many electric drum trailer brakes are self-adjusting in certain conditions. A lot of designs take up slack during reverse-braking events, and some also adjust during forward stops depending on the hardware. Either way, they still benefit from periodic manual verification. Manual adjustment is the reliable way to get even braking.
How to adjust
- Find the rubber plug slot on the backing plate and remove the plug.
- Use a brake spoon or screwdriver to turn the star wheel.
- Tighten until the shoes drag firmly when you spin the drum by hand.
- Back off in small steps until you feel a light, consistent scrape.
Match all wheels
The goal is consistency. If one wheel is much tighter or looser than the others, you will feel it as grabbing, pulling, or weak braking. Adjust each wheel to the same “light drag” feel.
Farm-kid analogy: adjusting trailer drums is like setting a gate latch. Too loose and it bangs around. Too tight and you fight it every time. You want it to close solid without forcing it.
Axle and suspension checks
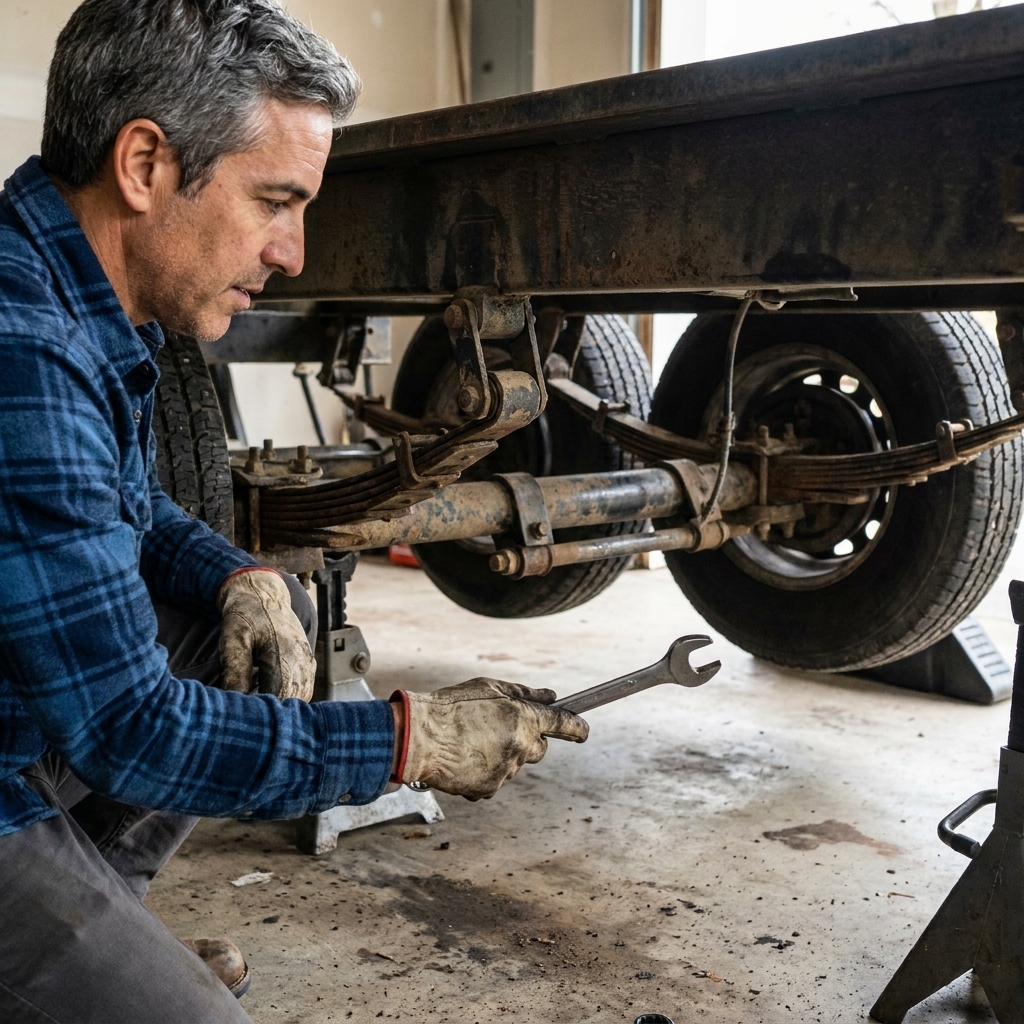
Leaf springs and hangers
With the trailer safely on stands, inspect:
- Broken leafs or shifted spring packs
- Worn shackle straps and equalizers
- Egg-shaped holes at hanger points
- Loose or missing fasteners
U-bolts
U-bolts clamp the axle to the springs. If they loosen, your axle can shift and your tires will tell the story quickly.
Look for shiny movement marks, rust trails, or an axle that is not centered on the spring seat. If anything looks off, consult the axle manufacturer for torque specs and replace U-bolts if required. Reusing stretched or heavily corroded U-bolts is asking for trouble.
Alignment clues
- Inside-edge or outside-edge tire wear that repeats across an axle
- Trailer “dog tracking” behind the truck
- Steering wheel shake or odd sway that appears suddenly
Reassemble safely
Torque lug nuts
Clean the wheel mounting surface, mount the wheel, and snug the lugs in a star pattern. Lower the trailer enough for the tire to resist spinning, then torque to spec.
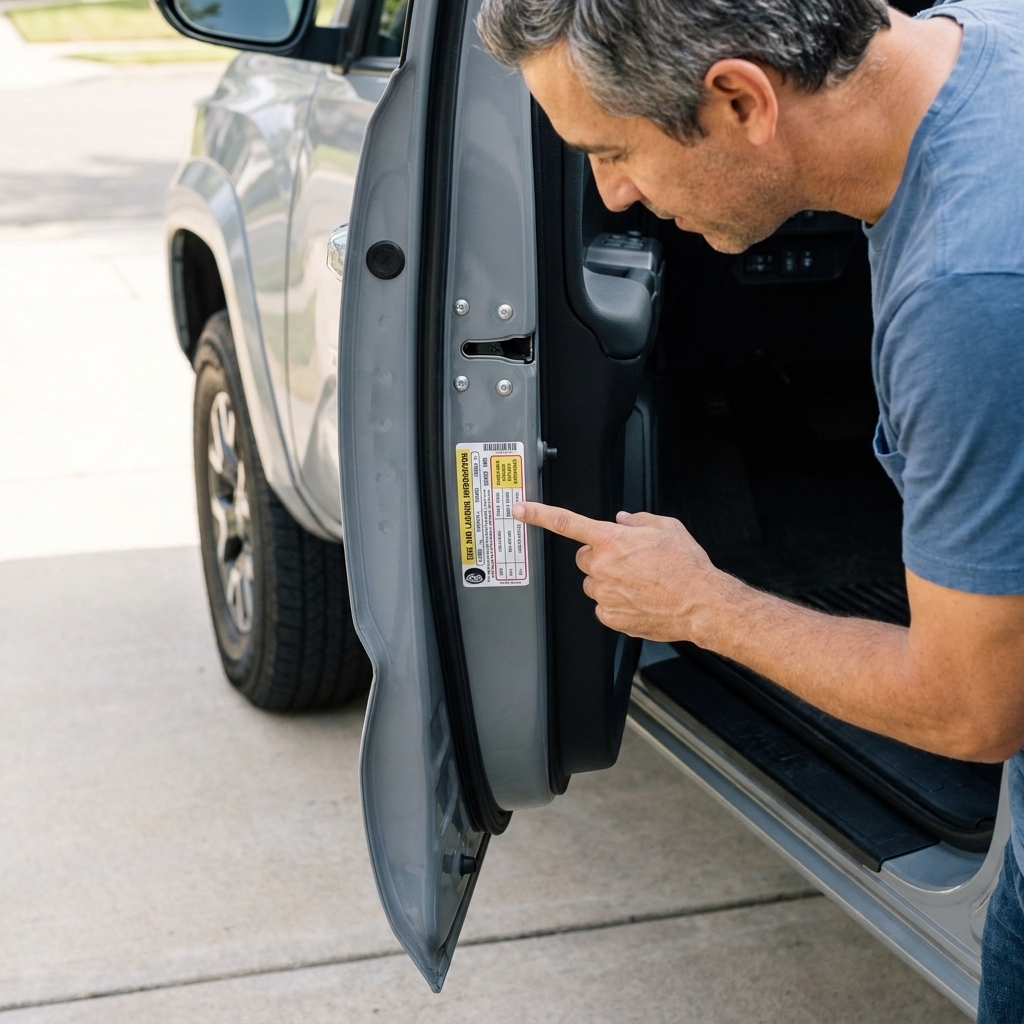
If you do not know your wheel’s torque spec, look it up by wheel type and stud size. Guessing here can warp drums, damage studs, or let a wheel walk off.
Re-torque tip: after 25 to 50 miles, recheck lug nut torque. Wheels and studs like to settle, especially after any service.
Final brake and bearing checks
- Spin each wheel by hand and listen for grinding.
- Confirm the dust cap is seated and secure.
- Verify the brake wiring is clipped up and not rubbing the tire.
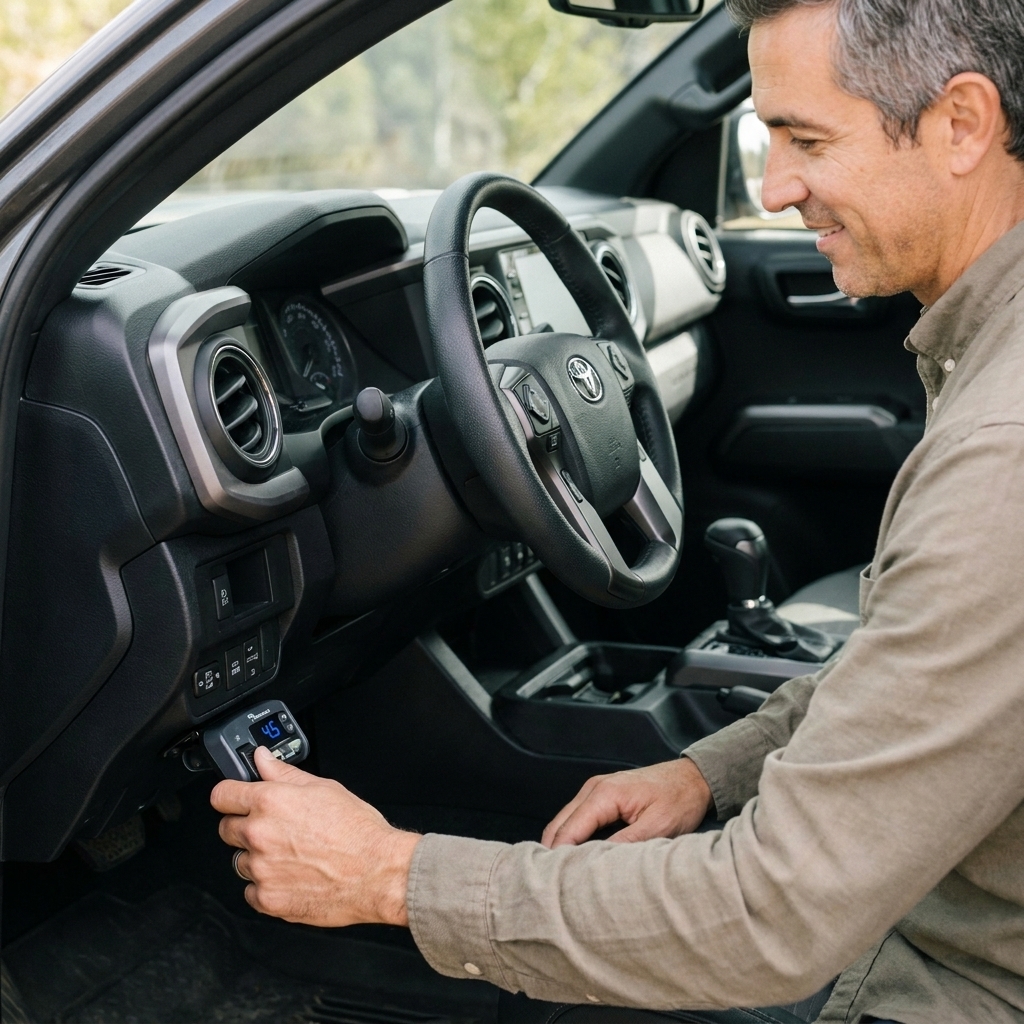
- For electric brakes, recheck controller gain on a test drive.
Test the breakaway
If your trailer has electric brakes, the breakaway system is not optional safety gear. Check that the breakaway battery is charged and that the switch and cable are intact. With the trailer wheels chocked, pull the breakaway pin briefly and confirm the brakes apply, then reinstall the pin right away so you do not cook the magnets. If you find a dead battery or corroded wiring, fix that before the next trip.
Service intervals
Intervals depend on mileage, load, water exposure, and how long the trailer sits. Treat these as a rule of thumb, not gospel. When you can, follow your axle and brake manufacturer’s service schedule.
- General utility and travel trailers: inspect annually; many owners service bearings about every 12 months or 12,000 miles.
- Boat trailers: inspect frequently and service bearings more often, especially after repeated dunking. Use marine grease and stay on top of seals.
- Heavy commercial use: inspect at shorter intervals and track hub temps.
If you just bought a used trailer and you have no records, assume it is due now.
Troubleshooting
Hot hub on one wheel
- Bearing over-tightened
- Bearing failing or running dry
- Dragging brake due to over-adjustment or hardware issue
- Grease seal failure contaminating shoes
Trailer brakes feel weak
- Brake controller gain too low or poor ground
- Magnets worn or not receiving full voltage
- Shoes out of adjustment
- Grease-contaminated shoes
Trailer pulls to one side
- One side adjusted tighter
- Broken spring or suspension wear changing geometry
- Wiring issue on one brake causing it to drop out
Grease inside the wheel
- Blown rear seal
- Grease-gun overfill on EZ-Lube style spindles (pressure can push grease past the seal)
- Worn spindle seal surface
Normal hand-packing and a modest hub cavity fill usually will not sling grease by itself. When you see grease everywhere, assume a seal issue or a grease-gun issue until proven otherwise.
When to call a pro
I am all for driveway wrenching, but some conditions deserve a real trailer shop:
- Damaged spindle, spun bearing race, or blue heat marks on the spindle
- Cracked drum or severe scoring
- Axle tube bent or alignment issues you cannot correct
- Brake wiring that is melted, brittle, or repeatedly shorting
- You are not confident you set bearing adjustment correctly
No shame in it. The goal is to keep your family and everyone around you safe.
FAQ
Can I just pump more grease into EZ-Lube spindles and call it good?
EZ-Lube style fittings are convenient, but they are not a free pass. You can blow out a seal and grease your brake shoes if you get aggressive. I treat them as a between-service tool, not a replacement for periodic hub removal, inspection, and new seals.
Do I need to replace seals every time I repack bearings?
I do. Seals are cheap insurance. Once a seal has been pried out, it is easy to distort it. A tiny leak becomes grease-soaked brake shoes and a long afternoon you did not plan for.
How do I know if my trailer has self-adjusting brakes?
Many have a self-adjusting mechanism, but they still have a star wheel and still benefit from manual checks. If your brakes have been weak for a while, start with a manual adjust and a wiring check before buying parts.
What grease should I use?
Use a quality high-temperature wheel bearing grease. For boat trailers, I prefer marine grease because it resists water washout better. Do not mix random grease types if you can avoid it. If you do not know what is in there, clean it out fully and start fresh.
Bottom line
Trailer brake and axle maintenance is not about perfection, it is about consistency. Clean parts, properly packed bearings, correctly adjusted shoes, and a quick heat check after a short drive will prevent most of the failures that ruin trips and risk lives.
If you want a simple habit to start today, make it this: after your first 10 miles on a trip, pull over and compare hub temps. That one stop has saved more fenders, axles, and weekends than any fancy gadget ever will.