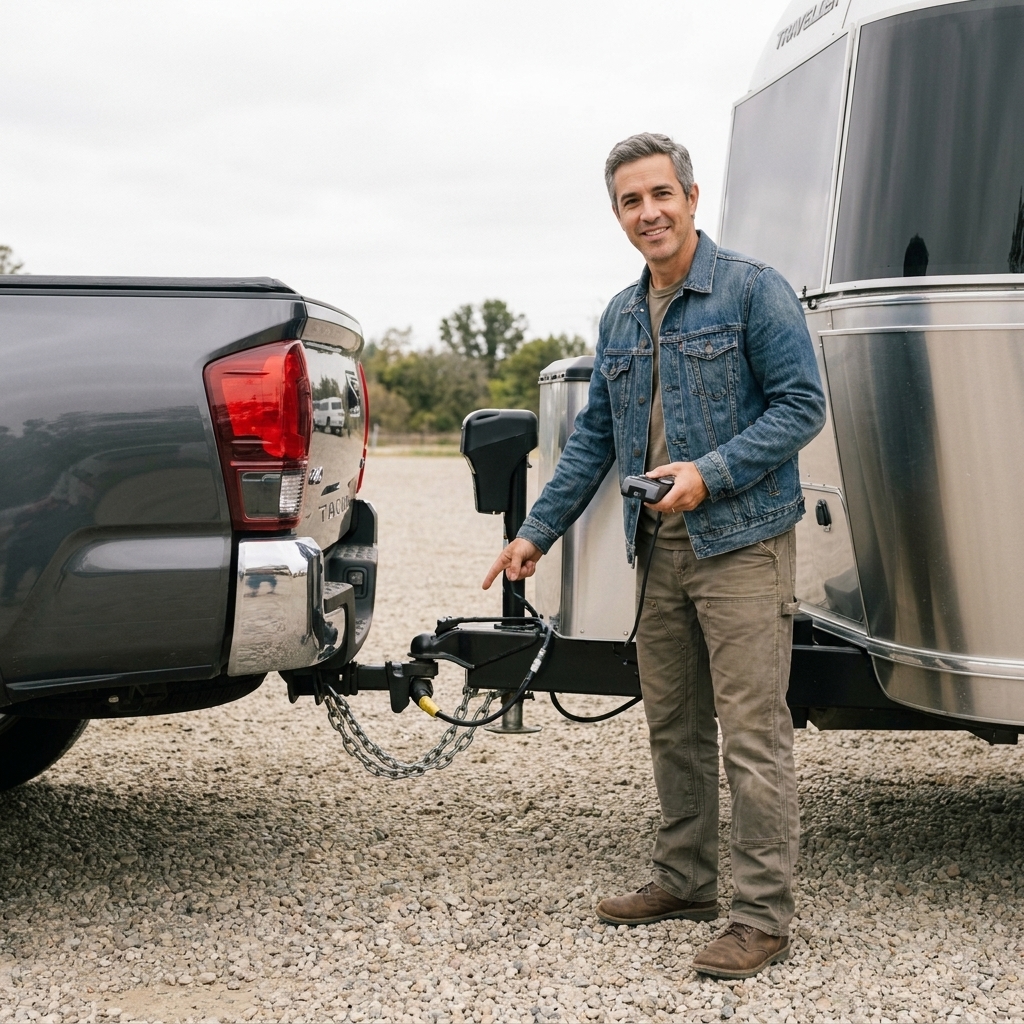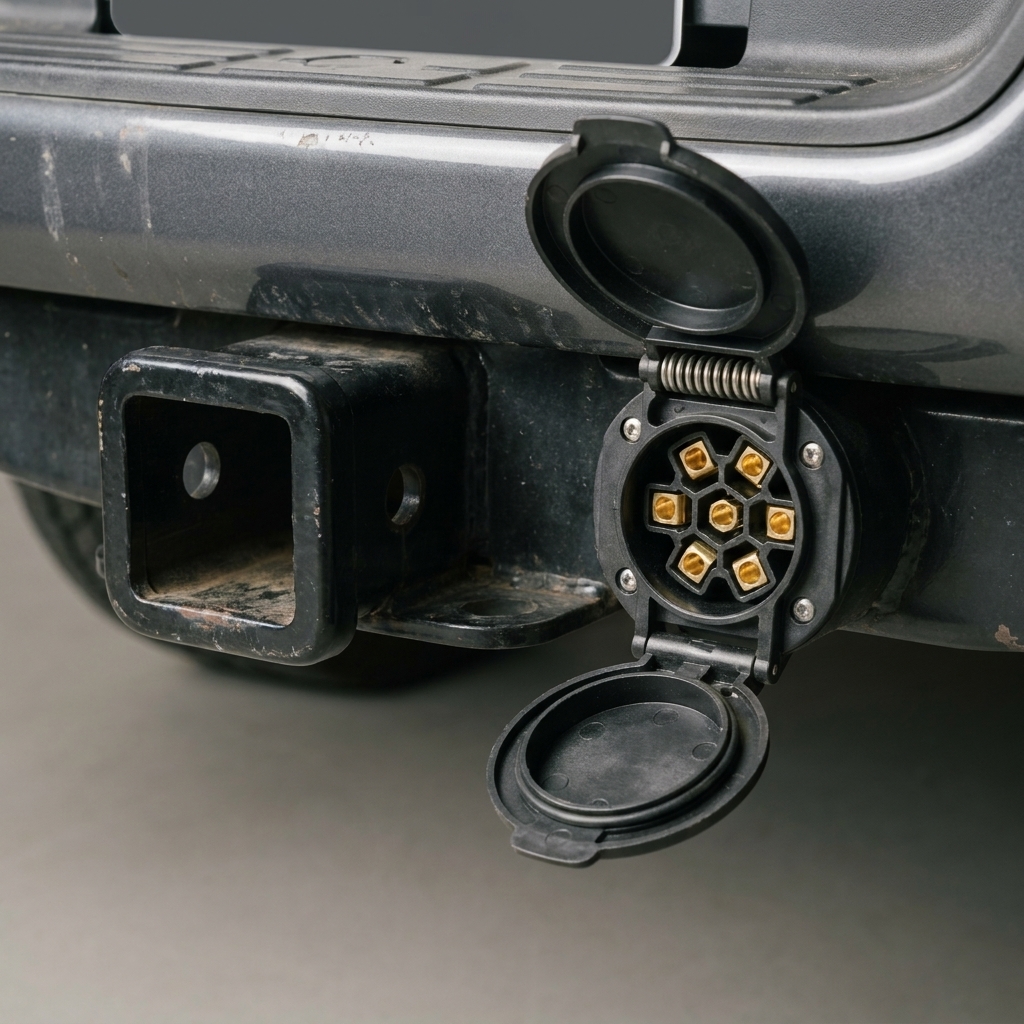
If you are new to towing, a trailer brake controller can feel like one more mystery box under the dash. But it is one of the biggest safety upgrades you can make when you are pulling anything with electric trailer brakes. I have seen plenty of sketchy setups over the years, and most of the time the problem is not the truck or the trailer. It is that the brakes are not being controlled correctly, or at all.
This guide will walk you through how brake controllers work, how to pick the right type for your towing style, and how to install one without turning your wiring into a science experiment.
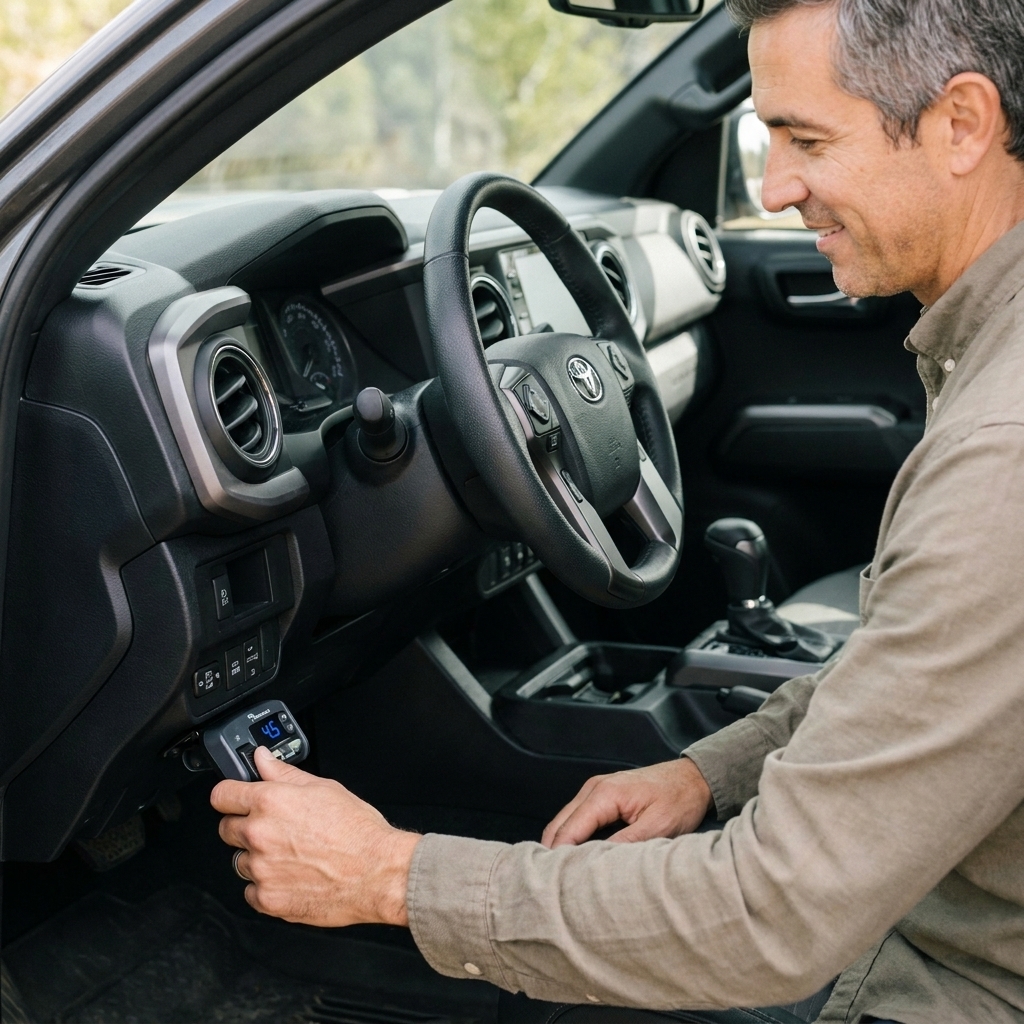
What a trailer brake controller does
Many travel trailers, utility trailers, and equipment trailers use electric brakes (usually electric drum brakes). Some larger trailers use other systems such as surge hydraulic or electric-over-hydraulic, so it is worth knowing what you actually have before you buy parts.
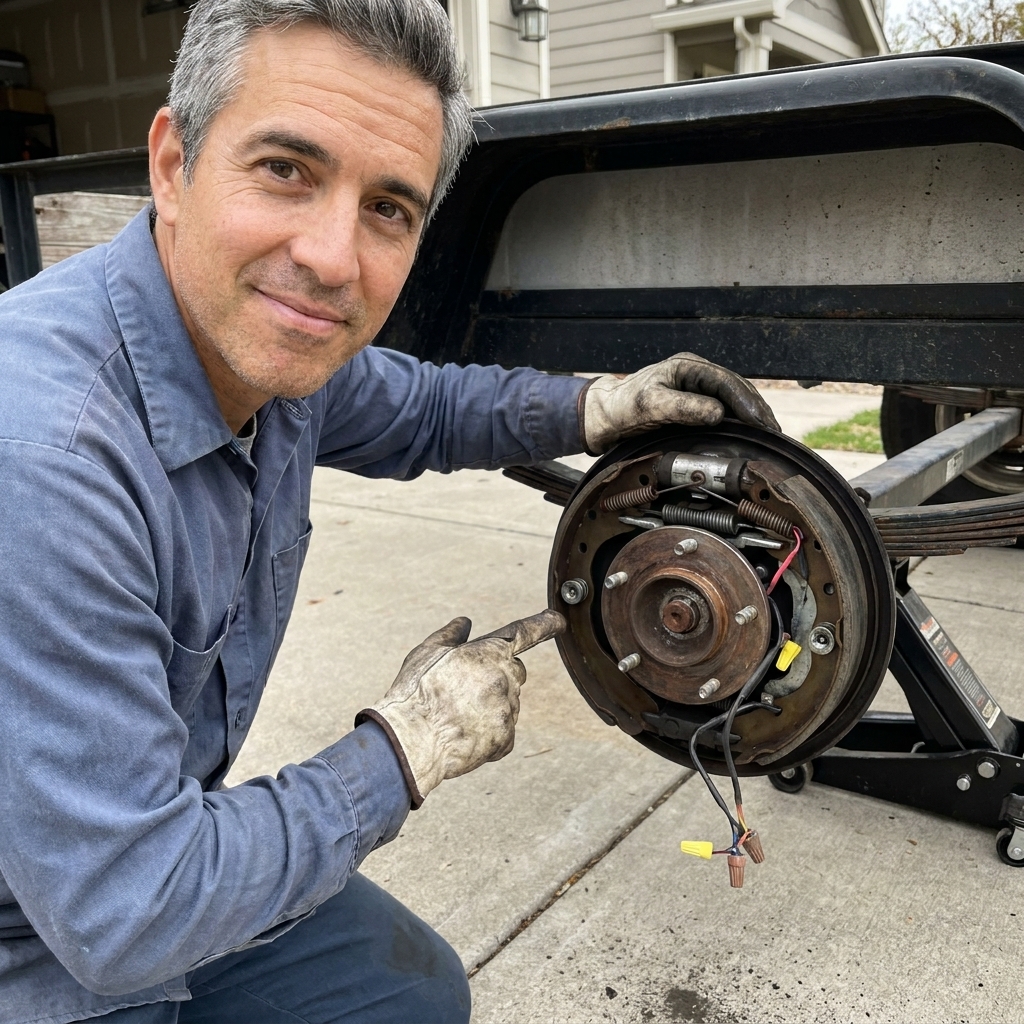
On a typical electric drum setup, each brake assembly has an electromagnet that is pulled to the rotating drum face when power is applied. That magnet action helps push the shoes out against the drum. Your truck does not automatically know how much power to send to the trailer brakes, so the brake controller acts like a translator between your braking and the trailer brakes.
When you brake, the controller sends a metered amount of 12-volt power through the blue brake output wire to the trailer. How it meters that power depends on the controller type. Proportional controllers respond to how hard you are slowing down, while time-delayed controllers follow the ramp you set.
Why this matters
- Shorter, straighter stops: The trailer helps the truck slow down instead of pushing it.
- Less wear on your truck: You are not asking your truck brakes to do 100 percent of the work.
- More control in emergencies: The manual override can apply trailer brakes without touching the truck brakes, which can help calm sway in some situations if you do it smoothly and do not lock the trailer brakes.
Real-world rule of thumb: If your trailer has electric brakes, you want a controller that makes the trailer feel like it is part of the truck during braking, not a shopping cart trying to pass you.
Do you need one?
If your trailer has electric trailer brakes (electric drum or electric-over-hydraulic), you need a controller in the truck to operate them. Many states and provinces also have legal requirements based on trailer weight. I am not going to pretend this article is a legal guide, but do yourself a favor and check your local threshold and your trailer GVWR before you hit the road.
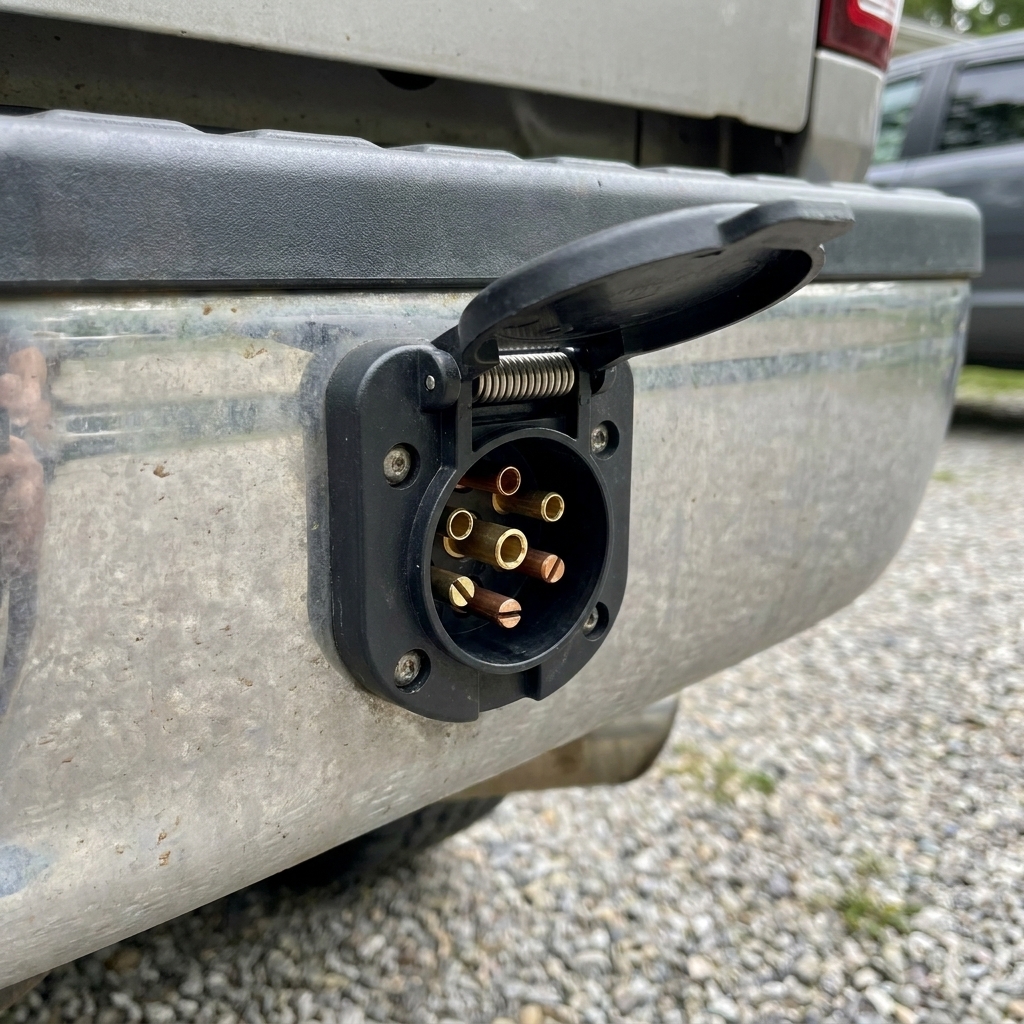
Quick check: look behind the trailer wheels. If you see brake wiring going into the backing plate and a typical 7-way RV plug at the tongue, chances are you have electric drum brakes. If you see brake lines and a hydraulic actuator setup, you may have surge or electric-over-hydraulic.
Electric vs surge brakes
Surge brakes (common on many boat trailers) are hydraulic and work off a sliding coupler. They do not use an in-cab brake controller. Electric brakes do.
Proportional vs time-delayed
There are two main families of controllers you will run into: time-delayed and proportional. Both can work, but they feel very different on the road.
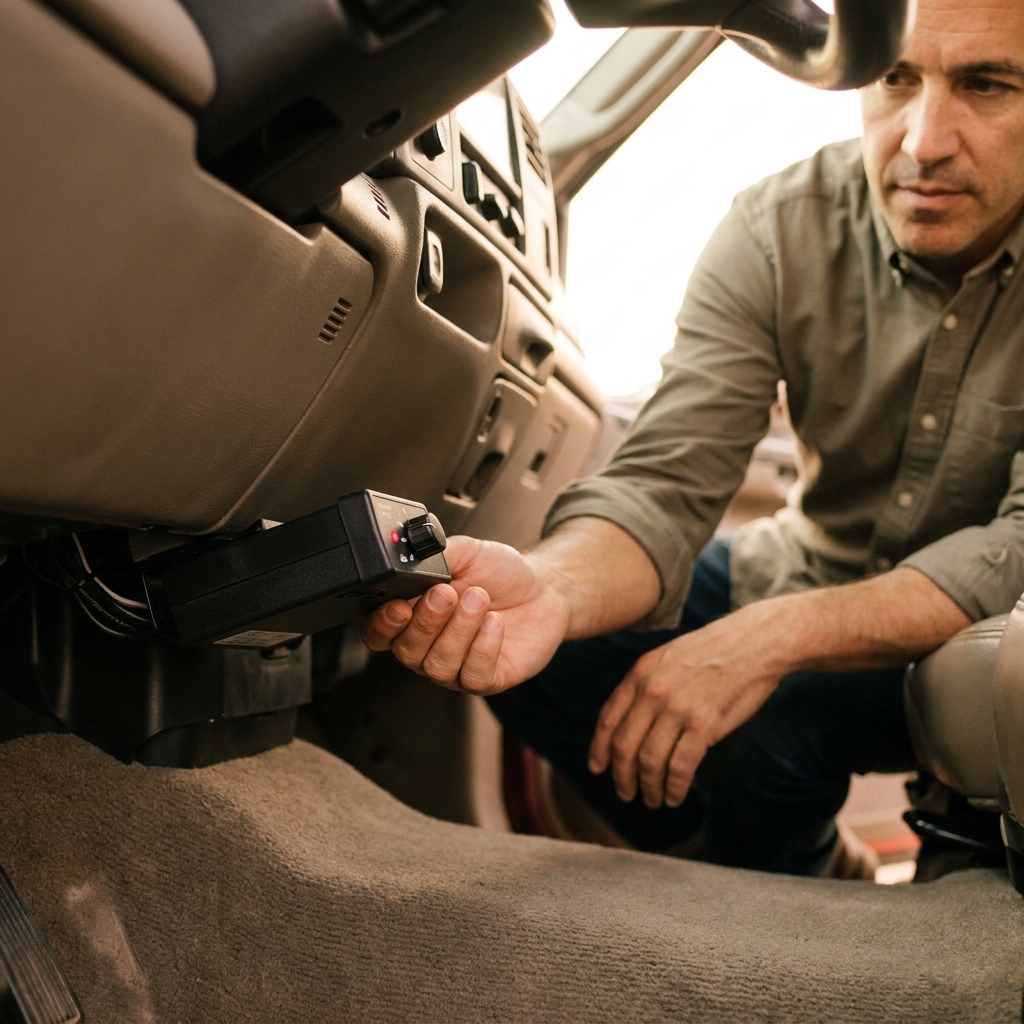
Time-delayed
A time-delayed controller sends a preset amount of braking power after you press the brake pedal, ramping up over a set time. You typically set two things:
- Gain (max power): How hard the trailer brakes can hit.
- Delay or ramp: How quickly the power builds.
Best for: occasional towing on flatter ground, lighter trailers, older trucks, and folks who want the simplest unit at the lowest cost.
Downside: It does not react to a panic stop the same way a proportional unit does. The trailer braking can feel late or grabby until you get it dialed in.
Proportional
A proportional controller uses an internal sensor (accelerometer) to measure how hard the truck is slowing down, then applies the trailer brakes in proportion to that deceleration. Light braking at a stop sign feels light. A hard stop gets more trailer braking immediately.
Best for: travel trailers, heavier loads, mountain towing, frequent towing, and anyone who wants the most stable, confidence-inspiring braking.
Downside: Costs more than a basic time-delayed unit, and installation angle and mounting location matter more.
If you are on the fence: For most Tow Vox readers hauling campers, car haulers, or work trailers with real weight, I recommend going proportional. The first time you hit a downhill stoplight in the rain, you will understand why.
What to look for
1) Trailer size and how you tow
- Light utility trailer that sees occasional trips: time-delayed can be fine if you set it up carefully.
- Travel trailer, enclosed trailer, car hauler, frequent towing: proportional is the safer, smoother choice.
2) Electric-over-hydraulic compatibility
If your trailer has electric-over-hydraulic (EOH) brakes, make sure the controller is explicitly rated for EOH. Some controllers work great with electric drum brakes but need an EOH mode or specific compatibility to run a hydraulic actuator correctly.
3) Integrated vs aftermarket controllers
Some trucks (especially with the right tow package) come with an integrated OEM brake controller built into the dash. When it is available and working, it is usually a nice setup because it talks to the truck systems and keeps everything clean. If your truck does not have one, or it was not ordered with that option, an aftermarket controller is the normal solution. Either way, the goal is the same: smooth, predictable trailer braking you can adjust quickly.
4) Your truck wiring situation
Some trucks come with a factory tow package and a pre-wired brake controller pigtail under the dash. Others need a bit more work.
- Factory 7-way at the bumper: you are closer, but you still might not have the brake controller wiring finished under the dash. Some trucks also need under-hood fuses, relays, or a brake feed wire installed before the 7-way brake output actually works.
- No 7-way: plan on installing a 7-way harness and possibly a brake power feed and breaker.
5) Display and adjustability
Look for clear gain readouts, easy-to-reach manual override, and a unit that makes sense at a glance. When something feels off, you want to change gain without taking your eyes off the road for five seconds.
6) Axle and brake rating
Many controllers are commonly rated for 1 to 2 axles, and some are rated for 3 to 4 axles. Do not assume. Check the controller rating on the box or in the manual, especially if you tow heavier equipment trailers or multi-axle setups.
Pre-install checklist
- Confirm your trailer brakes work mechanically: worn shoes, grease-soaked linings, or bad magnets will never be fixed by a fancier controller.
- Inspect the 7-way plug: corrosion and loose pins cause a lot of “controller problems.”
- Check the breakaway system: battery charged, switch cable intact, and the breakaway pin actually activates the trailer brakes (this applies to electric drum and many EOH setups, not typical surge-only systems).
- Know your weights: a controller helps you stop, but it does not increase your truck’s payload or tow rating.
How to install one
Installation varies by truck, but the basic pieces are the same. You need four circuits going to the controller:
- 12V power (commonly black): fused or on a circuit breaker.
- Ground (commonly white): solid chassis ground.
- Brake signal input (commonly red): comes on when you press the brake pedal.
- Brake output to trailer (commonly blue): runs back to the 7-way and out to the trailer brakes.
Those colors are common RV and aftermarket conventions, but do not bet your weekend on wire color alone. Verify with your truck diagram and the controller manual.
Many aftermarket controllers use a plug-in harness specific to your truck, which is the cleanest way to do it.
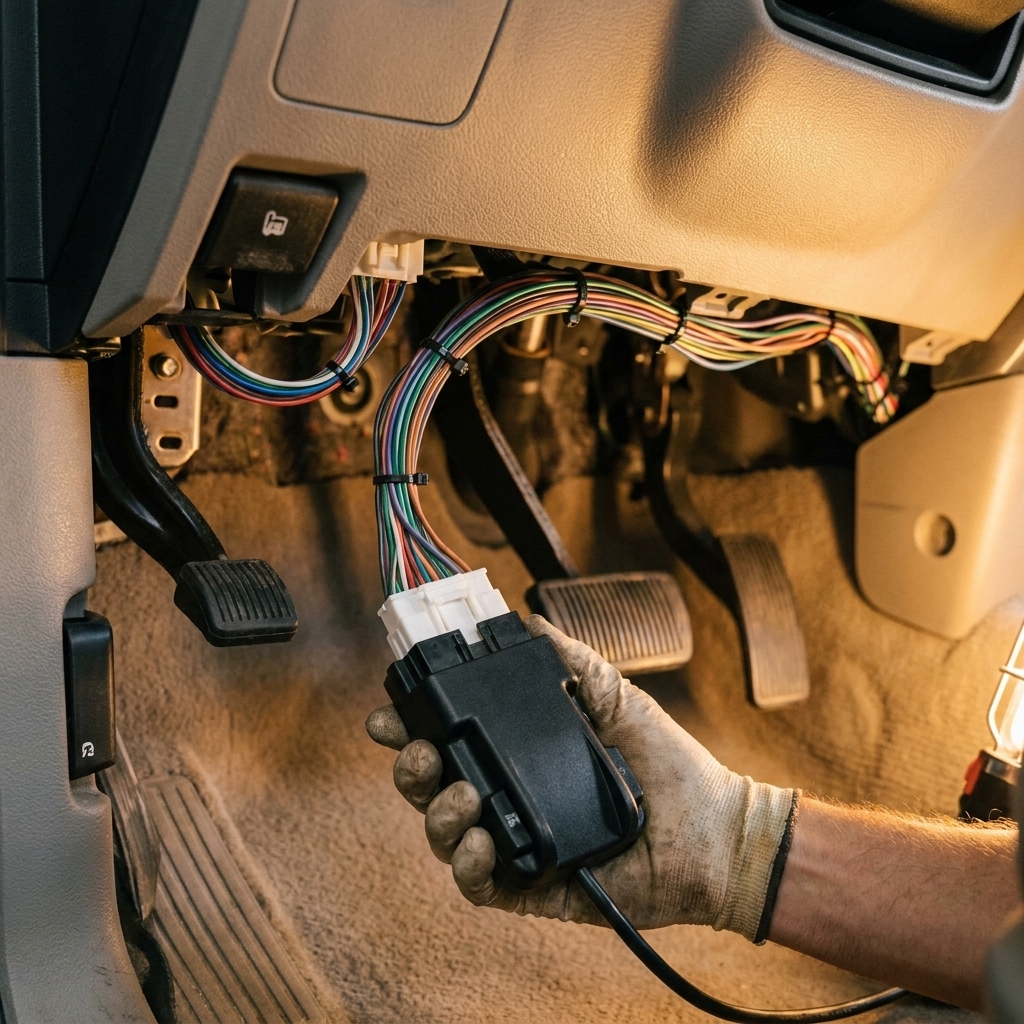
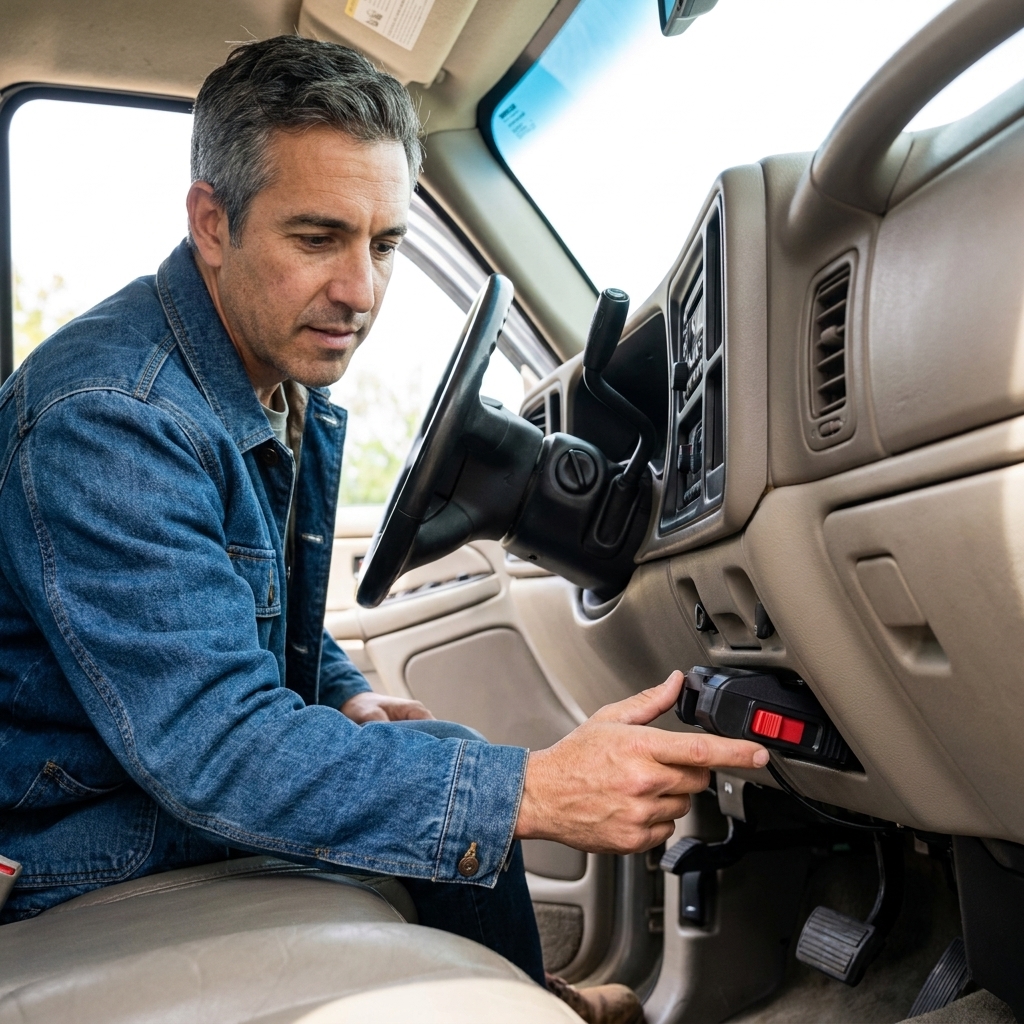
Step 1: Choose the mounting spot
You want the controller:
- Within easy reach of the driver’s right hand
- Where your knee will not smash it getting in and out
- Away from the parking brake pedal path
- Mounted at the angle specified in the manual (especially important for proportional units)
If you mount a proportional controller crooked, it can think you are braking harder or softer than you are.
Step 2: Disconnect the battery
Any time you are tying into power under the dash, pull the negative battery cable. It takes two minutes and can save you a whole afternoon.
Step 3: Wire it up
Best case: your truck has a factory brake controller connector under the dash. You buy the correct adapter harness for your controller, plug it in, and you are done with wiring.
If you are hardwiring: follow the controller manual exactly and use proper connections. I prefer crimp-and-heat-shrink butt connectors or solder with heat shrink. Avoid twisting wires together and wrapping with tape. Vibration will win eventually.
Make sure your power feed is protected by the correct fuse or breaker, and that your ground is clean, bare metal.
One common curveball: some trucks need under-hood fuses, relays, or a factory brake feed wire installed even if the 7-way is already there. If your controller powers up but acts like the trailer is invisible, do not assume the controller is bad. Check the truck-side towing fuse and relay locations.
Step 4: Mount the bracket and controller
Use the supplied bracket and hardware. Keep the wiring secured and routed away from:
- Steering column joints
- Pedals and linkage
- Sharp metal edges
- Heater ducts that get hot
Step 5: Confirm it sees the trailer
Plug in the trailer and check the controller display. Most modern controllers will show a connection indicator. If it says “no trailer,” do not guess. Work the basics:
- Try another trailer if you can
- Inspect the 7-way pins for corrosion or spread terminals
- Check the trailer ground (frame ground points rust and loosen)
- Confirm the blue brake output circuit is present at the 7-way
- Verify the truck has 12V aux power at the 7-way (helpful for separating truck-side wiring issues from trailer-side issues)
- If you have a test light or multimeter, check for a brake signal at the controller input when you press the pedal
Set gain and test
This part is where most beginners get frustrated, because there is no one “correct” gain number. It depends on trailer weight, brake condition, tire grip, and even road surface.
A safe way to dial it in
- Start low: set gain to a modest setting.
- Find a flat, empty lot: no traffic, no distractions.
- At 15 to 20 mph: use the manual override only. Increase gain until the trailer brakes slow you firmly without locking up.
- Then do normal stops: use the brake pedal and see if it feels smooth. You want the trailer to help, not shove.
If the trailer brakes lock up, back the gain down. If the trailer feels like it is pushing the truck on stops, increase gain a little.
My driveway-fence advice: Aim for “boring” stops. The best brake controller setup is the one you forget about because everything feels straight and predictable.
Common mistakes
Mounting it out of reach
In a sway situation, seconds matter. Make sure you can get to that manual override without leaning.
Bad ground connections
A weak ground can cause intermittent trailer detection and weak braking. Trailer frames rust. Truck bodies are painted. Grounds need clean metal.
Assuming the tow package means done
Some trucks have the receiver and 7-way but are missing the under-hood fuses, relays, or brake feed. If your controller powers up but never sees the trailer, do not ignore the truck-side fuse and relay locations.
Using gain to hide trailer brake problems
If you have to crank gain way up to get any stopping help, you might have worn brakes, out-of-adjustment drums, contaminated linings, weak magnets, an EOH actuator issue, or a wiring voltage drop.
Quick FAQ
Can a brake controller help with trailer sway?
Sometimes. Using the manual override to apply only the trailer brakes can help tug a swaying trailer back in line. Only do it if you can do so smoothly and safely, and avoid locking the trailer tires. Sway is usually caused by loading, tongue weight, speed, wind, or hitch setup. Fix the root cause.
What gain should I run?
There is no universal number. Set it based on how the trailer stops at low speed and then confirm at road speed in a safe area. Heavier trailers and steeper terrain usually need more gain.
Do I need a brake controller for a small utility trailer?
If the trailer has electric brakes, yes. If it does not have brakes at all, you cannot add a controller and magically create them. That is a trailer equipment question.
My controller says “no trailer” but everything is plugged in. Now what?
Start with the 7-way plug condition, then trailer ground, then check for 12V aux power and brake output at the truck socket. If you have a multimeter, you can also verify the stoplight signal at the controller input. Corrosion and ground faults are the usual culprits, but missing truck-side fuses and relays are a close second.
The bottom line
A good trailer brake controller is one of those upgrades you only truly appreciate when you need it. Pick the controller style that matches how you tow, make sure it is compatible with your brake system, install it cleanly, and take the time to dial in gain somewhere safe. Your stops will feel calmer, your truck will work less, and everyone around you on the highway will be safer too.
If you want my plainspoken recommendation for most beginner towers pulling campers and work trailers: choose a quality proportional controller, mount it correctly, and treat setup like part of your pre-trip checklist, not a one-time chore.