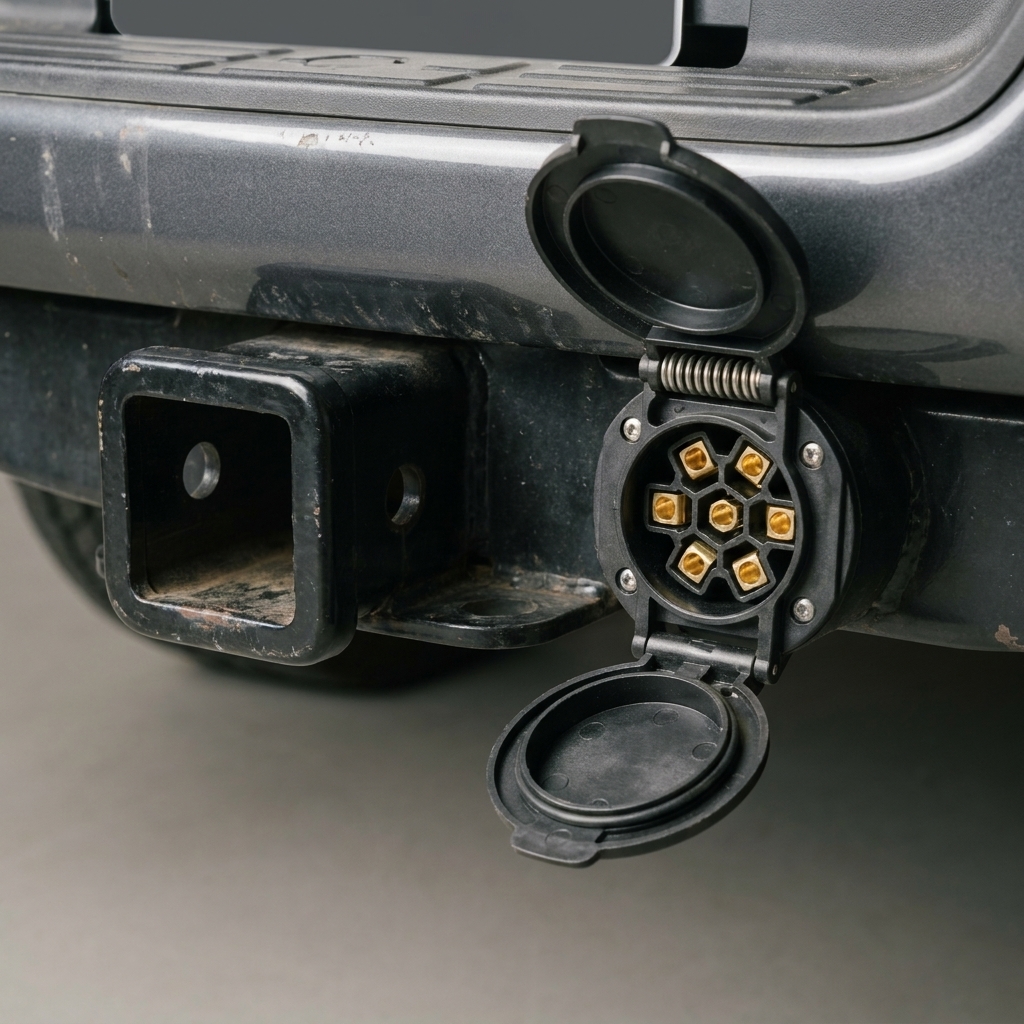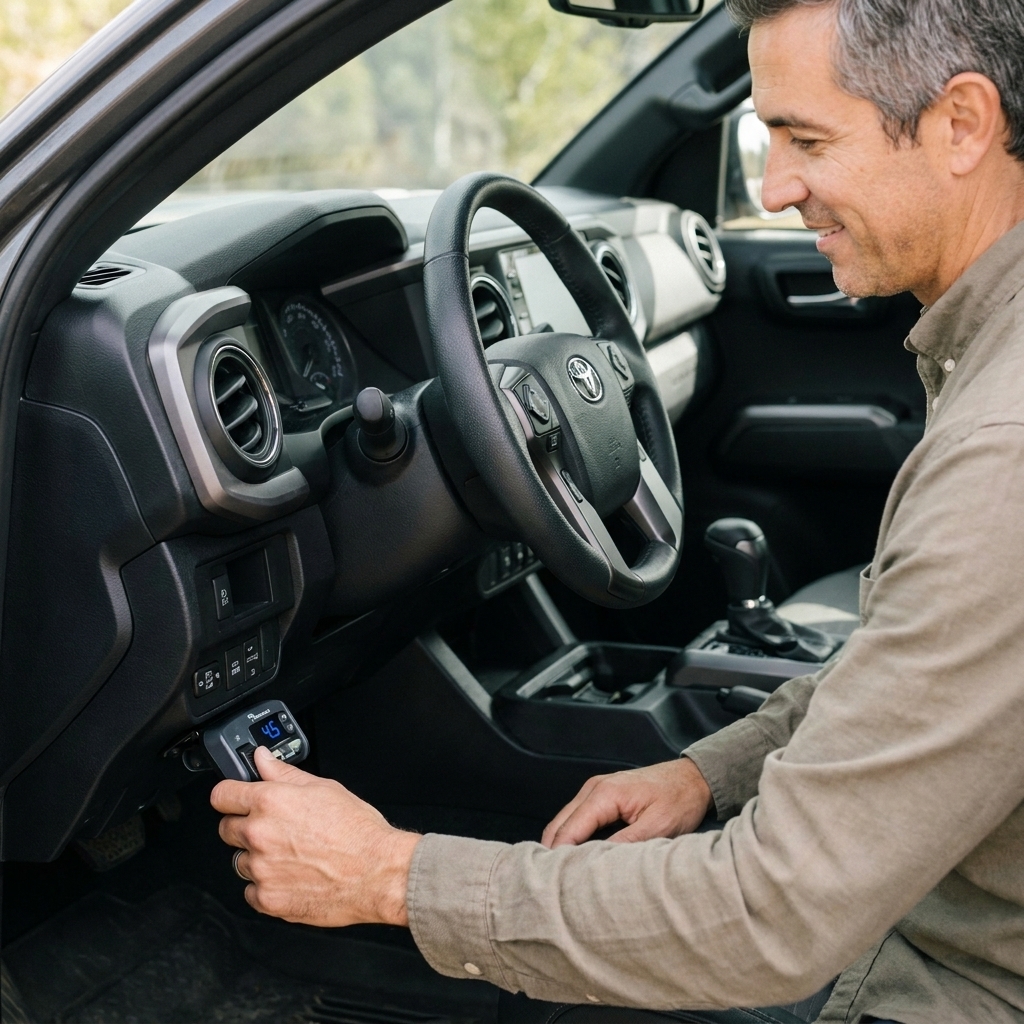
If you tow long enough, you will eventually meet the classic 7-way trailer plug gremlin: lights that flicker only on bumps, a turn signal that works until it rains, or trailer brakes that feel like they are made of wet cardboard. The good news is most 7-way problems come down to a short list of causes: a weak ground, corrosion, a loose pin fit, or a wiring fault near the connector where it flexes the most.
This guide walks you through a practical, driveway-friendly process to diagnose and fix common 7-way trailer connector issues. We will focus on actionable testing, cleaning, and repair, not guesswork.
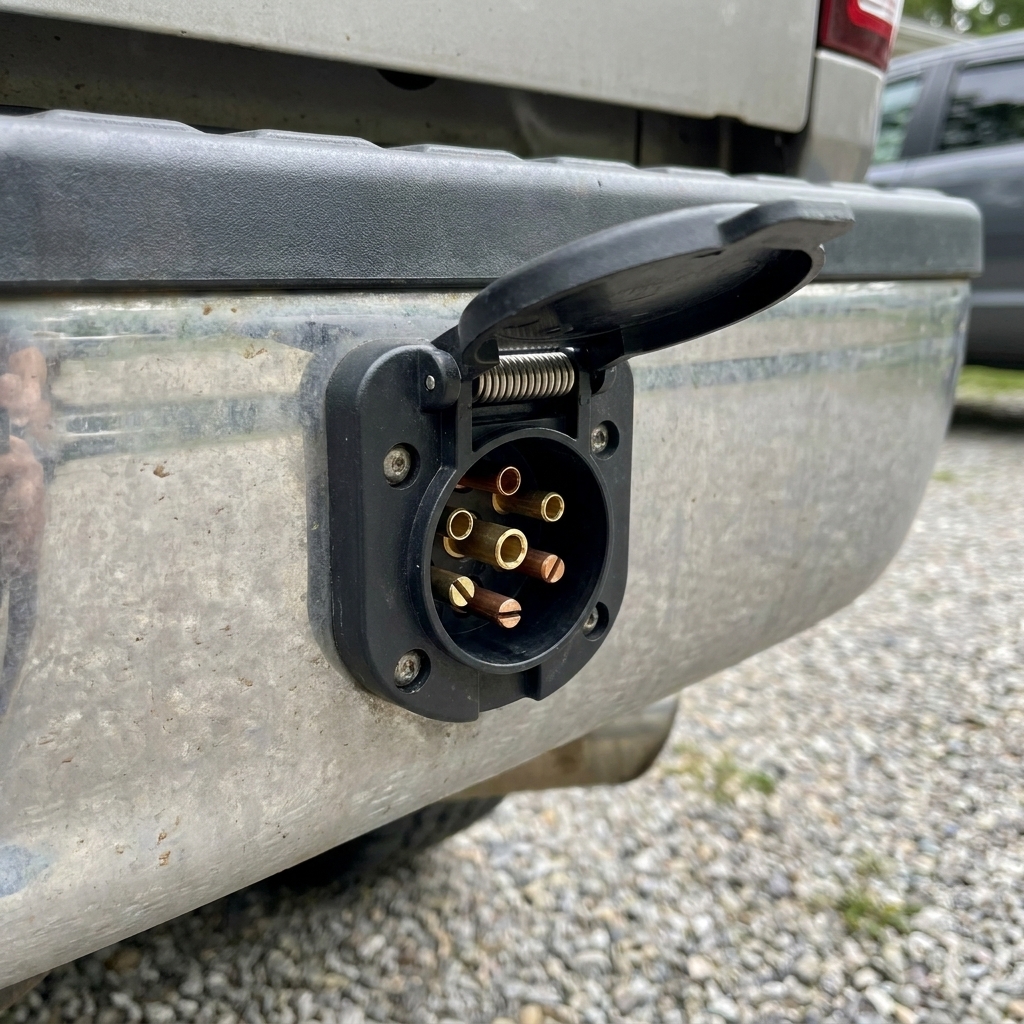
Know your 7-way: what each pin does
Most RV-style 7-way blade connectors in North America follow the same function layout. There are exceptions, especially on homebuilt trailers or older conversions, so treat this as the common standard, then verify with a test (we will do that below).
Important: this table tells you what each circuit does, not where it sits physically on the connector. For pin location, use the connector’s molded labels, its included diagram, or a 7-way tester. Do not move wires based on color or guesswork.
| Function | What it powers | Common wire color (often) | Typical symptom when faulty |
|---|---|---|---|
| Ground | All trailer circuits return path | White | Multiple lights act weird, dim lights, brakes weak |
| Running / tail lights | Marker lights, tail lights | Brown | No running lights or flicker with vibration |
| Left turn / stop | Left blinker and brake filament | Yellow | Intermittent left signal, cross-talk, or backfeeding |
| Right turn / stop | Right blinker and brake filament | Green | Intermittent right signal, brake light out on one side |
| Brake output | Electric trailer brakes from controller | Blue | Weak or no braking, "no trailer" message |
| 12V auxiliary | Charges trailer battery, powers interior loads | Black or red | Trailer battery not charging, fridge control drops out |
| Reverse / backup | Reverse lights or reverse solenoid (some surge brakes) | Purple (sometimes) | No reverse lights, surge lockout not working |
Two quick reality checks: wire colors are not guaranteed, and a trailer can be wired incorrectly even if the colors look right. Always confirm functions with a test light or multimeter before you move wires.
Tools and supplies that make this easy
- Digital multimeter (a basic one is fine)
- 12V test light (handy for quick checks)
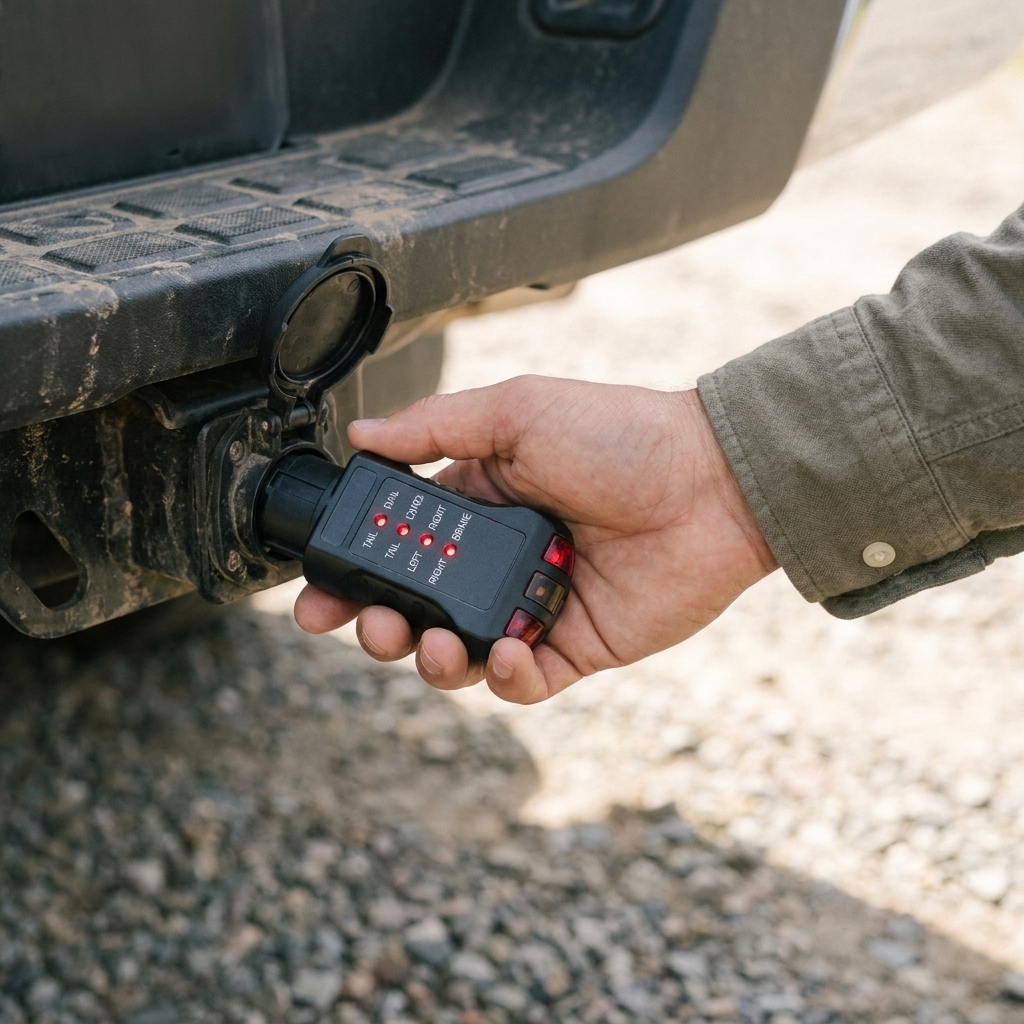
- 7-way tester or test box (optional, but very convenient for quick truck-side checks)
- Contact cleaner safe for electrical connectors
- Small wire brush or nylon brush, plus cotton swabs
- Dielectric grease (thin coat, do not pack the socket)
- Pick tool or small flat screwdriver (for gently tweaking female contacts)
- Heat shrink butt connectors and a heat gun for trailer-side repairs
- Ring terminals and a star washer for ground upgrades
- 7-way replacement socket or 7-way trailer plug if parts are too far gone
Safety first
A 7-way can carry enough current to melt insulation if it shorts, and the brake output circuit can be energized by the brake controller. Before you start cutting or rewiring:
- Put the truck in park, set the parking brake, and chock wheels if you are hitched.
- Turn the ignition off for cleaning and physical inspection.
- If you are rewiring, disconnect the truck battery negative cable or pull the trailer wiring fuse if you know which one it is.
- Keep loose jewelry and tools away from the 12V auxiliary pin.
Step-by-step diagnosis
Step 1: Visual check and wiggle test
Start with the easy wins. Open the socket lid and look closely:
- Green or white crust on pins means corrosion.
- Dark or melted plastic means overheating from high resistance or a short.
- Loose fit between plug and socket causes intermittent everything.
- Frayed jacket right behind the trailer plug is a top failure point from bending.
With the trailer connected and lights on, gently wiggle the plug at the socket. If lights cut in and out, you are hunting a connection issue, not a mysterious electrical ghost.
Step 2: Test the truck socket first
If you can, test the truck socket with the trailer unplugged. This tells you whether the tow vehicle is delivering the right power on the right pins.
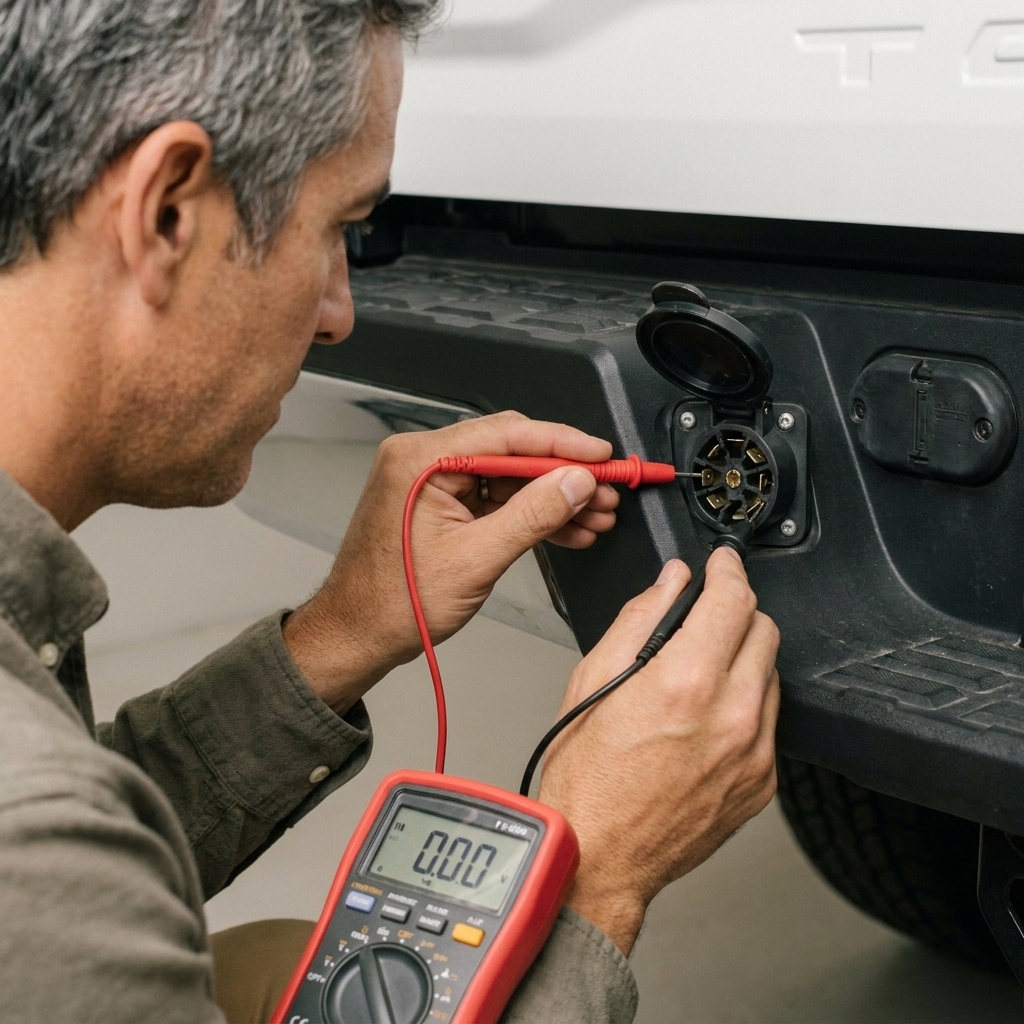
Multimeter setup: set to DC volts. Put the black probe on the ground contact in the 7-way socket. Use the red probe to check each function. If your connector has molded labels, use them. If not, use the included diagram or a 7-way tester.
- Running lights: turn headlights on. You should see about battery voltage on the running light circuit.
- Left and right turn/stop: turn on the blinker. Voltage should pulse on that circuit. Some trucks only power certain lighting circuits with the ignition on.
- 12V auxiliary: should show battery voltage. Some trucks only energize it with ignition on, and some are not wired from the factory without a tow package.
- Reverse: with wheels chocked and the area clear, have a helper hold the brake and shift into reverse (do this in a driveway, not on a road). The reverse circuit should show voltage if your truck is actually wired for it.
- Brake output: use the brake controller manual slide. You should see voltage rise as you apply more output.
Rule of thumb: if you cannot get steady battery voltage at the truck socket with a clean probe contact, do not touch the trailer yet. Fix the truck-side feed, fuse, relay, or ground first.
Common 7-way problems and fixes
1) Flickering or dim trailer lights
Most common cause: poor ground, either at the truck socket, trailer tongue, or through a rusty coupler connection.
Fix it:
- Upgrade the trailer ground. Run the trailer ground wire from the plug directly to the trailer frame at a clean, bare-metal point. Use a star washer for bite.
- Do not rely on the hitch ball for ground. It can work sometimes, then fail the moment things get wet or dusty.
- Check light grounds. Many trailer lights ground through mounting bolts. Rusty hardware equals weak ground. Add dedicated ground wires if needed.
- Protect the connection after testing. After you verify a good ground with a meter, coat the exposed area around the finished joint with paint or a corrosion inhibitor. Do not get paint between the ring terminal and bare metal.
Better quick test (voltage drop): Turn the running lights on so the circuit is under load. Measure DC volts between the trailer frame and the tow vehicle negative battery terminal (or a known-good truck frame ground). Ideally you will see close to 0V. As a rule of thumb, more than about 0.2 to 0.5V indicates a ground problem that can cause flicker and weird backfeeding. If a jumper cable between trailer frame and truck frame makes the problem disappear, you just proved it.
2) Turn signal issues and cross-talk
Common cause: shared ground problems or a damaged wire in the trailer harness causing backfeeding.
A note on hyper-flash: hyper-flash is often the tow vehicle reacting to low current draw or a trailer not being detected (common with LEDs, a burned-out bulb, or an open circuit). Cross-talk, odd dimming, and "both sides blink" behavior is more classic weak-ground backfeed.
Fix it:
- Start with the ground repair steps above.
- Inspect the trailer harness where it passes through holes, around the tongue, and over axles. Look for rubbed-through insulation.
- If the plug is old, replace it. Loose contacts inside a worn plug can act fine until there is load and vibration.
3) Weak or intermittent electric trailer brakes
Common causes: low voltage on the blue brake wire due to corrosion, undersized wiring, a weak ground, or a failing plug connection that gets hot under load.
Fix it:
- Test brake output at the truck socket using the manual slide. If truck output is low, check controller settings and the truck wiring, fuse, and ground.
- Test brake output at the trailer side (back-probe the blue wire at the trailer plug or junction box). If voltage is good at the truck but low downstream, you have resistance in the trailer wiring, splices, connector, or ground.
- Open the trailer junction box (if equipped) and inspect splices for corrosion. Replace crusty wire nuts with heat shrink butt connectors.
- Feel for heat, but do not normalize it. In normal operation the plug and socket should be basically cool. Any noticeable warmth after a few firm manual-lever applications is a warning sign. Hot to the touch means high resistance and it will only get worse.
Real-world tip: Electric brakes are current-hungry. A connection that seems “fine” for marker lights can completely fall on its face when you ask it to feed four brake magnets.
4) No power on the 12V auxiliary pin
Common causes: blown fuse, missing charge relay, or the truck’s charge line not wired from the factory (very common on some trims and older trucks).
Fix it:
- Check the owner’s manual fuse map for trailer battery charge or trailer auxiliary power.
- Use a multimeter at the truck socket to see if 12V aux is present with ignition off and on.
- If you need aux power for a trailer battery or accessories, install a proper charge line with a fuse or breaker near the battery. If you are not comfortable with this, a reputable hitch and wiring shop can set it up safely.
5) Corroded pins and water intrusion
Common causes: open socket exposed to road spray, no dielectric grease, cheap plug seals, or the trailer plug dragging and getting packed with grime.
Fix it:
- Spray contact cleaner into the socket and trailer plug, then scrub gently with a nylon brush.
- Let it dry, then apply a thin film of dielectric grease to the pins. Too much grease can prevent a good contact.
- Replace the plug or socket if pins are pitted, loose, or green deep into the metal.

Clean and tighten a loose 7-way
Cleaning procedure
- Unplug the trailer.
- Spray contact cleaner into both halves.
- Use a brush and swabs to remove grime and corrosion.
- Let everything dry fully.
- Add a light coat of dielectric grease.
Tightening loose contact
If the trailer plug slides in too easily or loses connection when you bump it, the female contacts inside the truck socket may have relaxed over time.
- With the truck off, use a small pick tool to gently increase the contact tension. Small movements matter.
- If the socket is cracked, warped, or heat-damaged, replace it. You cannot tune your way out of a melted connector.
Rewire a 7-way trailer plug
If your trailer plug is brittle, the strain relief is broken, or the cable is corroded inside the jacket, rewiring is often faster than chasing intermittent issues for the next three weekends.
Best practices
- Take a photo of the old wiring before you remove anything.
- Do not trust color alone. Confirm each trailer wire function at the junction box if possible.
- Use the molded diagram. Most quality plugs have a legend molded into the body or included in the packaging. Wire by function.
- Use heat shrink connections. Trailers live in water and road salt. Give your splices a fighting chance.
- Strain relief matters. Most failures happen right where the wire enters the plug.
Basic steps
- Cut the old plug off with enough cable length to work with.
- Slide the plug housing and strain relief parts onto the cable before you strip wires. Everyone forgets this once.
- Strip each conductor to the plug manufacturer’s spec.
- Connect each wire to the correct terminal on the new plug, tightening screws firmly.
- Seal the back of the plug if the design includes a clamp or grommet.
- Test every function with the trailer plugged into the truck before your next tow.

Breakaway note
If your trailer has electric brakes, it likely also has a breakaway switch and battery. That system is separate from the 7-way brake-output pin in the sense that it can apply the trailer brakes even if the plug comes unplugged. If your brakes are acting strange, check that the breakaway pin is fully seated and the breakaway battery is healthy. A weak breakaway battery will not usually cause normal towing brake problems, but a damaged breakaway switch or wiring can cause brake drag or intermittent braking.
Testing checklist
Do not trust a quick blink test in the driveway. Do a full function check:
- Running lights on for 2 minutes: no flicker
- Left and right turn signals: steady rhythm, no cross-talk
- Brake lights: both sides bright and even
- Hazards: all corners consistent
- Reverse lights or lockout (if equipped and wired): works in reverse
- Electric brakes: use the manual slide at low speed in a safe area, confirm firm braking
If you have a brake controller that shows voltage or gain output, verify it rises smoothly as you apply the manual lever.
When replacement beats repair
Sometimes the smartest fix is a new connector.
- Replace the truck socket if: pins are loose, green deep in the metal, plastic is melted, lid spring is broken, or the harness is damaged.
- Replace the trailer plug if: blades are pitted or loose, wire clamp is broken, cable jacket is cracked, or you have repeated intermittent issues after cleaning.
- Replace the trailer cable if: the jacket is swollen, copper strands are blackened, or you find multiple splice repairs near the tongue.
A quality 7-way plug and a clean ground can turn a problem trailer into one that just works for years.
Quick FAQ
Why do my trailer lights work until I turn on the headlights?
That is classic backfeeding through a weak ground. When the running lights energize, the return path gets messy and current finds weird routes through other bulbs. Fix the trailer ground first.
Why are my trailer brakes weak but the controller looks normal?
You can have good controller output at the truck and still lose braking from voltage drop across a corroded plug, undersized wiring, a bad splice, or a poor ground on the trailer. Test voltage at the trailer junction box and at the brake feed while applying the manual lever.
Is dielectric grease safe on trailer connectors?
Yes, in a thin film. It helps slow corrosion and keep water out. The metal-to-metal contact still needs to be tight, so do not pack the socket full of grease.
My 7-way plug gets warm. What does that mean?
Heat is resistance. Ideally the connection stays cool. If you notice warmth after braking or you can smell hot plastic, stop and fix it. That is how you end up with melted connectors and no brakes.
Final reminder
If you are seeing flickers, weak brakes, or random turn signal behavior, do not chalk it up as “trailers being trailers.” Electricity is predictable. Start with the ground, confirm truck-side output with a meter or tester, then work downstream to the trailer plug and junction box. A clean, tight 7-way connection is not just convenience, it is safety for you and everyone behind you.