If you tow long enough, you will see it: a trailer with one taillight blinking like a candle in the wind, or worse, no trailer brakes because somebody twisted wires together and called it “good.” A properly installed 7-pin (also called a 7-way RV blade) connector is one of the best safety upgrades you can do for any brake-equipped trailer. It is not hard work, but it is detail work.
Below is how I install and verify a 7-pin trailer wiring harness so the lights are bright, the ground is solid, and the brake controller actually has a trailer to talk to.
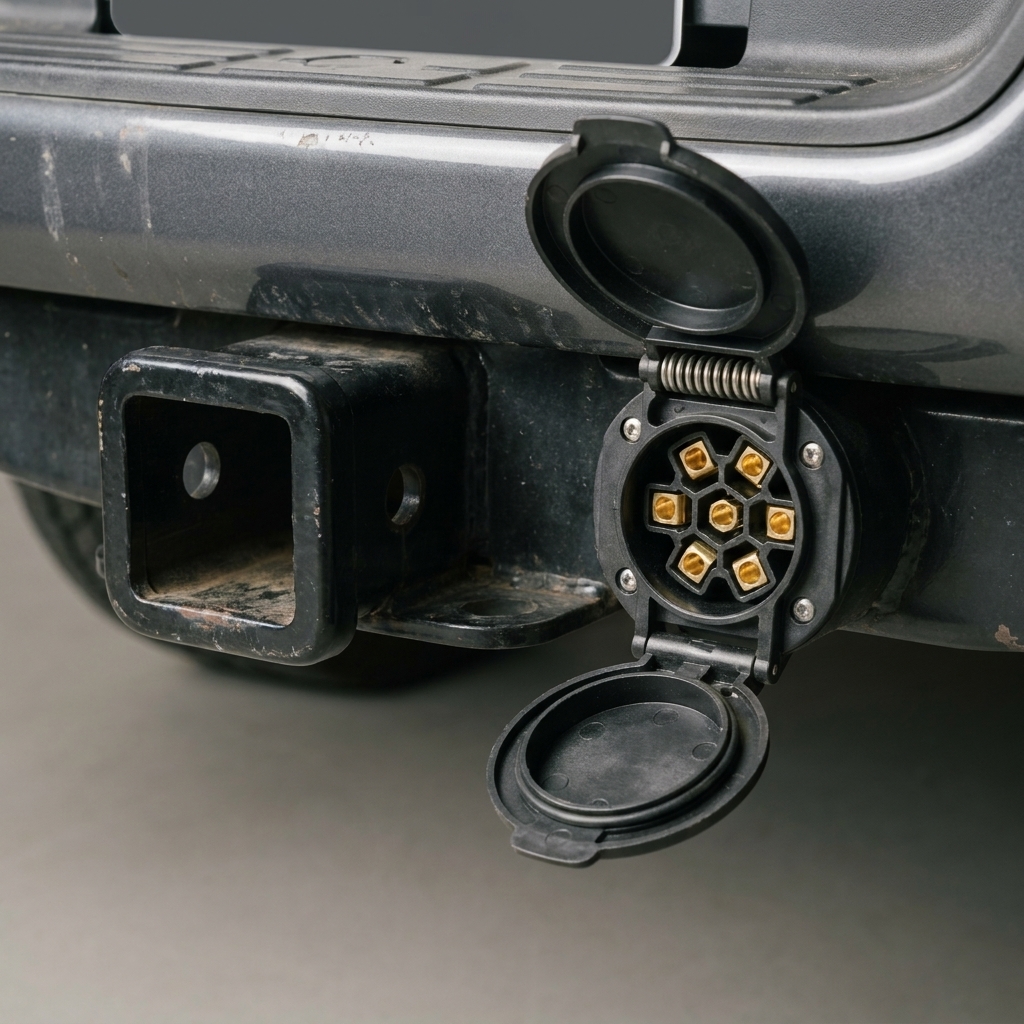
Quick safety notes
- Disconnect power: If you are wiring at the battery or a junction box, pull the negative battery cable first.
- Chock wheels: Truck and trailer. You will be crawling around bumpers and tongues.
- Protect circuits: Any 12V feed (charge line, reverse circuit) should be fused as close to the power source as practical. For the brake controller output (blue wire), make sure the circuit is protected per your vehicle and brake controller specs. Some factory setups handle protection upstream, so do not add fuses blindly.
- Do not trust color alone: Most 7-way wiring follows a common North American standard (often aligned with SAE J2863), but it is not universal. We will confirm with a test light or multimeter.
7-pin functions
The most common 7-way RV blade functions in North America are below. Your vehicle-side harness may be labeled, which is a gift. If not, use the table and verify each circuit.
| Function | Common wire color | What it powers |
|---|---|---|
| Ground | White | Return path for all trailer circuits |
| Tail / running lights | Brown | Marker lights, tail lights, license plate light |
| Left turn / stop | Yellow | Left blinker and left brake light |
| Right turn / stop | Green | Right blinker and right brake light |
| Electric trailer brakes | Blue | Brake magnets via brake controller output |
| 12V auxiliary / charge line | Black (sometimes red) | Charges breakaway battery, powers interior trailer accessories |
| Reverse / backup lights | Purple (sometimes light green) | Backup lights or reverse lockout solenoid on some surge brake couplers |
Ben’s driveway rule: If your trailer lights are doing weird stuff (signals flashing with brakes, dim markers, random brake pulses), start by suspecting the ground. A weak ground makes electricity look for a return path through any bulb filament it can find.
Tools and parts
Parts
- 7-way RV blade socket (vehicle side) or 7-way molded plug (trailer side), depending on what you are installing
- 7-conductor trailer cable (typically a mixed 10/12 AWG bundle, often labeled)
- Heat-shrink butt connectors or solder-and-seal connectors
- Split loom or braided sleeve for abrasion protection
- Rubber grommets and cable clamps (Adel clamps) for strain relief
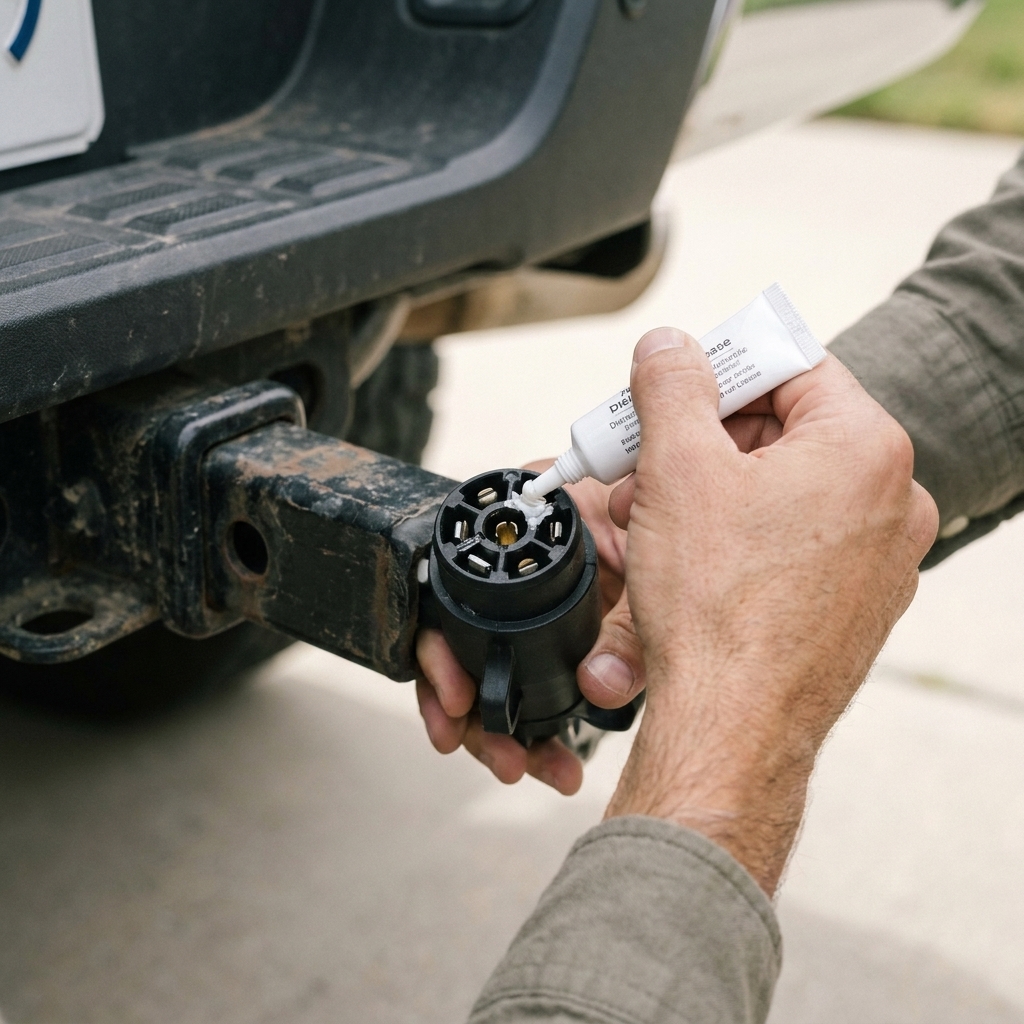
- Dielectric grease for the connector
- Appropriate fuses and fuse holders (or use the truck’s factory fuse locations if equipped)
Tools
- Wire strippers and quality crimper
- Multimeter (best) or 12V test light (good)
- Drill and bits (if mounting a new socket)
- Heat gun (for heat shrink)
- Zip ties, side cutters, electrical tape
Step 1: Mount location
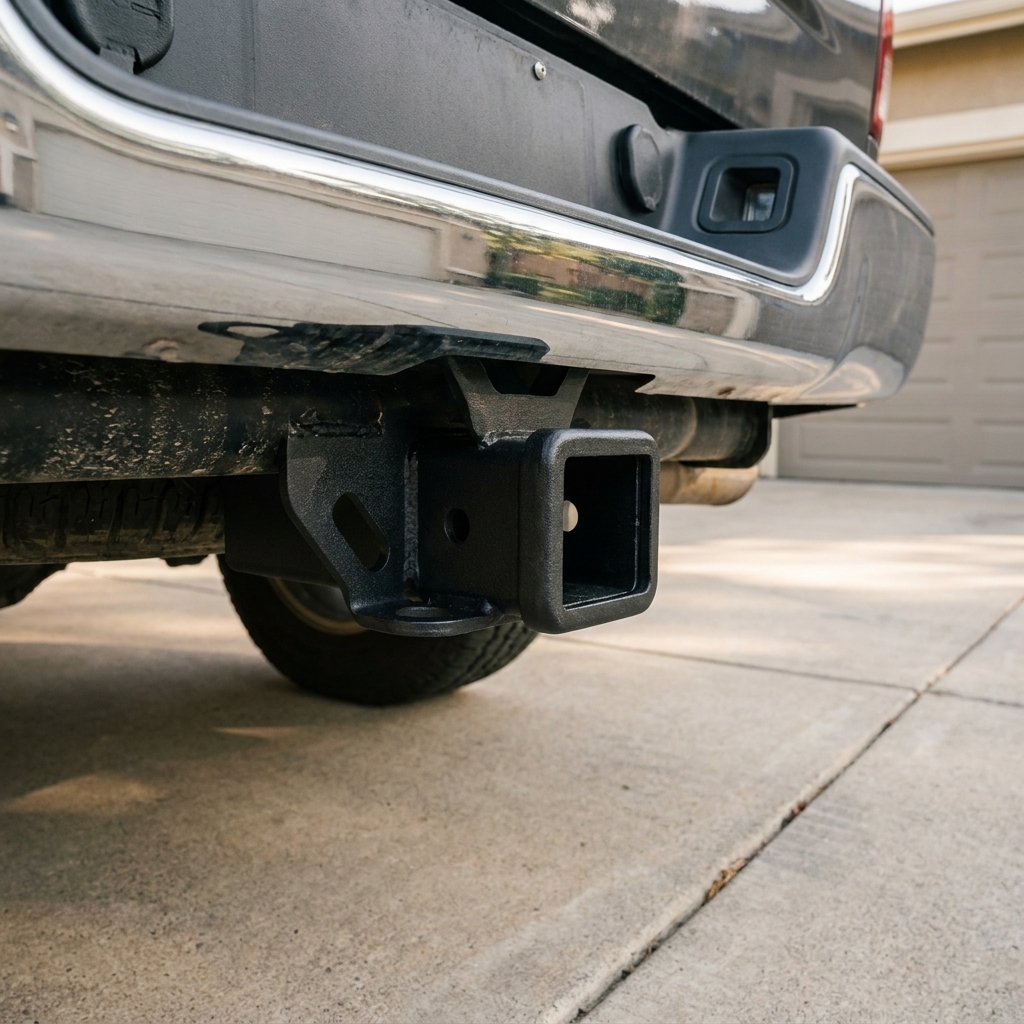
Vehicle-side 7-way socket: Mount it close to the receiver hitch, high enough to avoid scraping, and far enough from the exhaust to keep the harness from cooking. Most trucks have a factory knockout or bracket location near the bumper or hitch crossmember.
Trailer-side 7-way plug: The cable should reach the truck socket with enough slack for tight turns, but not so much that it drags. A good starting point is allowing a gentle “U” shape from tongue to socket when hooked up.
Step 2: Route the harness
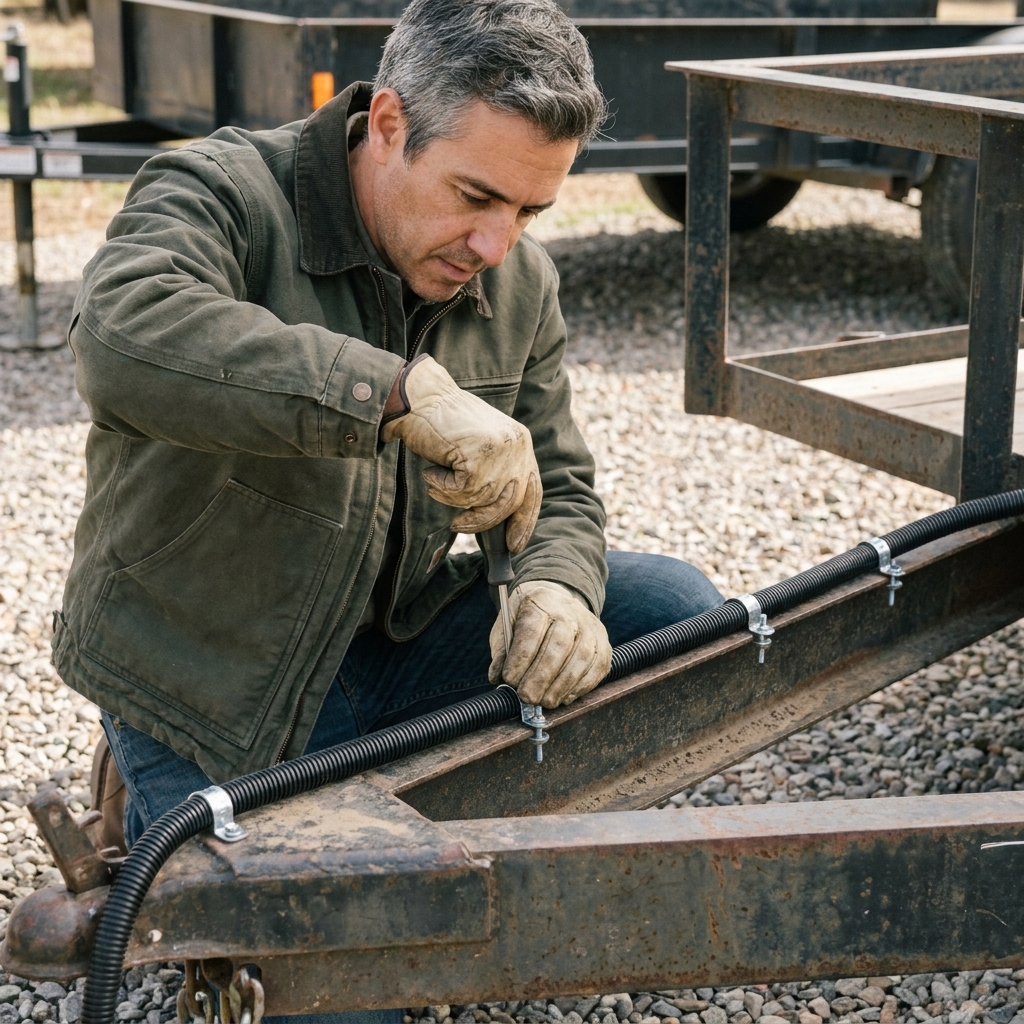
This is where a lot of installs fail a year later. Wire that dangles, rubs, or gets pinched will eventually short, corrode, or both.
- Keep it away from heat: Leave plenty of distance from tailpipes, mufflers, and turbo downpipes.
- Avoid sharp edges: Use grommets through sheet metal and loom where it passes brackets.
- Support it often: Clamp it about every 12 to 18 inches so vibration cannot work-harden the copper.
- Plan for suspension travel: Give slack near axle-to-frame runs on trailers and at the truck-to-trailer connection point.
Step 3: Wire the connector
Whether you are wiring a screw-terminal socket or splicing into a pigtail, the goal is the same: clean copper, tight connection, sealed from water.
Screw terminals
- Strip only enough insulation to fit under the terminal. Stray strands are trouble.
- Twist strands tightly, seat fully, and torque snugly.
- Add dielectric grease inside the housing to slow corrosion.
- Use the built-in clamp or strain relief so a tug on the cord does not pull on the terminals.
Pigtail harness
- Stagger your splices so you do not create one big stiff “knot” in the loom.
- Use heat-shrink connectors and shrink them fully until adhesive seals the ends.
- Wrap and loom the bundle, then secure it so the splices do not flex.
Pin-out warning: A lot of 7-way wiring mistakes come from mirror-imaging the layout. Always use the diagram stamped on the socket or plug, and pay attention to whether you are looking at the front face or the rear wire side.
Step 4: Ground it
If I could only inspect one thing on a 7-pin install, it would be the ground.
- Vehicle side: If you are adding an aftermarket harness, bond the white ground wire to a clean, bare-metal spot on the truck frame using a star washer, then coat the outside with paint or corrosion protectant after tightening. Better yet, run the ground to a known factory ground point.
- Trailer side: Do not rely on the coupler and ball for ground. Run the white wire into the trailer junction box and bond it to the frame, then distribute ground to lights and brakes as needed.
Pro tip: A dedicated ground wire to each light and each brake (instead of relying on the frame) solves a lot of “ghost problems,” especially on older, painted, or rusty trailers.
Step 5: Brake feed
The blue wire is the brake controller output. It is not a simple on-off 12V feed. It is a variable output that ramps with your brake pedal and controller gain settings.
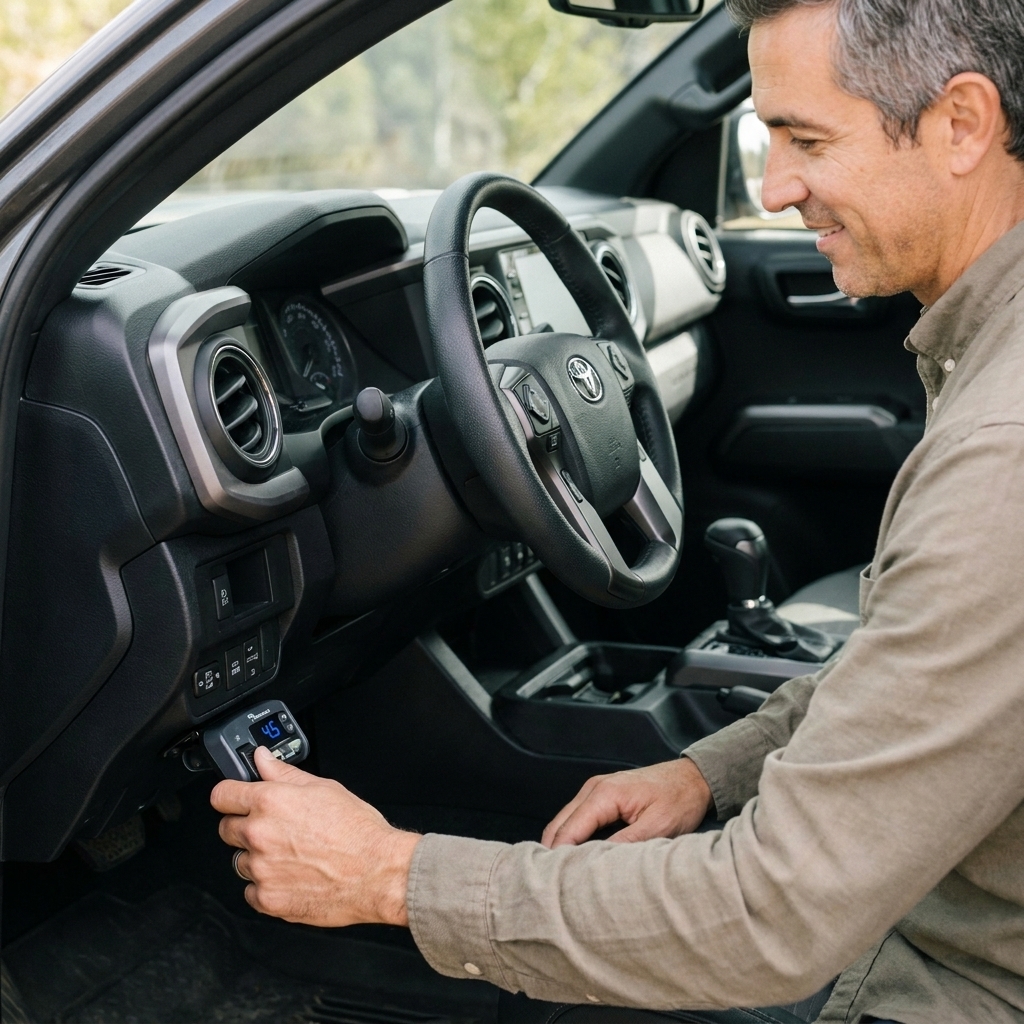
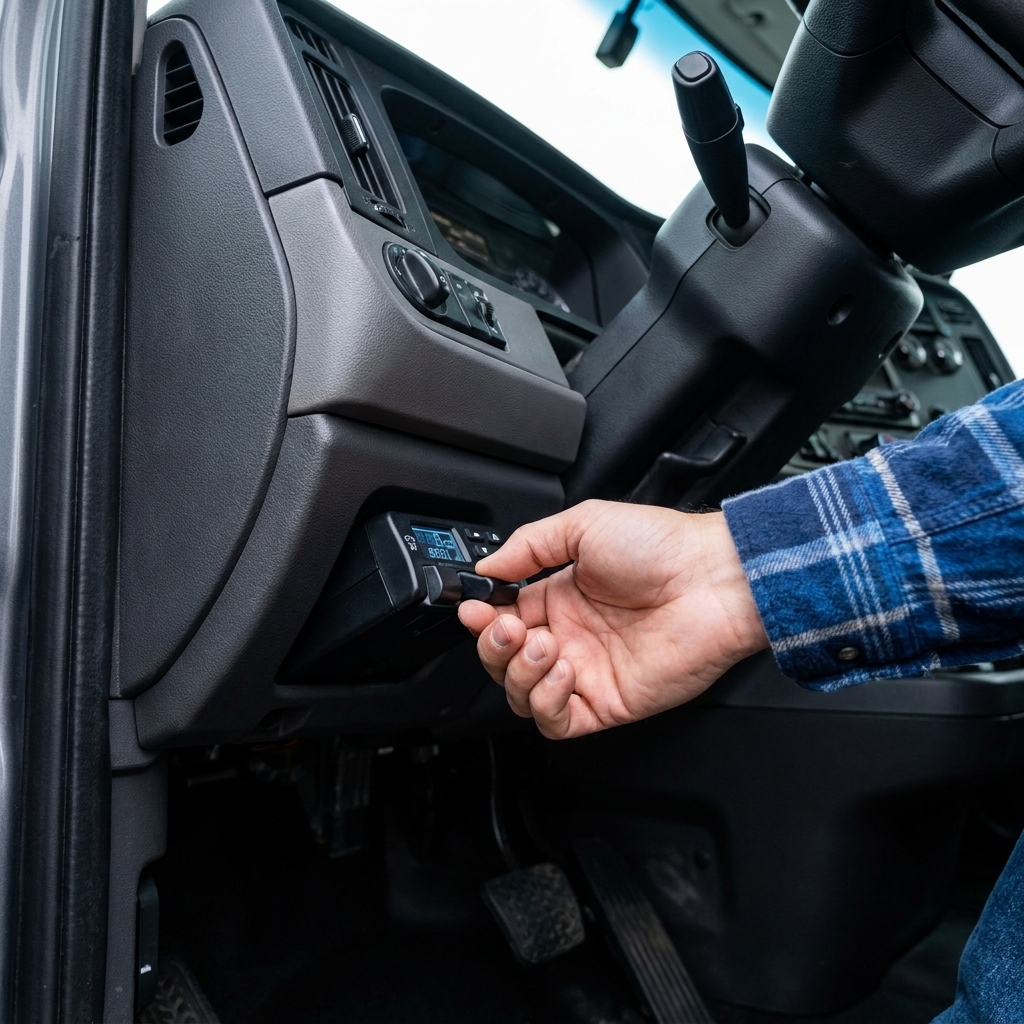
- On the truck: The blue wire needs to run from the brake controller output to the 7-way brake terminal. Many trucks have a factory brake controller plug and a factory 7-way, which makes this easy. If you are adding a brake controller, follow the controller manufacturer’s wiring instructions for power, ground, stoplight signal, and output.
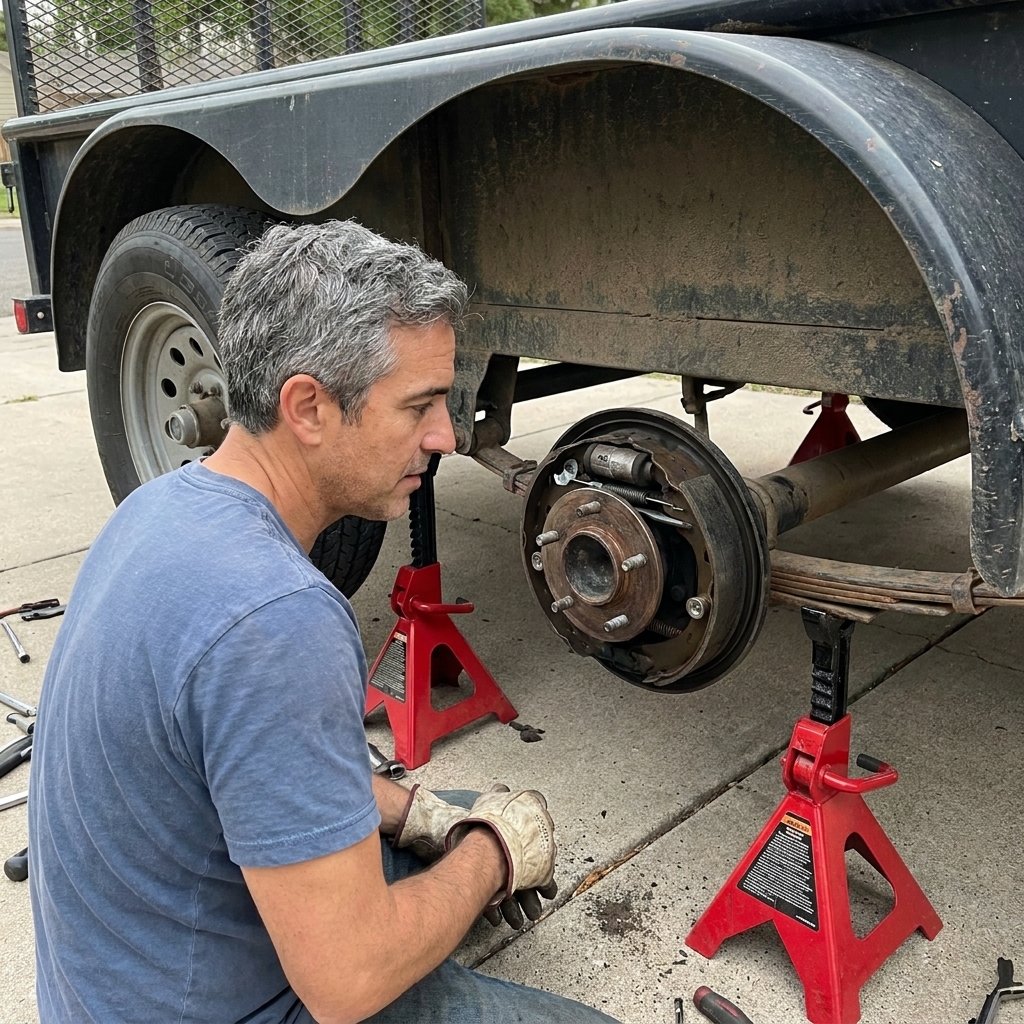
- On the trailer: Blue goes to the brakes, typically through a junction box, then splits to each brake backing plate. Use proper gauge wire and weatherproof connections.
Important: Trailer brakes also require a solid ground return. Weak grounds make brakes feel weak or grabby, and they can confuse some controllers.
Step 6: 12V charge line
The auxiliary 12V circuit is what charges a breakaway battery and can power things like interior lights, jack, or fridge controls on some trailers.
- Fuse it near the source. Typical fuse sizes vary by truck and wiring gauge, but many setups use 30A to 40A with appropriate wire. Always match the fuse to the wire and the truck’s provisions.
- If you are charging a trailer battery regularly, consider an isolator or DC-to-DC charger so the trailer cannot drain your truck battery when parked.
- Confirm your truck actually energizes this pin. Some vehicles require a fuse or relay to be installed from the factory.
Quick wire gauge guide: For most common bumper-pull trailers, I like 12 AWG for the brake feed and grounds, 10 AWG for the 12V charge line if the run is long or the trailer battery is a priority, and 14 to 16 AWG for lighting circuits. Match your wire to your load, length, and manufacturer requirements.
Step 7: Reverse circuit
Not every trailer uses the reverse pin. Two common uses:
- Reverse lights on the trailer.
- Reverse lockout solenoid on certain surge brake couplers (lets you back up without applying the trailer brakes).
If you do not need reverse power, cap and seal the wire so it cannot short later.
Step 8: Test every pin
Testing is not just for troubleshooting. It is part of the install. You want to confirm the truck is sending the right signals and the trailer is receiving them with minimal voltage drop.
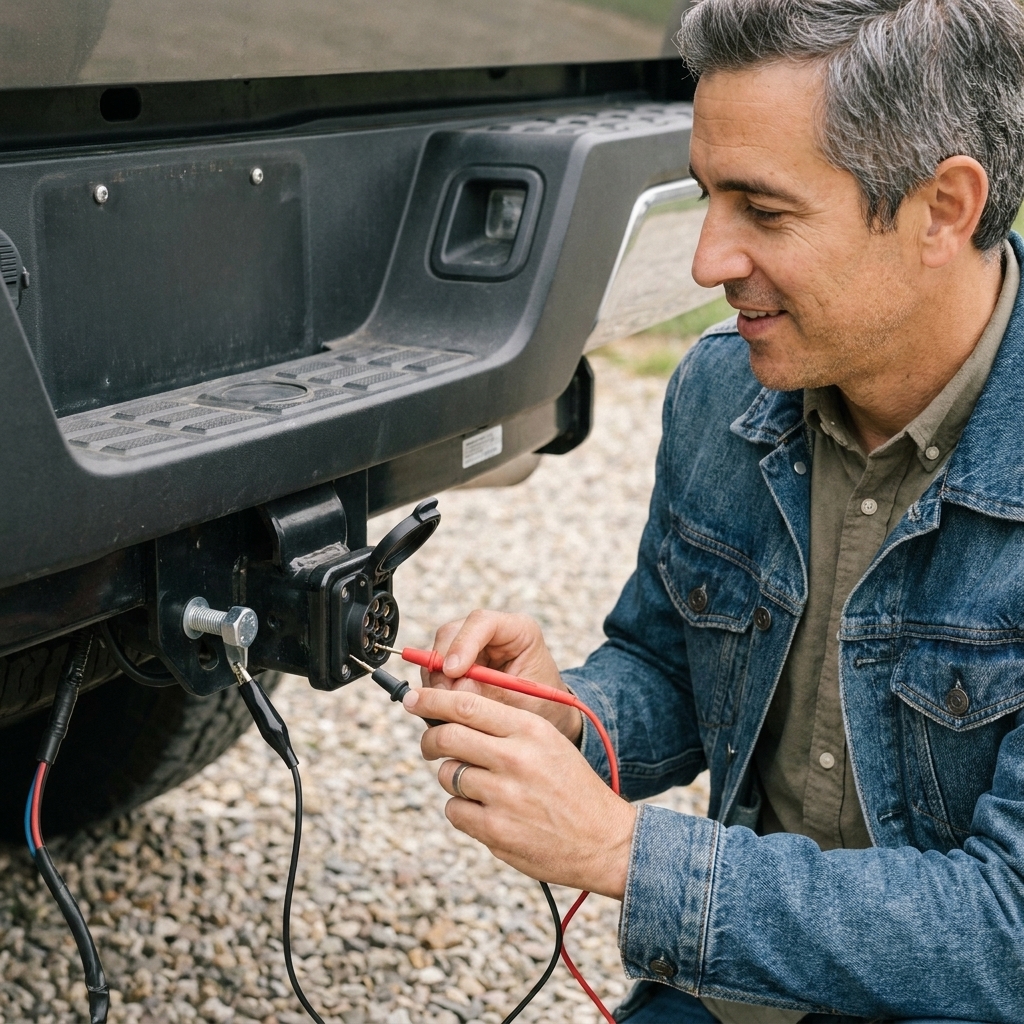
Best method: multimeter
- Set the meter to DC volts.
- Connect the black meter lead to the ground pin (or a known good ground on the truck).
- Probe each pin while turning on the matching truck function.
What you should see
- Running lights on: near 12V on the running light pin (some vehicles modulate lighting, and voltage can vary under load).
- Left turn: pulsing voltage on left pin.
- Right turn: pulsing voltage on right pin.
- Brake pedal: steady voltage on both left and right pins.
- Reverse in gear (foot on brake, wheels chocked): near 12V on reverse pin if wired.
- 12V auxiliary: steady near 12V on the charge pin if enabled and fused. For the most realistic check, test with the engine running.
- Brake output: variable voltage on the brake pin when you use the controller manual lever.
My favorite quick test: With the trailer plugged in, use the brake controller’s manual lever at low gain. You should hear a faint hum at the trailer brakes. No hum usually means no brake power or a bad ground.
Step 9: Full check
Light check
- Running lights: all markers and tails on, evenly bright.
- Left turn: left trailer turn signal flashes cleanly.
- Right turn: right trailer turn signal flashes cleanly.
- Brake: both brake lights bright, no flicker.
- Reverse (if used): trailer reverse lights on.
Brake check
- In a flat parking lot, roll at 5 to 10 mph.
- Use the brake controller manual lever only. The trailer should tug the truck back smoothly.
- Adjust gain so the trailer brakes are strong but not locking up.
If the trailer brakes lock instantly, gain is too high or you have a wiring or controller issue. If they do nothing, suspect the blue wire path, the trailer ground, a blown fuse, or brake magnets and drums needing service.
Troubleshooting
Lights are dim or haunted
- Most likely: bad ground on trailer or truck.
- Fix: clean and tighten the ground connection, add a dedicated ground wire to each light, and inspect for rust or paint under ground lugs.
Running lights work, turns do not
- Most likely: wrong pin-out, crossed wires, or an issue with the truck-side converter on some vehicles.
- Fix: confirm pin functions with a meter at the truck socket, then recheck your terminations.
No trailer brake output
- Most likely: brake controller not seeing trailer connection, a blown fuse in the controller or tow package circuit, broken blue wire, or bad trailer ground.
- Fix: test the truck brake pin with the manual lever. If voltage changes there, the truck and controller are likely fine and the issue is on the trailer side.
Fuses blow when you plug in
- Most likely: short to ground in the trailer harness, pinched wire at the tongue, water in a light housing, or reversed polarity in a junction box.
- Fix: unplug, inspect for crushed sections and bare copper, then isolate circuits at the trailer junction box one at a time until the short disappears.
Charge line does not charge
- Most likely: truck charge circuit is not enabled (missing fuse or relay), or too much voltage drop due to small wire or long run.
- Fix: verify voltage at the charge pin with the engine running, then inspect truck fuse locations and consider heavier gauge wiring or a DC-to-DC charger for consistent charging.
Reliability tips
- Use dielectric grease on the plug blades and inside the socket. It reduces corrosion and makes plugging in smoother.
- Use heat shrink on every external splice. Electrical tape alone turns into gummy confetti.
- Add strain relief where the cable enters the trailer junction box and at the plug housing.
- Secure the cord so it cannot drag on the road or get yanked during tight turns.
- Inspect yearly, especially if you tow in rain, road salt, or boat ramps.
FAQ
Is a 7-pin the same as a 7-way?
In towing talk, yes. Most folks mean the 7-way RV blade connector used on travel trailers, equipment trailers with brakes, and many utility trailers with brakes.
Can I install a 7-pin if my trailer has no brakes?
You can, but it is usually overkill unless you plan to upgrade later. A 4-pin handles basic lights. The 7-way becomes valuable when you add electric brakes, a charge line, or a reverse circuit.
Why does my brake controller say “no trailer” when plugged in?
Most controllers look for an electrical load through the brake circuit. Common causes are a broken blue wire, bad trailer ground, corroded plug blades, or an open circuit at the brake magnets.
Do I need a junction box on the tongue?
You do not need one, but I strongly recommend it. A sealed junction box makes troubleshooting and future repairs easier, and it keeps splices out of the weather.
Final check
Before you pull out of the driveway, do three things: confirm all lights work, confirm the breakaway switch will apply trailer brakes (test per manufacturer instructions), and do a slow roll brake check in a safe area. Remember, the breakaway system typically applies the brakes using the trailer’s own breakaway battery. The truck’s charge line helps recharge that battery, but it is not the primary breakaway power source.
The goal is boring, repeatable towing days. A clean 7-pin install is a big part of that.