If you tow long enough, you will eventually get the classic: running lights work, but no brake lights or turn signals. Or the left blinker makes your right brake light flash like it is haunted. The good news is trailer wiring is usually simple. The bad news is it lives in the worst possible environment: road spray, salt, vibration, and half-finished “repairs” from the last owner.
This guide walks you through a clean, repeatable troubleshooting routine I used managing a fleet of work trucks and now use on my own travel trailer. We will start at the truck, work to the connector, then move down the trailer. No guesswork, no parts cannon.
Safety first
- Chock the trailer wheels and keep the trailer coupled to the truck when testing if possible.
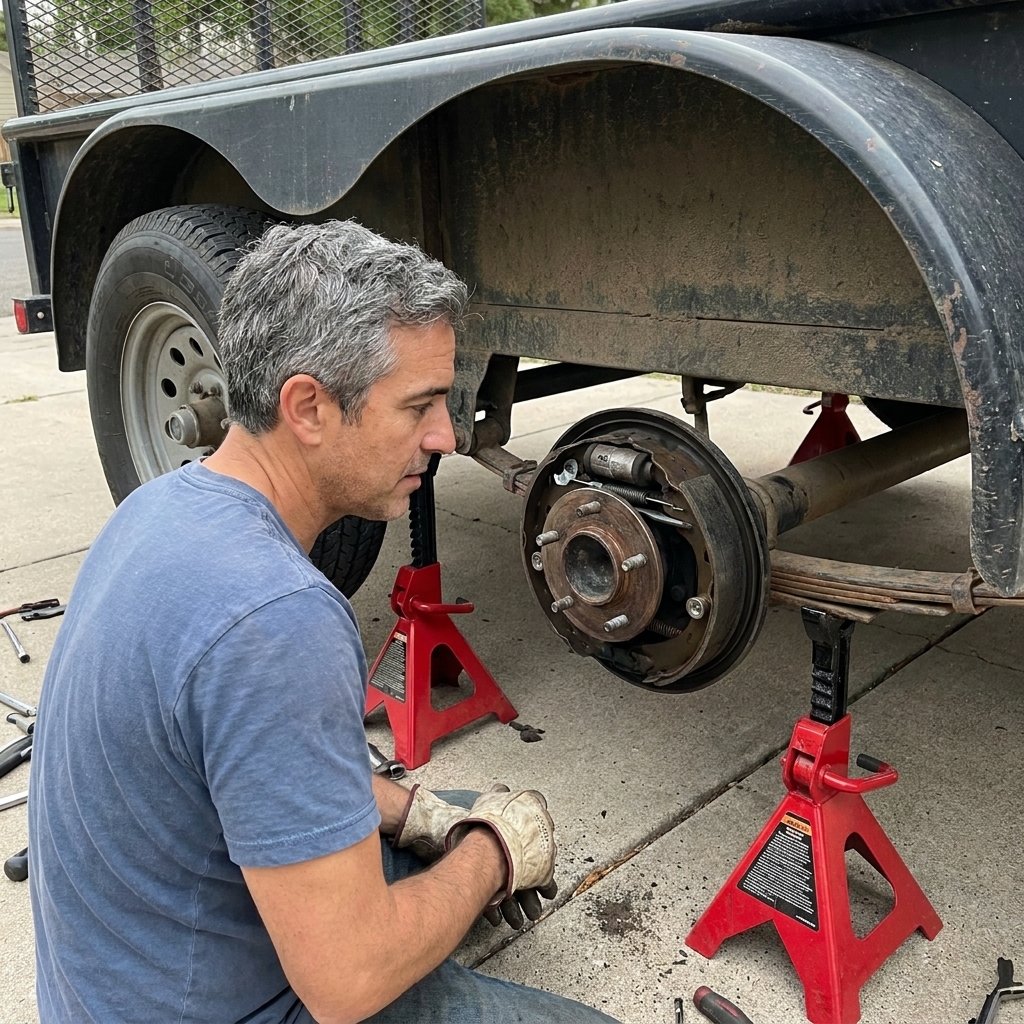
- Do not crawl under a trailer supported only by a tongue jack. Use proper jack stands if you must lift it.
- Turn off the truck when you are unplugging connectors or pulling fuses.
- Use the right fuse rating. If a 10A fuse keeps blowing, installing a 20A is how you melt harnesses.
Tools that help
You can troubleshoot with a test light and patience, but these tools pay for themselves fast.
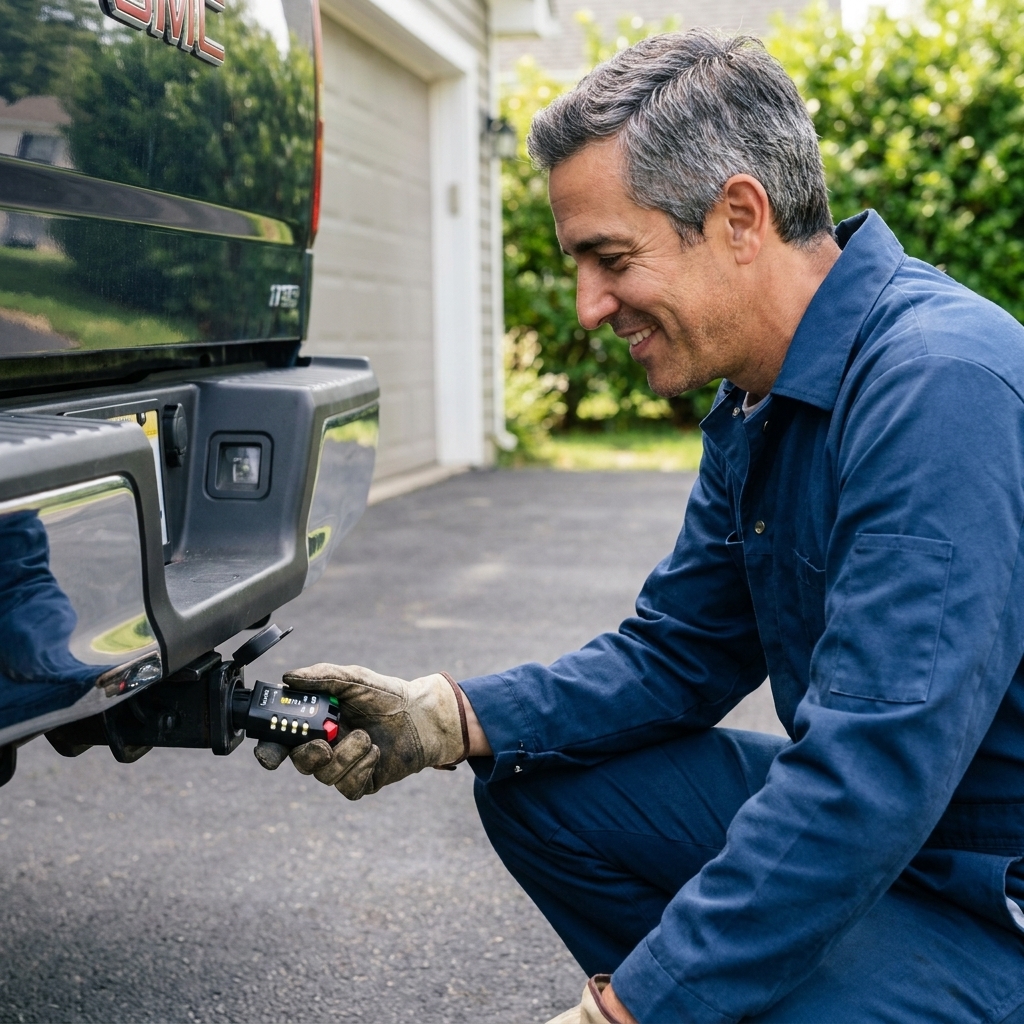
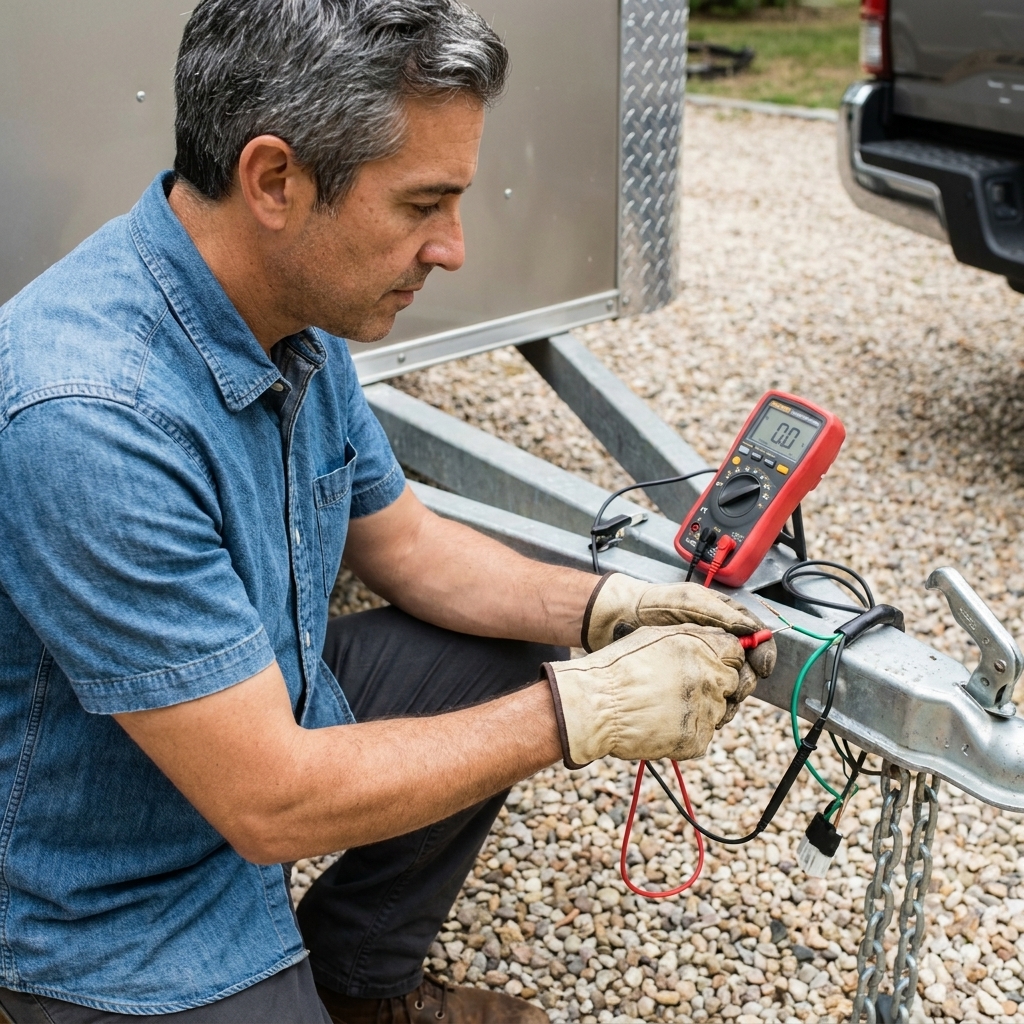
- Plug-in trailer connector tester (4-flat or 7-way): quick check for truck-side output.
- Digital multimeter: for voltage, resistance, and continuity.
- 12V test light: fast yes or no checks under the trailer.
- Small wire brush or Scotch-Brite: cleaning ground points and pins.
- Dielectric grease: keeps moisture out of connectors after cleaning.
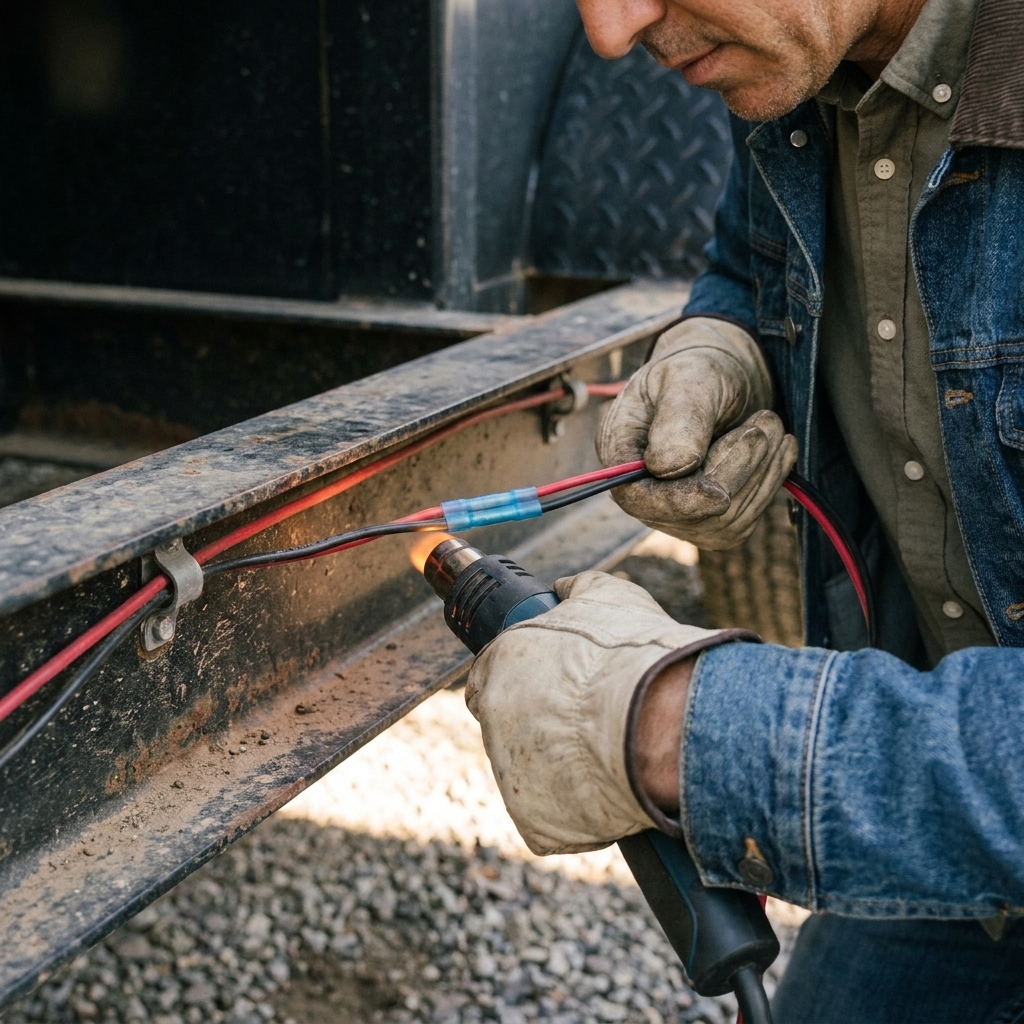
- Heat-shrink butt connectors and a crimper: durable splices that survive weather.
- Spare fuses for your truck and a few trailer-side inline fuses if your trailer uses them.
Wiring basics
Most towing problems come down to three things: power, ground, or a short/cross-connection. Here are the common circuits you will be testing:
- Ground (white on most trailers): the return path back to the truck battery.
- Running/marker lights (usually brown): tail lights and all the little ambers and reds.
- Left turn and left brake (usually yellow): combined on most trailers.
- Right turn and right brake (usually green): combined on most trailers.
- Brake controller output (blue on a 7-way): electric trailer brakes.
- 12V auxiliary charge line (often black or red on a 7-way): charges a breakaway battery or powers accessories.
Wire colors are common, not guaranteed. If your trailer has been “repaired” a few times, trust testing more than colors.
Troubleshooting flow
Step 1: Confirm what is not working
Turn on the truck lights. Then check:
- Running lights and side markers
- Left turn
- Right turn
- Brake lights
- Reverse lights (7-way setups)
- Electric brakes (if equipped)
If you have a helper, great. If not, back up to a wall at night and watch reflections, or use your phone in selfie video mode behind the trailer.
Step 2: Test the truck connector
Before you touch the trailer, make sure the truck is actually sending the right signals. Use a plug-in tester if you have one. If you do not, use a multimeter at the truck socket.
One gotcha: some modern trucks and tow modules do not energize certain outputs unless they sense a load (the trailer plugged in, or a tester that provides load). If your meter readings look dead but the trailer works sometimes, test with the trailer connected or with a proper tester.
- 7-way socket test: put the black meter lead on the ground pin, then probe each circuit pin with the red lead while the function is activated.
- 4-flat test: ground to the white wire, then probe brown (running), yellow (left), green (right).
If the truck-side signals are wrong, you are chasing a truck problem: fuse, relay, bad socket, failed trailer module, or a wiring issue at the bumper.
If the truck-side signals are correct, the problem is on the trailer side: plug, ground, harness, or light assemblies.

7-way pin quick guide
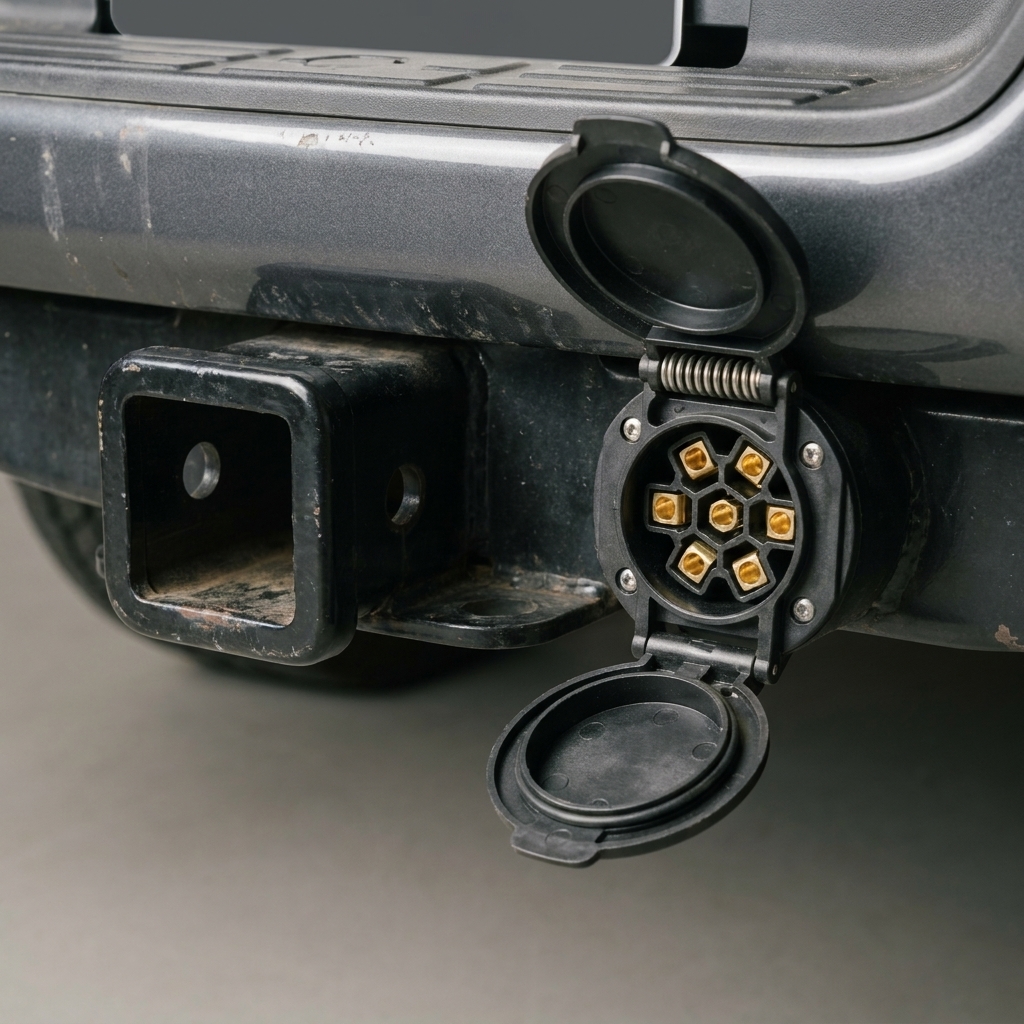
Not everyone knows which pin is which, and there are small variations by socket style and manufacturer. Use a diagram for your exact connector if anything seems off. That said, most RV-style 7-way (blade) sockets follow this general layout looking at the socket on the truck:
- Center: reverse/backup (often purple)
- 1 o'clock: 12V auxiliary power (often black)
- 3 o'clock: right stop/turn (green)
- 5 o'clock: electric brake output (blue)
- 7 o'clock: ground (white)
- 9 o'clock: left stop/turn (yellow)
- 11 o'clock: running/marker lights (brown)
If your wire colors or pin functions do not match, go by testing, not assumptions.
Truck-side problems
Blown tow fuse
Many trucks protect trailer lighting circuits with dedicated fuses. Some also use a trailer lighting module that can shut down a circuit if it sees a short.
- Check the owner’s manual fuse map for “TRAILER,” “TOW,” “STOP LAMP,” and “PARK LAMP” fuses.
- Replace the fuse with the same amperage.
- If it blows immediately, stop and jump to the Short circuits section below.
Dirty or loose truck socket
A 7-way socket lives in road grime. If the spring tension is weak or pins are green with corrosion, you will get intermittent lights.
- Spray electrical contact cleaner (not brake cleaner).
- Lightly brush pins until shiny.
- Apply a thin coat of dielectric grease.
- Confirm the socket is tight to the bumper or bracket.
Adapter issues
Those 7-way to 4-flat adapters and extension pigtails are convenient, but they add failure points.
- Test without the adapter if possible.
- Replace flimsy adapters with a sealed, molded style.
Trailer-side problems
Bad ground
If your lights do weird stuff, like markers flashing when you hit the brakes, that is usually a ground that is weak or missing. Electricity is trying to find a return path through another circuit, and everything gets confused.
Quick ground test: run a jumper cable from the truck frame to the trailer frame. If the lights suddenly behave, your trailer ground needs attention.
Better ground setup: the most reliable trailers run a dedicated ground wire to each light (or at least each cluster) back to a solid main ground point, instead of depending on “frame ground” through rusty bolts.
Fix it:
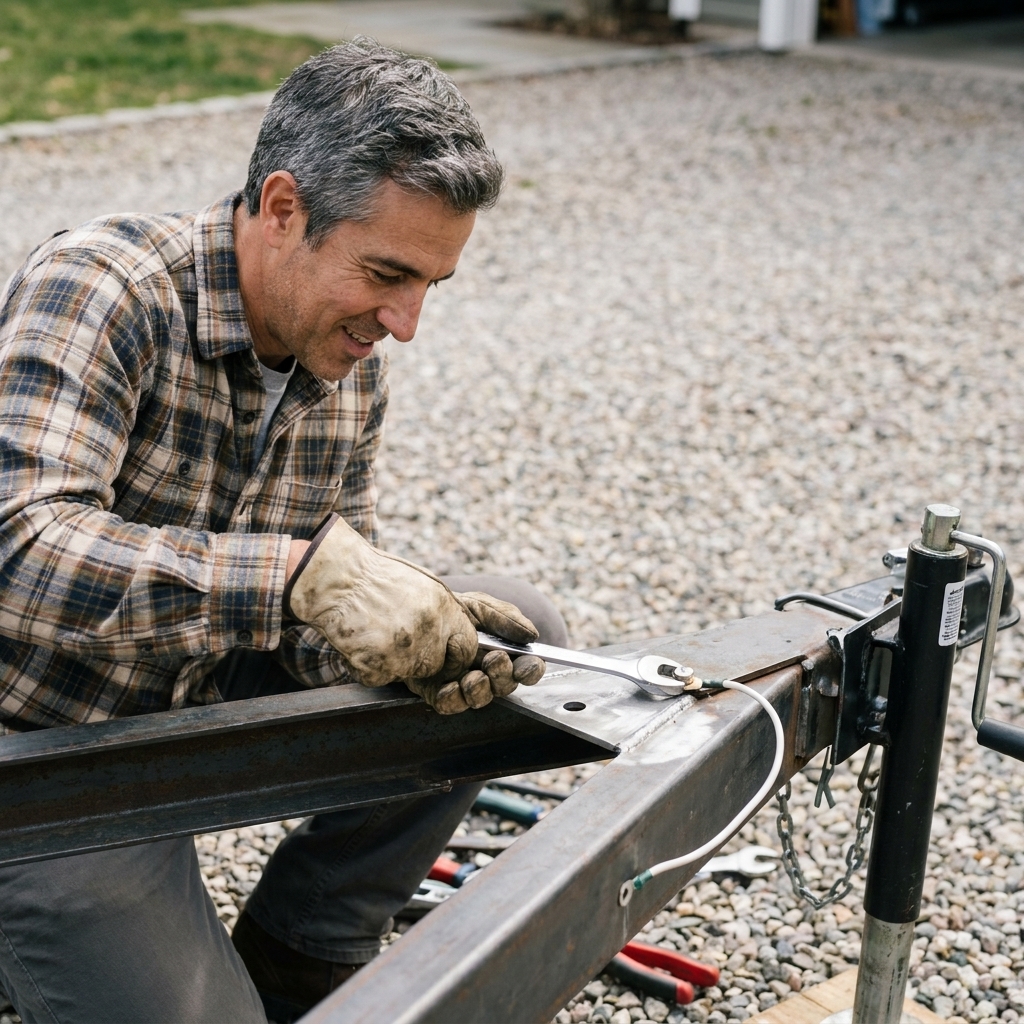
- Find the main trailer ground wire (often white) near the tongue.
- Remove the bolt or self-tapper holding it to the frame.
- Sand or wire-brush the frame down to bare metal.
- Crimp on a new ring terminal if the old one is crusty.
- Reattach with a bolt, star washer, and lock nut if you can (better than a self-tapper).
- Seal it with dielectric grease or a corrosion inhibitor spray.
Voltage drop check (fast and honest): with the trailer plugged in and the running lights on, measure DC voltage between the truck ground and the trailer frame. Ideally you see close to 0.00V. If you are seeing roughly 0.2V to 0.5V or more, you have ground resistance that can cause dim or weird behavior.
Tongue plug and connectors
The trailer plug gets dragged, pinched, and soaked. A little green corrosion can add enough resistance to kill marker lights or make signals intermittent.
- Inspect the plug blades or 7-way pins for pitting and green buildup.
- If the cord jacket is cracked near the plug, replace the plug or the whole cord.
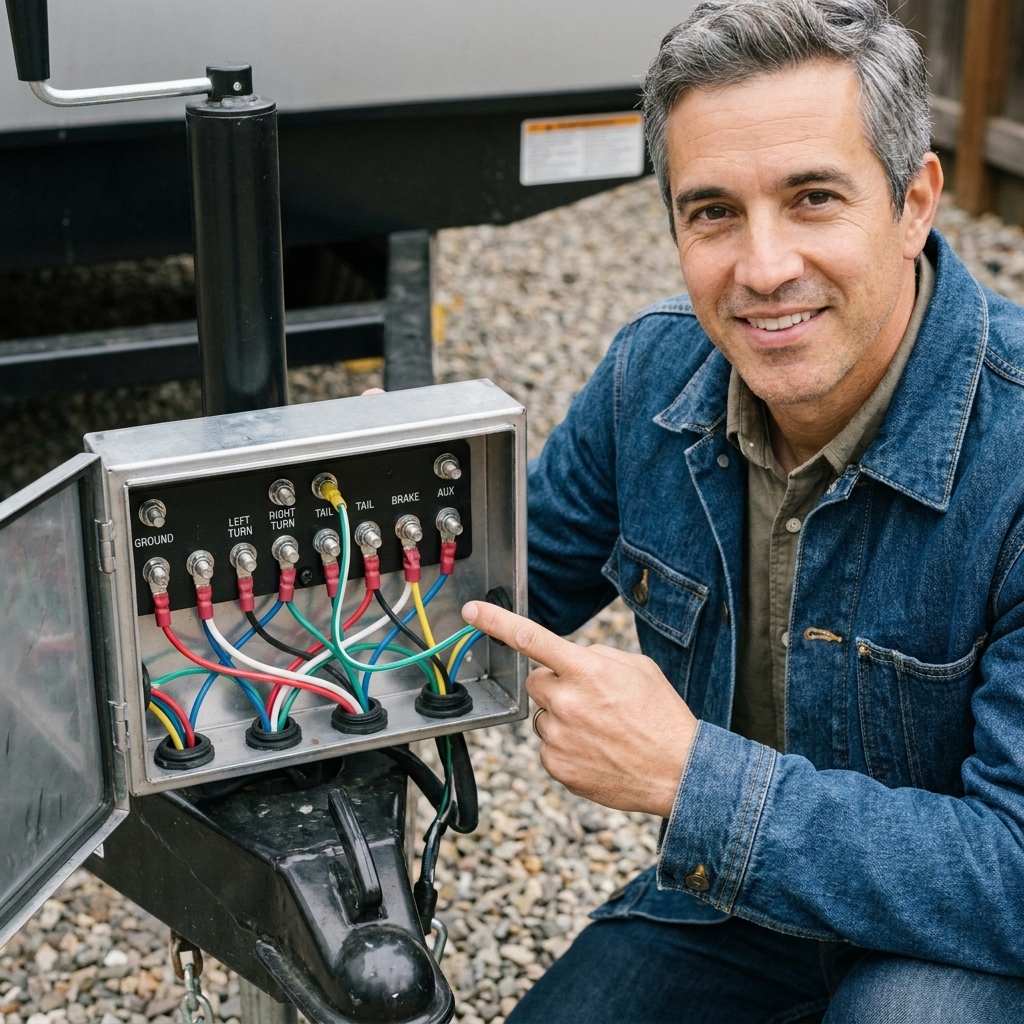
- If your trailer uses a junction box at the tongue, open it and look for loose screws and rusty terminals.
Pro tip: if you are constantly fighting plug issues, upgrade to a molded, sealed harness and add a simple spring cable holder so the plug cannot drag.
Fuses and converters
Some trailers have an inline fuse feeding certain circuits. Also, if your tow vehicle has separate amber turn signals (separate turn and brake circuits) but your trailer uses the common combined stop/turn setup, you may have a converter module in the wiring that can fail.
- Look near the tongue and inside the front storage compartment for inline fuse holders.
- If you see a small converter box zip-tied into the harness and lights are inconsistent, test truck output first, then consider the converter only after the trailer wiring and grounds check out.
Broken wires
Trailers flex. Wires do not like flexing. The most common failure points are near hinges and at axles:
- Right where the main cord enters the trailer frame
- Near the coupler where the cord gets yanked during tight turns
- At the axle where the harness crosses over to the other side
- At ramp door or tilt deck hinge points on utility trailers
How to find it: with the problem circuit turned on, wiggle the harness in sections while watching the affected light. If it flickers, you are close. For a cleaner method, use continuity mode on a multimeter with the trailer unplugged and isolate the run.
How to fix it right: cut back to clean copper on both sides, splice with heat-shrink butt connectors, and secure the harness so it cannot rub on sharp steel. Avoid household wire nuts. They do not belong under a trailer.
Short circuits
If a fuse pops as soon as you turn on running lights or hit the brakes, you likely have a hot wire touching the frame or another wire.
Common short sources:
- Pinched harness under a clamp or zip tie that got too tight
- Wires rubbed through where they pass a hole in the frame without a grommet
- Water inside a light housing that can create a conductive path (more common with corroded incandescent sockets)
- Incorrectly wired replacement light or plug
Isolation method that works:
- Unplug the trailer.
- Inspect the harness visually from tongue to tail. Look for shiny copper, flat spots, or crushed sections.
- Reconnect and test. If the fuse blows, unplug again.
- Disconnect sections: at the tongue junction box, disconnect the running light feed, then test. Repeat circuit by circuit until the fuse stops blowing. The last section you reconnected is where the short lives.
Once you find the chafe point, repair it and add protection: split loom, a rubber grommet, and better routing.
LED light issues
LED trailer lights are bright and durable, but they introduce a couple new failure modes.
- Hyperflash or odd blinking: some vehicles need a trailer module or the correct load sensing. A quality plug-in tester helps confirm the truck output is stable.
- Polarity sensitivity: some LED units are polarity sensitive. If someone wired an LED backwards at a two-wire connection, it may not light.
- Water intrusion: even sealed LEDs can fail if a wire entry point wicks moisture.
If an LED unit is dead and you have confirmed power and ground at its connector, replacement is usually the practical fix. They are not very rebuildable.
Electric trailer brakes
If your issue is not lights but electric brakes, you are still working the same basics: power, ground, and wiring condition.
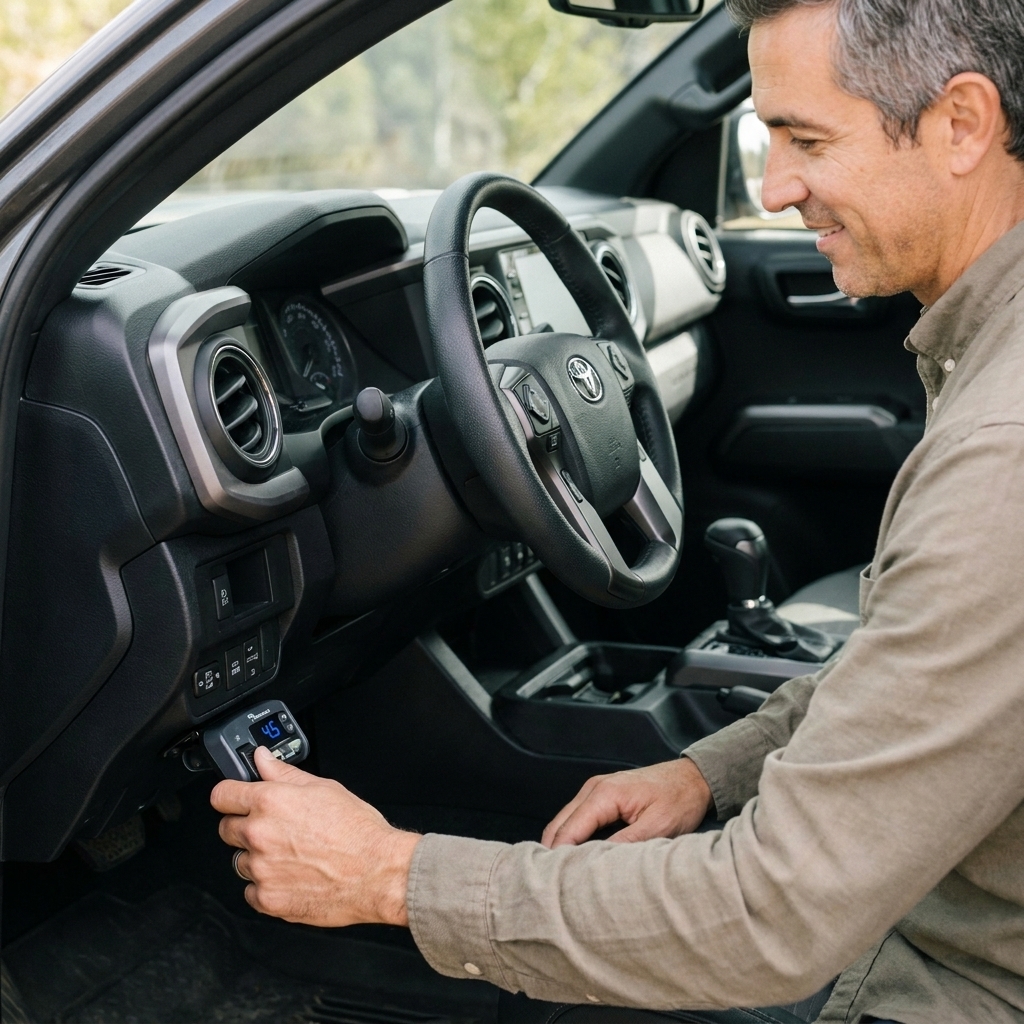
- Confirm the truck brake controller powers up and shows a connected trailer when plugged in.
- Use the manual lever on the controller and check for voltage on the blue wire pin at the 7-way.
- If you have voltage at the truck but no braking, check the trailer brake ground, the breakaway switch, and the brake wiring to each backing plate.
A weak ground at the trailer frame can cause dim lights and weak brakes at the same time, which is a big safety red flag.
Symptoms and likely causes
| Symptom | Most likely cause | Where to start |
|---|---|---|
| No trailer lights at all | No truck output, bad plug connection, or no ground | Test truck socket, then jumper ground to trailer frame |
| Running lights work, no brake/turn | Blown stop/turn fuse, bad yellow/green circuit, corroded plug | Test truck stop/turn pins, then inspect plug and harness |
| Brakes or hazards work, turns do not | Turn signal feed not reaching the trailer (truck module, adapter, connector, or open turn circuit) | Truck-side connector test with turns on, then check adapter and plug |
| Left signal makes both sides flash | Bad ground | Inspect and rebuild trailer ground point |
| Fuse blows when lights turned on | Short to frame on running light circuit | Inspect brown wire run, especially at frame holes and clamps |
| One light out only | Bad bulb/LED module, local ground, or broken lead | Test for power and ground at that light |
Test a light
When one lamp is acting up, do not assume the lamp is bad. Test it.
Two-wire light
- Unplug the light connector or access the wires.
- With the circuit on, test power wire to frame. You should see battery voltage.
- Then test ground wire to frame for continuity (trailer unplugged) or voltage drop (trailer plugged in).
If you have power but the ground is weak, fix the ground. If you have ground but no power, chase the feed wire upstream.
One-wire light
These are common on older utility trailers. If the light is mounted to painted steel, the ground can be terrible.
- Remove the light, clean the mounting surface to bare metal, and reinstall.
- Better fix: run a dedicated ground wire back to the main ground point instead of relying on rusty bolts.
Fixes that last
Best practices
- Use heat-shrink connectors and fully shrink them.
- Support the harness every 12 to 18 inches with clamps, not just zip ties.
- Route wires away from sharp edges, spring hangers, and moving suspension parts.
- Use split loom where rocks and spray hit.
- Grease connectors lightly and re-check them a couple times a year.
Avoid these repairs
- Twist-and-tape splices (water gets in, copper turns green, problems return)
- House wire nuts (they loosen with vibration)
- Oversized fuses (they hide the problem until something melts)
- Letting the plug drag (it only needs to hit the pavement once)
Replace the whole harness
If your trailer wiring is a patchwork of different colors, brittle insulation, and mystery splices, there is a point where replacement is cheaper than your time.
Consider a full harness replacement if:
- You have multiple circuits failing in different places.
- The main trunk line has cracked insulation or widespread corrosion.
- You tow in winter salt or dunk the trailer at boat ramps regularly.
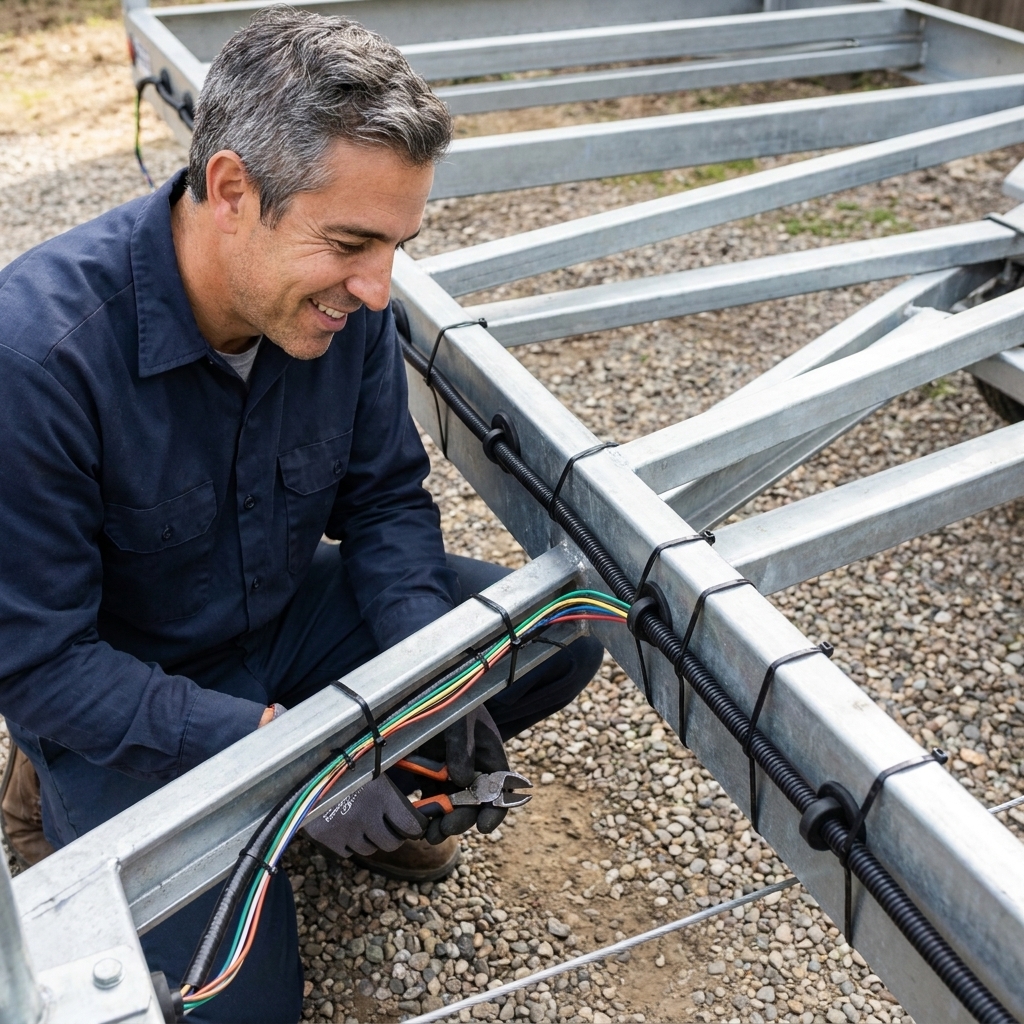
For many utility trailers, a complete 4-flat harness kit with new lights is an afternoon job and gives you a clean baseline.
Pre-trip light check
Before I pull out with my family in the truck and a trailer behind me, I do the same quick check every time:
- Plug in and confirm the connector is fully seated.
- Turn on running lights and walk the trailer once.
- Hit brakes and confirm both brake lights are bright.
- Left and right turns.
- Give the harness at the tongue a quick tug to make sure it is supported and not dangling.
It is a minute of effort that can save you a roadside stop or, worse, a close call.
FAQ
Why do my trailer lights work sometimes, then quit?
Intermittent problems are usually connector corrosion, a loose ground, or a broken wire that makes contact only when the trailer is sitting a certain way. Start by cleaning the plug and rebuilding the main ground point, then do the wiggle test along the harness.
Do I need dielectric grease on trailer plugs?
I recommend a thin coat after you have clean metal-to-metal contact. Dielectric grease helps keep moisture out, but it is not a magic fix for dirty pins. Clean first, grease second.
My truck has a 7-way but my trailer is 4-flat. Does that change troubleshooting?
The circuits you care about are the same: ground, running, left, right. Adapters can fail, so test at the truck socket first, then at the adapter output, then at the trailer plug.
How do I know if it is a bulb or wiring?
Test for power and ground at the light. If both are good and the lamp still does not light, the bulb or LED module is the issue. If either power or ground is missing, it is wiring or grounding upstream.