If you tow with a travel trailer, utility trailer, or equipment hauler, your electric trailer brakes are doing a ton of work you do not always feel until something starts acting up. A little preventive attention goes a long way: better stopping power, less heat, fewer vibrations, and a lot less white-knuckle downhill driving.
Below is the same process I used keeping work trailers safe for a construction fleet: pull the drum, inspect the wear parts, clean it right, adjust the shoes correctly, then verify it with a proper test. Take your time, do one wheel at a time, and you will end up with brakes that grab evenly and smoothly.
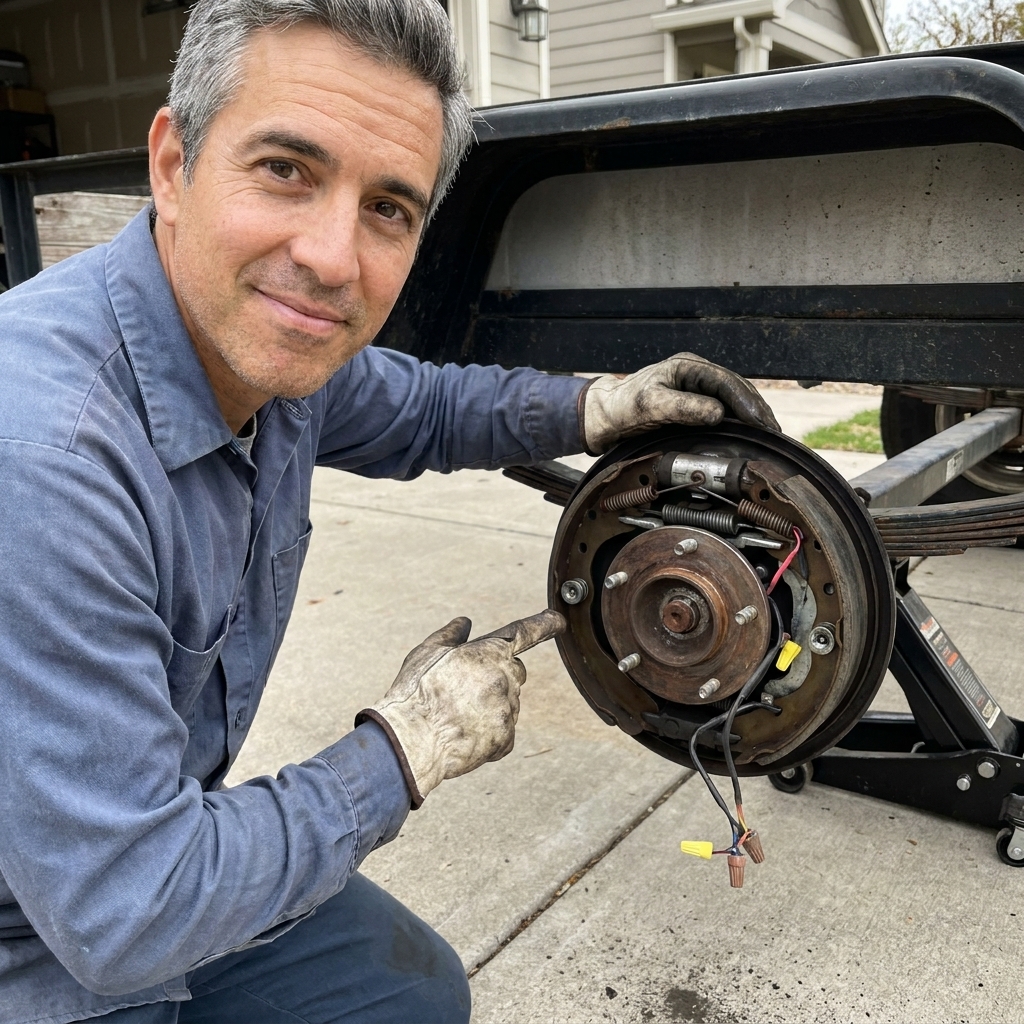
Tools, parts, and supplies
You do not need a full shop to service electric drum brakes, but a few specific tools make this safer and faster.
What to bring to the driveway
- Jack and jack stands rated for the trailer, plus wheel chocks
- Lug wrench or impact with correct socket
- Pliers and a flat screwdriver (or a brake spoon for the star wheel)
- Brake cleaner and shop towels
- Nitrile gloves and eye protection
- Dust mask or respirator (brake dust is not something to breathe)
- Torque wrench for lug nuts
- Multimeter (optional but helpful)
- High-temp wheel bearing grease, new cotter pin, and a seal if you are servicing bearings too
Optional, but smart
- Infrared thermometer to compare hub temps after a test drive
- Replacement hardware kit (springs and retainers) if yours are rusty
- New magnets if wear is heavy or the face is grooved
Safety setup before you touch anything
Trailers bite people when they roll or fall. Set yourself up like you are working under a cranky farm wagon.
- Park on level ground. Concrete is ideal.
- Chock the wheels on both sides of at least one axle that stays on the ground.
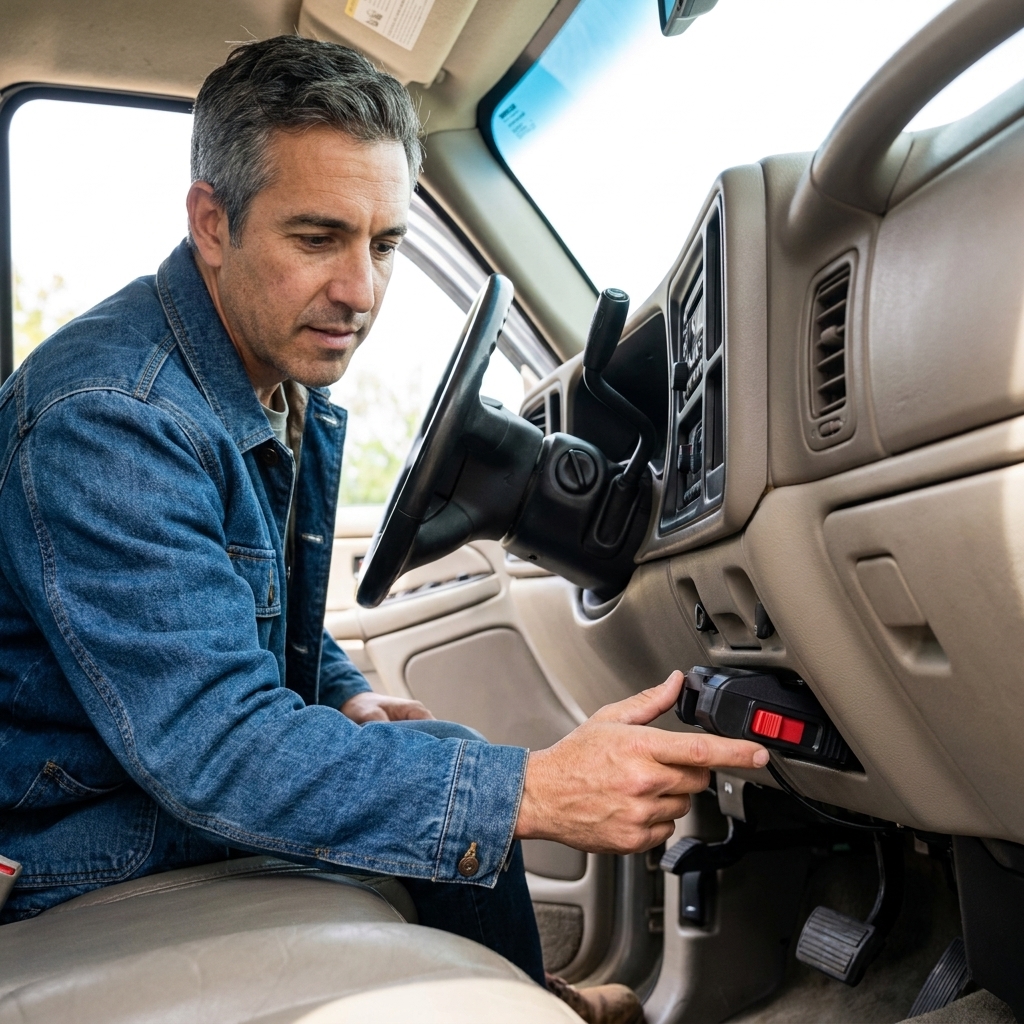
- Disable unintended brake power. Unplug the 7-way connector so the in-cab controller cannot energize the brakes while your hands are inside the drum. Make sure the breakaway pin stays installed during service. Only pull the breakaway pin during a controlled test when everything is reassembled.
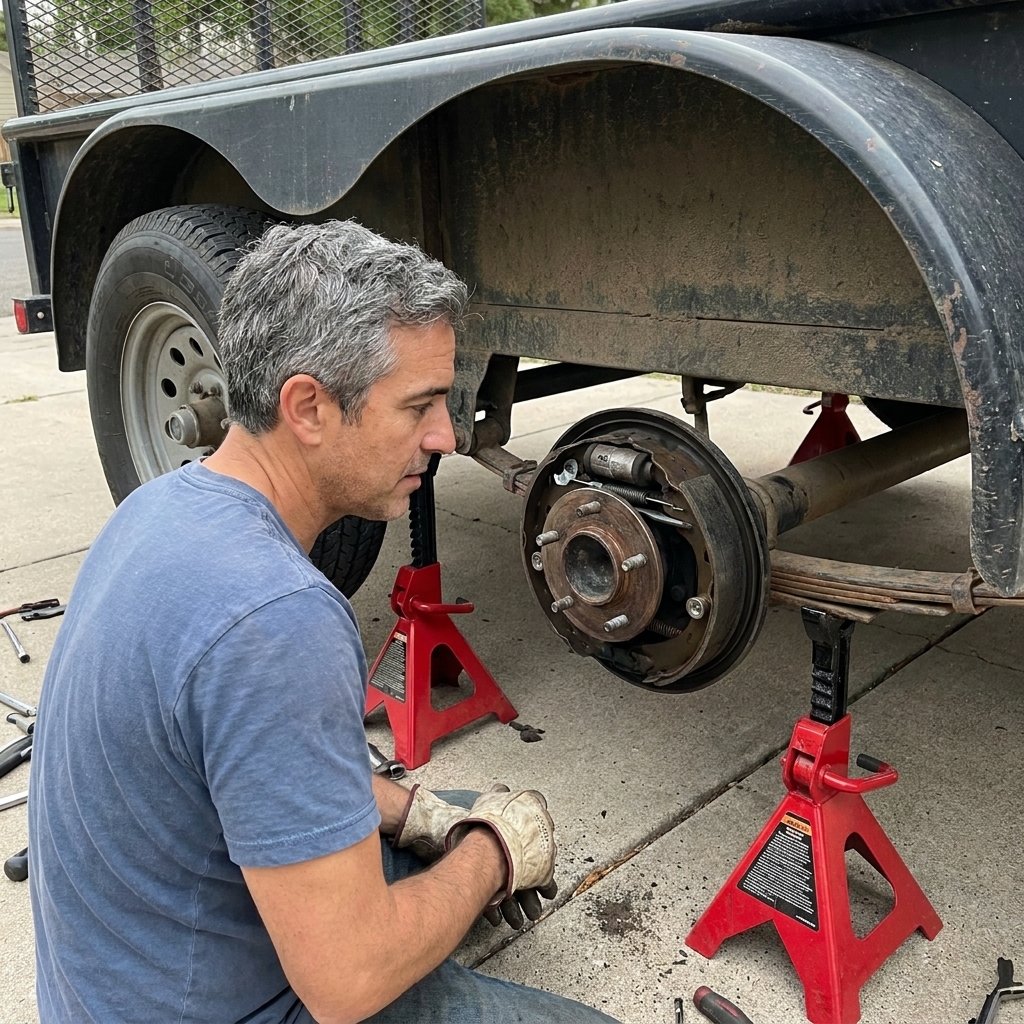
- Lift one wheel at a time and set the frame securely on jack stands. Do not rely on the jack.
- Keep parts organized. I like a clean piece of cardboard and set everything down in order.
Brake dust note: Modern trailer shoes are typically non-asbestos, but you still do not want to inhale brake dust. Do not blow it out with compressed air. Use brake cleaner and let it drip into a catch pan or onto towels you can bag and dispose of.
Brake cleaner note: Use it with good ventilation and keep it away from sparks, cigarettes, heaters, and other ignition sources. Most brake cleaners are flammable and rough on skin, so gloves help.
Step 1: Remove the wheel and brake drum
Wheel off
Loosen lug nuts slightly before lifting, then remove the wheel once the tire is off the ground. If you use the removed wheel as a backup, lay it flat under the trailer frame near your work area, not under the axle you are lifting and not where it interferes with your jack stands.
Drum off (typical grease cap and castle nut setup)
Most electric trailer brake drums also house the wheel bearings. You will remove the drum similar to a bearing service:
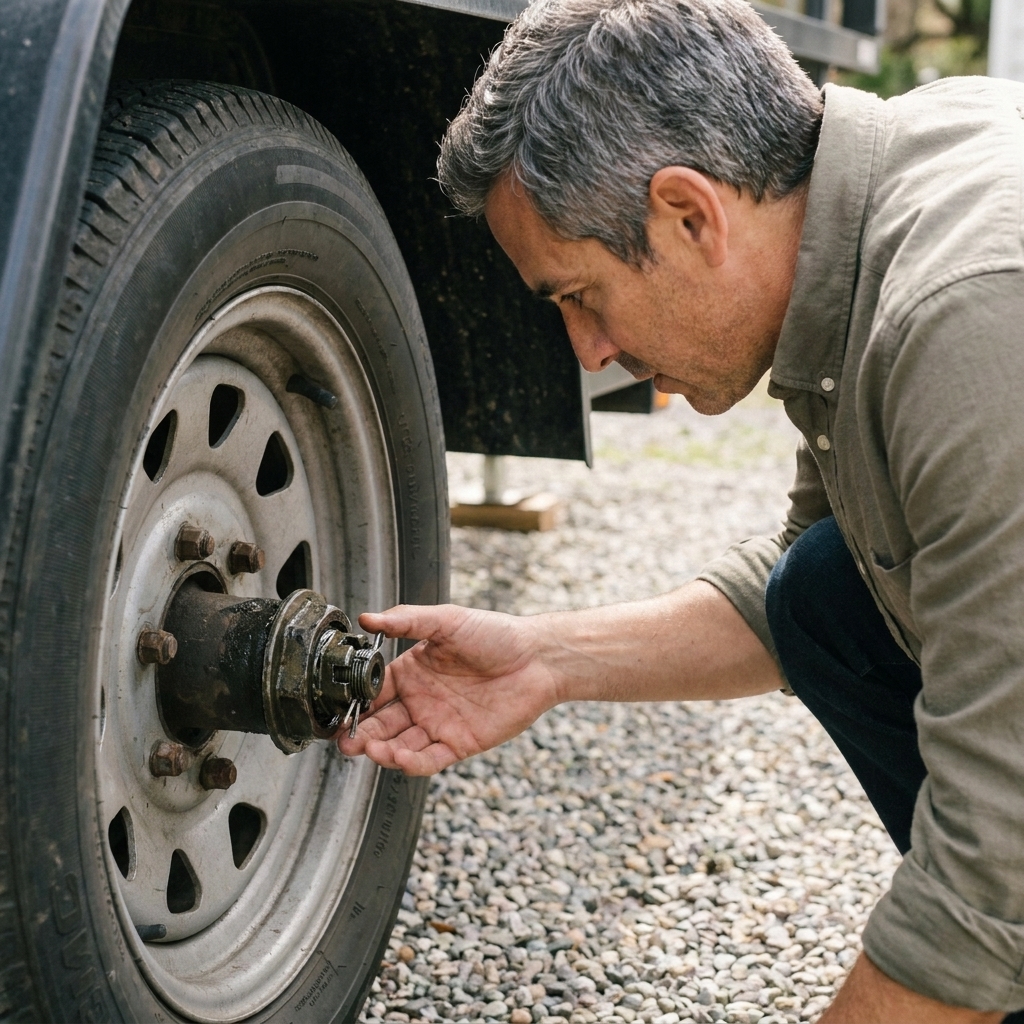
- Pop off the dust cap carefully.
- Remove the cotter pin or retainer.
- Back off and remove the castle nut and washer.
- Pull the drum straight off. The outer bearing may come with it, so be ready to catch it cleanly.
If the drum will not slide off, the shoes are probably adjusted too tight or there is a wear ridge inside the drum.
If the drum is stuck
- Find the adjuster access slot on the backing plate (often behind a rubber plug).
- Use a brake spoon or screwdriver to back off the star wheel. You are trying to retract the shoes.
- Wiggle and pull the drum straight outward. Avoid prying against the backing plate.
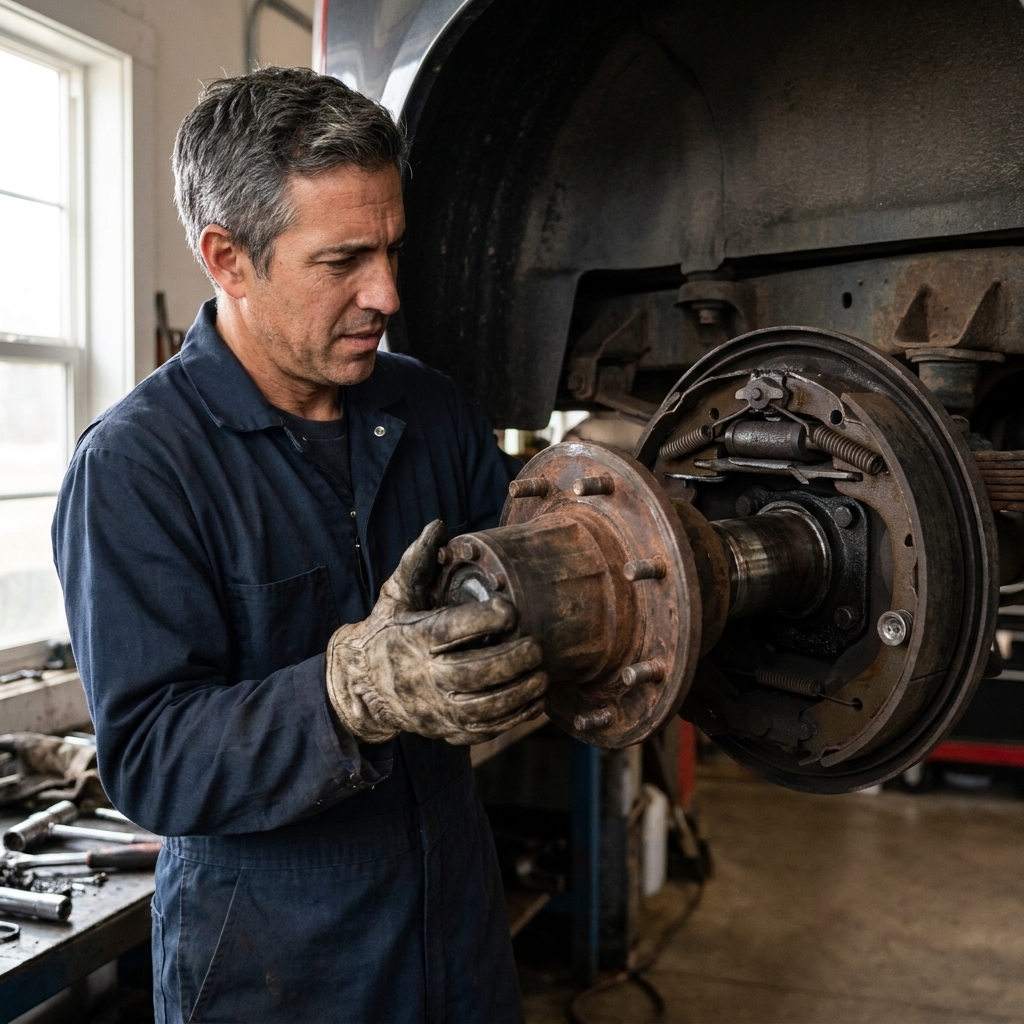
Step 2: Inspect the brake shoes, drum, and hardware
This is where you decide whether you are doing a simple clean and adjust or ordering parts.
Brake shoe lining thickness and condition
- Thickness: If the friction lining is thin, uneven, or near the rivets, replace the shoes.
- Contamination: If the shoes are wet with grease or gear oil, do not try to clean and reuse them. Fix the leak and replace shoes.
- Cracks or chunks missing: Replace.
Return springs and hold-down hardware
- Look for rusted, stretched, or broken springs.
- Make sure the shoe hold-down pins are secure and not cutting into the shoe web.
- Any hardware that looks heat-damaged should be replaced.
Drum surface
- Grooves: Light grooves are common. Deep grooves can reduce braking and chew up new shoes.
- Heat spots: Blue or black patches can mean overheating.
- Cracks: Any crack is a hard stop. Replace the drum.
If you have access to drum measurement specs for your axle or brake kit, check inside diameter. An oversized drum can reduce brake effectiveness even if everything looks fine.
Step 3: Inspect the brake magnet and wiring
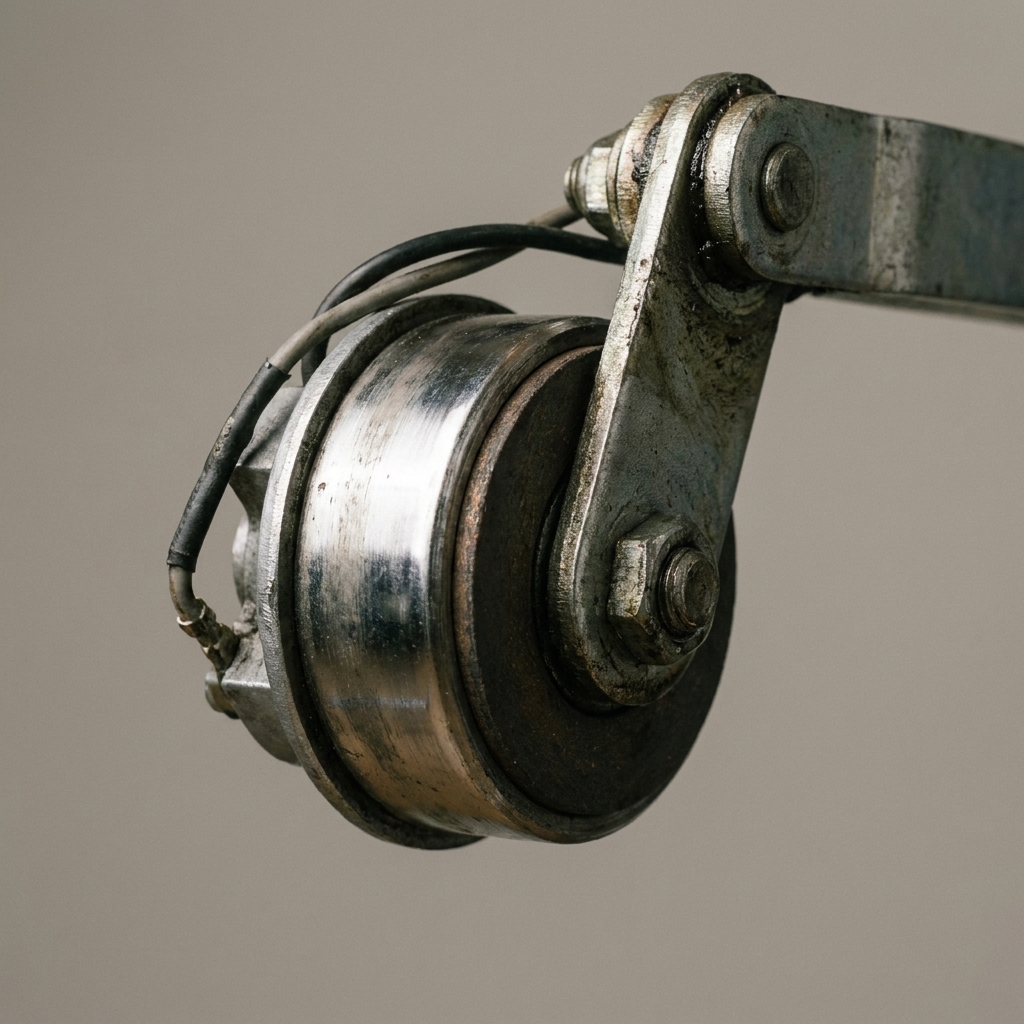
The magnet is the heart of an electric drum brake. When energized, it grabs the drum face and pulls the actuating arm, which spreads the shoes.
Magnet face wear
- The magnet face should be smooth and flat.
- If you see deep grooves, a sharp edge, or uneven wear, replace the magnet.
- Look for cracking or chunks missing in the magnet material.
Magnet movement
The magnet should pivot freely on its arm. If it is binding, inspect for rust, bent parts, or damaged hardware.
Wiring and connections
- Inspect the two magnet wires for chafing, pinched insulation, or brittle sections.
- Check the butt connectors or heat-shrink splices. Corrosion here causes weak brakes that come and go.
- Confirm the ground path. I prefer a dedicated ground wire back to the trailer plug rather than relying on the frame alone.
Optional electrical quick check
If you have a multimeter, you can learn a lot in five minutes:
- Magnet resistance: Compare each magnet to the others on the trailer. They should be in the same ballpark. If one is way higher (open circuit) or way lower (short), that wheel is not going to behave.
- Voltage under activation: With the trailer plugged in and wheels on the ground, have a helper hold the manual lever on the controller and check for voltage at the brake feed to each backing plate. A big drop at one wheel often points to a bad splice or ground.
Exact resistance and current specs vary by brake size and manufacturer, so if you can find your axle or brake kit documentation, follow that.
Step 4: Clean everything safely
Cleaning is not about making it pretty. It is about removing dust, rust flakes, and contamination so the shoes can move freely and the magnet can do its job.
How to clean without making a dust cloud
- Place a catch pan or cardboard under the brake assembly.
- Spray brake cleaner generously from top to bottom and let it run off.
- Wipe with shop towels. Repeat until runoff is fairly clean.
What not to do
- Do not use compressed air to blow out brake dust.
- Do not get grease on the shoes or magnet face.
- Do not sand the shoes. If they are glazed or contaminated, replacement is the safe fix.
Light lubrication points (use very sparingly)
On many backing plates there are small raised pads where the shoes rub. A tiny smear of high-temp brake lubricant on those pads can reduce squeaks and help smooth movement.
Keep lubricant off: shoe friction material, magnet face, and drum braking surface.
Step 5: Adjust the star wheel the right way
This is the step that makes the difference between brakes that sort of work and brakes that stop straight and confident.
Manual adjustment method (my go-to)
If you have a manufacturer procedure for your brakes, use it. This is the common field method for typical electric drum brake assemblies.
- Reinstall the drum on the spindle (bearings seated properly).
- Snug the castle nut enough to eliminate wobble so the drum spins true while you adjust. You can finalize bearing preload later if you are servicing bearings.
- Through the backing plate slot, turn the star wheel to expand the shoes until you feel clear drag when you spin the drum by hand.
- Back the star wheel off gradually until you get a light, even scrape. You should hear it and feel it, but the drum should still rotate by hand without forcing it.
Do the same adjustment on every wheel. Consistency matters more than chasing a perfect feel on one corner.
Which way do I turn the star wheel?
It depends on the brake brand and which side of the trailer you are on. If you turn it and the drag gets stronger, you are tightening. If drag fades away, you are loosening. Make small moves and re-check.
Rule of thumb: Too loose feels like the trailer is pushing the truck on stops. Too tight runs hot and can cook grease out of bearings. You want that light, steady contact.
Step 6: Button it up correctly
Final bearing and nut setup
If you pulled bearings, clean and repack them or replace as needed. Install a new grease seal if the old one is questionable. When setting the castle nut, follow the axle manufacturer guidance. In general, you tighten while spinning the drum to seat bearings, then back off and re-snug to the point where there is no play but the drum spins freely. Install a new cotter pin.
Do not crank down on the spindle nut like it is a suspension bolt. Overtight bearings run hot and fail. After your first short tow, recheck for play and abnormal heat at the hub.
Torque the wheel
Reinstall the wheel and hand-tighten lug nuts in a star pattern. Lower the trailer enough for the tire to touch and torque to spec using the same star pattern. If you do not know your wheel torque spec, look it up by wheel size and stud size, or check with the trailer manufacturer. Guessing is how studs get stretched.
Step 7: Test and fine-tune your trailer brakes
Adjustment in the driveway is only half the job. Now you confirm the brake controller is set up to match the trailer.
Quick function check
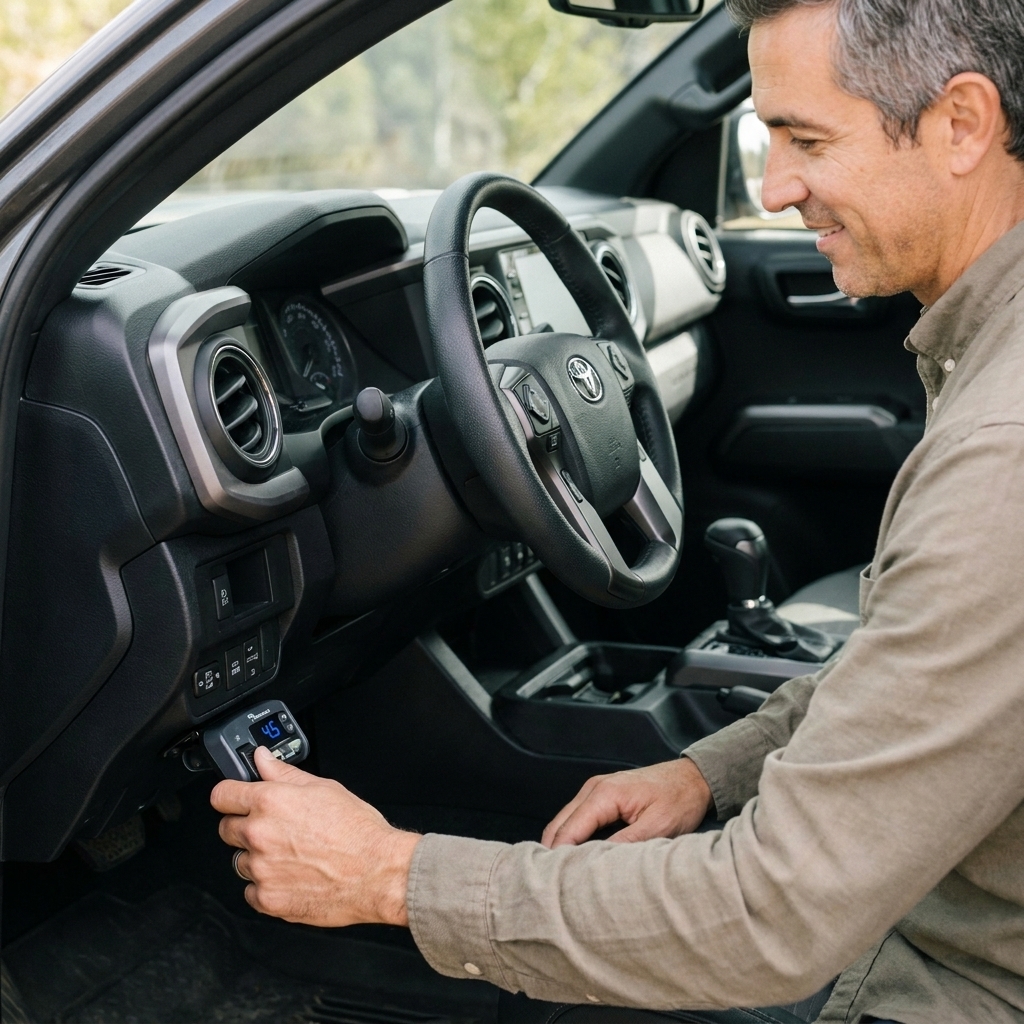
- Plug the trailer into the truck.
- With the trailer wheels on the ground and chocked, use the manual lever on the brake controller. You should hear a faint hum at the hubs and feel the trailer resist movement if you try to pull forward gently.
Low-speed road test
- In an empty lot, roll at 10 to 20 mph.
- Apply the manual lever to slow the rig. The trailer should slow you smoothly without jerking.
- Make a few stops increasing speed slightly, then use the truck brake pedal normally. You want the trailer to help, not shove.
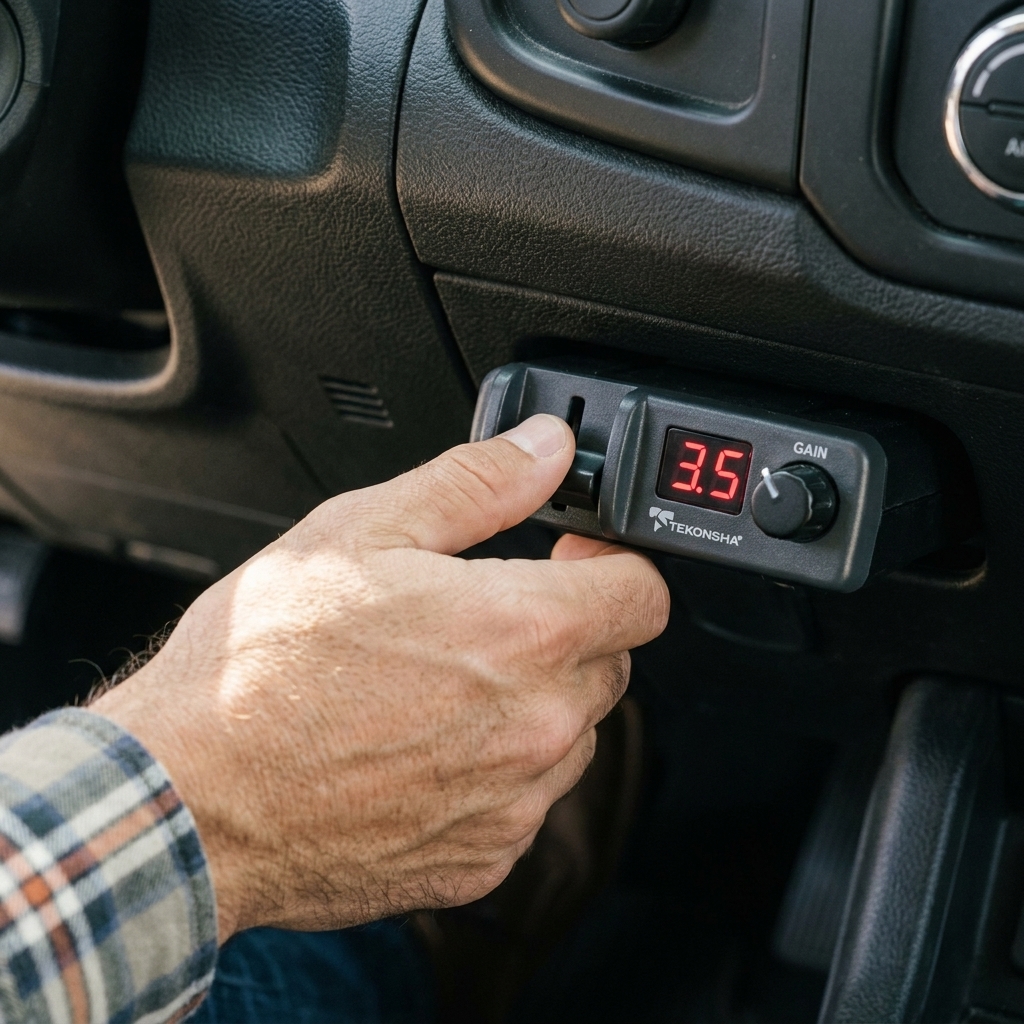
Controller gain and boost
Every controller is a little different, but the goal is the same: strong trailer braking without wheel lockup. A solid starting point is to adjust gain during a 20 to 25 mph stop on dry pavement so the trailer brakes feel like they are doing real work, then back off if you get any hint of skid or chatter. If your controller has boost levels, add boost if the trailer feels lazy at the start of a stop.
Avoid tuning for near-lockup on gravel, wet pavement, or sandy shoulders. It is easy to dial in a setting that feels aggressive and then find out it is too much when traction drops.
Heat check after a short tow
After a 5 to 10 mile tow with a few normal stops, safely pull over and check hub temperatures with an infrared thermometer.
- Even temps left to right on the same axle is what you want.
- One hub much hotter than the others usually means over-adjusted shoes, a dragging magnet, or a bearing issue.
- One hub much cooler can indicate weak electrical feed or under-adjusted shoes.
Breakaway system check
Your breakaway system is there for the worst day, so it is worth a quick verification while you are already in brake mode.
- Inspect the switch and cable: The pin should seat fully, and the cable should be routed so it can pull straight out if the trailer separates.
- Check the battery: Make sure the breakaway battery is present, secured, and not swollen or leaking. Confirm it charges from the trailer wiring or onboard charger if equipped.
- Controlled activation test: With the trailer safely chocked and the wheels on the ground, pull the breakaway pin briefly and confirm the brakes energize. Reinstall the pin immediately. Do not tow or drive with the pin pulled.
Troubleshooting common electric brake problems
Trailer brakes feel weak even after adjustment
- Controller gain too low
- Poor ground or corroded connectors
- Undersized wiring on the trailer brake circuit
- Worn magnets or glazed shoes
- Drums worn oversized
Brakes grab, chatter, or feel jerky
- Shoes adjusted too tight
- Contaminated shoes or drum surface
- Out-of-round drum
- Mechanical binding in the brake hardware
- Loose suspension parts causing hop
One wheel locks up
- That wheel adjusted tighter than the others
- Shorted magnet wire or damaged insulation
- Binding shoe hardware or a magnet arm that does not move freely
Brakes work sometimes, then quit
- Loose ground at the tongue or junction box
- Breakaway switch wiring issues
- Corroded 7-way plug pins
When to call a pro
I am all for driveway work, but a few findings are a good reason to stop and get experienced eyes on it:
- Cracked drum or heavy heat checking
- Deeply grooved magnet faces across multiple wheels (often means matching parts are due)
- Burnt grease smell that comes back quickly after service
- Damaged spindle threads, missing hardware, or a spindle nut that will not hold adjustment
- Unknown bearing condition on a trailer you just bought and plan to tow far
How often should you service electric trailer brakes?
Service intervals depend on miles, weight, terrain, and how much water and road salt the trailer sees. In fleet use, we checked more often because the loads were heavy and the miles stacked up fast. For typical owners, a practical schedule looks like this:
- Every few trips: quick controller function check and a walk-around for hot hub smell, odd noises, or damaged wiring
- Every 3,000 to 6,000 miles of heavy towing or frequent mountain use: adjustment check and a closer look
- At least once a year: pull at least one drum per axle to inspect shoes, magnets, and hardware
- Anytime you notice a change: squeal, pull, hot hub smell, weak braking, or abnormal controller behavior
If you tow heavy in mountains, launch boats, or your trailer sits outside year-round, bump those checks up. Rust and corrosion love brake hardware.
FAQ
Do electric trailer brakes self-adjust?
Some are self-adjusting, many are not. Even self-adjusting units still need periodic inspection, cleaning, and verification that the adjuster mechanism is working.
Can I just crank up the brake controller instead of adjusting the brakes?
You can hide a loose adjustment with more gain for a while, but it is not the right fix. Poor adjustment reduces braking torque and can make braking uneven side to side.
Should the drum spin freely after adjustment?
It should spin by hand without forcing it, but you should usually hear a light, consistent scrape. Totally free-spinning often means the shoes are too far from the drum.
What if I find grease inside the drum?
That is usually a failed grease seal or over-greased hub. Replace the seal, clean the drum thoroughly, and replace the shoes. Grease-soaked shoes are not trustworthy.
One last neighbor-to-neighbor tip
If you are only going to do one thing this weekend, do this: adjust all the brakes evenly, then do a careful low-speed test with the manual lever. Most bad trailer braking I see on the highway comes down to brakes that are out of adjustment, wired poorly, or both.
Take care of your trailer brakes, and they will take care of you when traffic stops short or the grade gets steep.