Buying a used utility trailer can be one of the best deals in towing, or it can turn into a slow-motion wallet leak that shows up as shredded tires, dead lights, and a tongue that never quite tows straight. I have seen plenty of “great deal” trailers that were really just a pile of problems wearing a fresh coat of paint.
The good news is you can catch most of the expensive stuff with a careful walk-around and a few quick tests. Below is the same checklist I use when I help friends shop for a second-hand trailer. It is judgment-free, beginner-friendly, and focused on the failures that actually strand people on the shoulder.
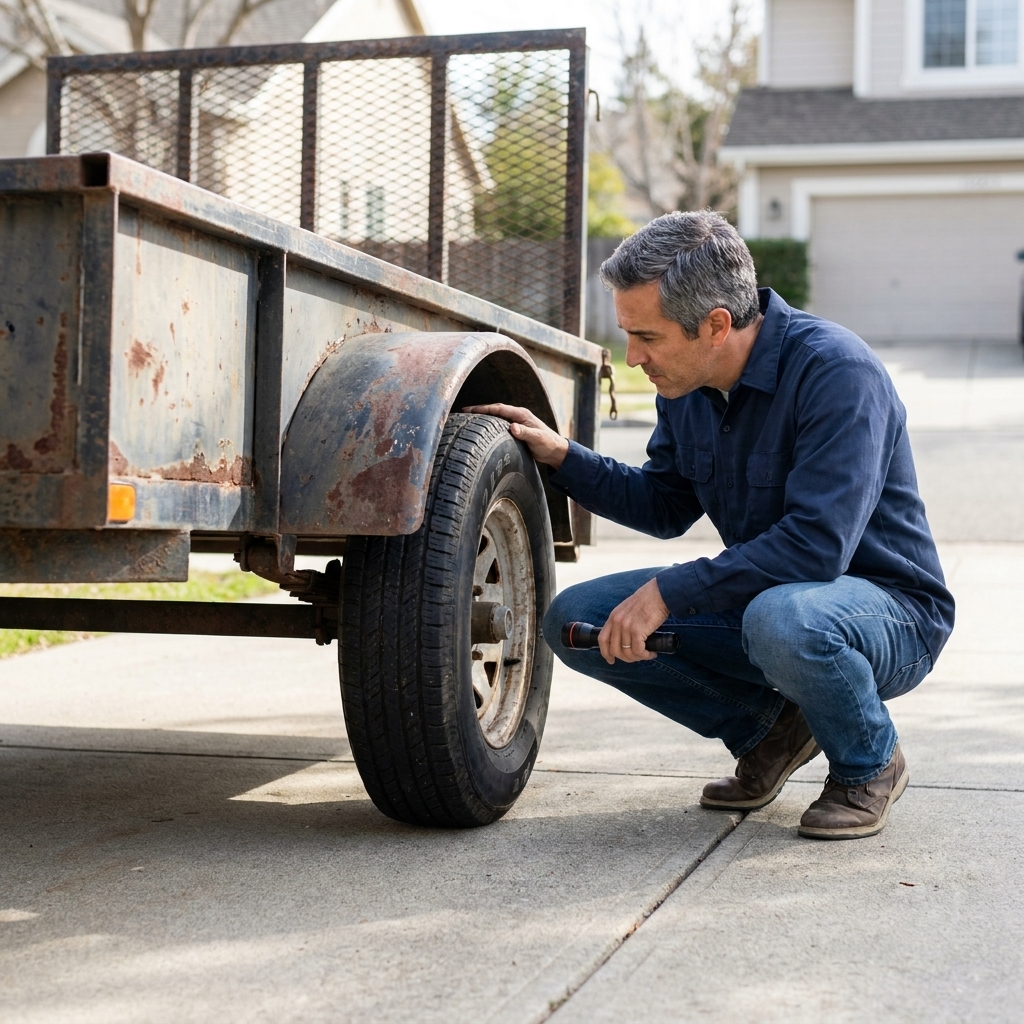
Bring this: the quick kit
You do not need a full tool chest. Just bring a few basics so you can verify, not guess.
- Gloves and shop rags (grease and rust are part of the game)
- Flashlight (phone light works, but a real one is better)
- Small magnet (helps spot body filler on steel fenders and repairs)
- Tire pressure gauge
- 12V test light or multimeter (optional, but handy)
- Flathead screwdriver (for gently poking questionable wood and checking play)
- Floor jack (only if the seller is okay with it)
- Wheel chocks and a jack stand if you plan to lift a wheel
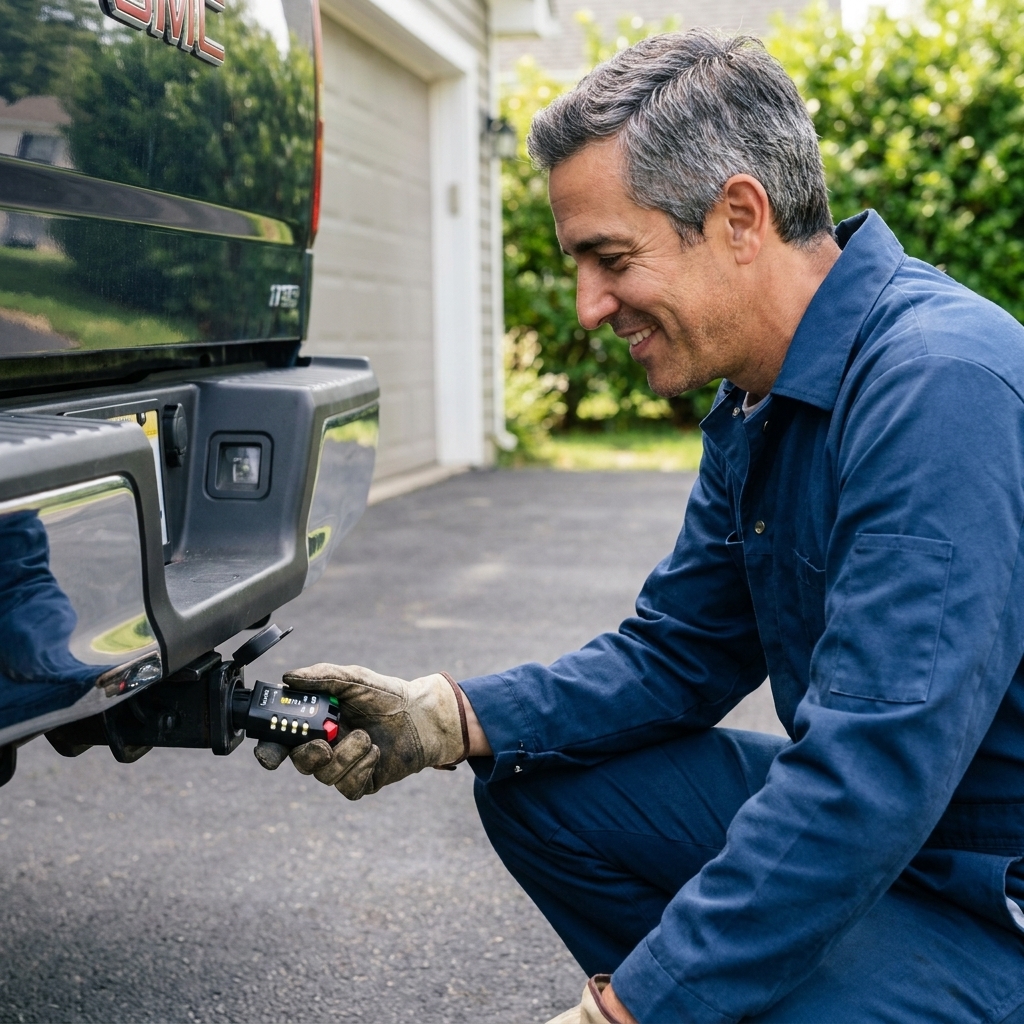
- Your tow vehicle or a 4-pin/7-pin trailer tester for lights
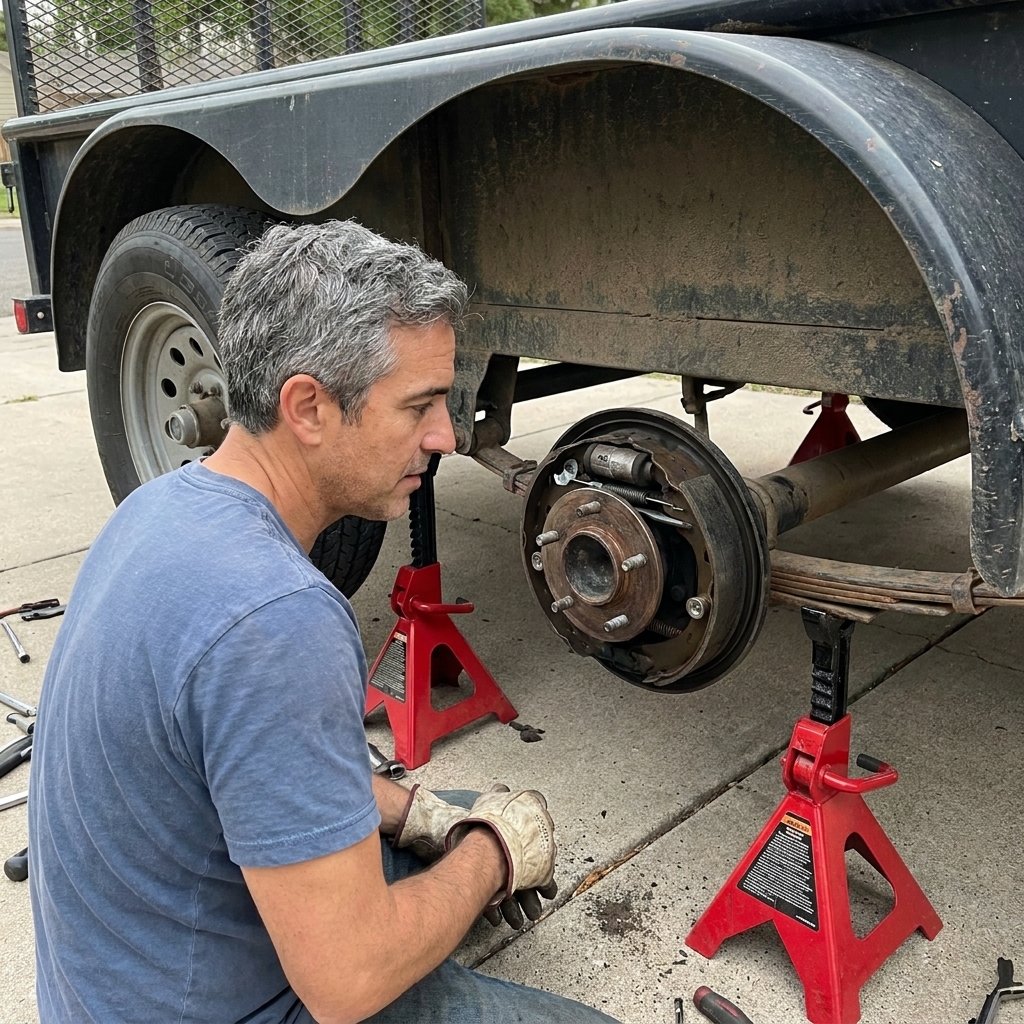
Quick safety note before you jack anything: Park on level ground, chock the opposite wheel, lift at a solid frame point, and use a jack stand. Do not crawl under a trailer that is only supported by a jack.
If the seller will not allow basic checks like lights, coupler fit, or a short pull around the block, treat that like a big warning flag.
Start with paperwork and identity
A clean trailer can still be a bad purchase if the paperwork is a mess. Sort this first so you do not waste time.
Title, registration, and VIN
- Find the VIN plate (often on the tongue or front frame rail) and make sure it matches the title or registration.
- Look for tampering: mismatched rivets, fresh scratches around the plate, or a plate that looks newly installed on an old trailer.
- Ask how it was used: landscaping, side-by-side hauling, construction debris, saltwater boat launches, farm use. Usage predicts wear.
- Confirm the GVWR on the data plate. That rating dictates what the trailer is legally and safely built to carry.
Paperwork rules vary a lot by state. Some states do not title smaller trailers, while others do. Before you hand over money, check your state DMV requirements and confirm what proof of ownership you will need to register it in your name.
Bill of sale details
If you buy, make sure the bill of sale includes the VIN (or the serial number on the plate if that is what your state uses), purchase price, date, both parties’ names, and the trailer description (make, model if available, and GVWR). Clean paperwork prevents headaches later.
Frame and tongue
The frame is the foundation. If it is bent, cracked, or rotted out by rust, everything else becomes a band-aid.
Rust: surface vs. structural
- Surface rust is common and usually manageable.
- Structural rust is the deal-breaker: flaking layers, deep pitting, swollen seams, and soft spots you can dent with a screwdriver.
- Pay special attention to the underside of crossmembers, the rear corners, spring hangers, and anywhere road spray hits.
A trailer can look pretty up top and be paper-thin underneath. Get low and use that flashlight.
Cracks, bad welds, and repairs
- Look for fresh paint that does not match the rest of the trailer. It can be fine, but it often hides repairs.
- Inspect welds around the tongue, coupler mount, spring hangers, and ramp hinges.
- Watch for cracks radiating from corners or welded joints. Cracks tend to grow.
Tongue straightness
Stand behind the trailer and sight down the tongue toward the coupler. It should be straight and centered. A tongue that is kinked or offset can mean a past wreck, jackknife, or overload. That is not just cosmetic. It changes towing stability and can make the trailer “hunt” behind the truck.
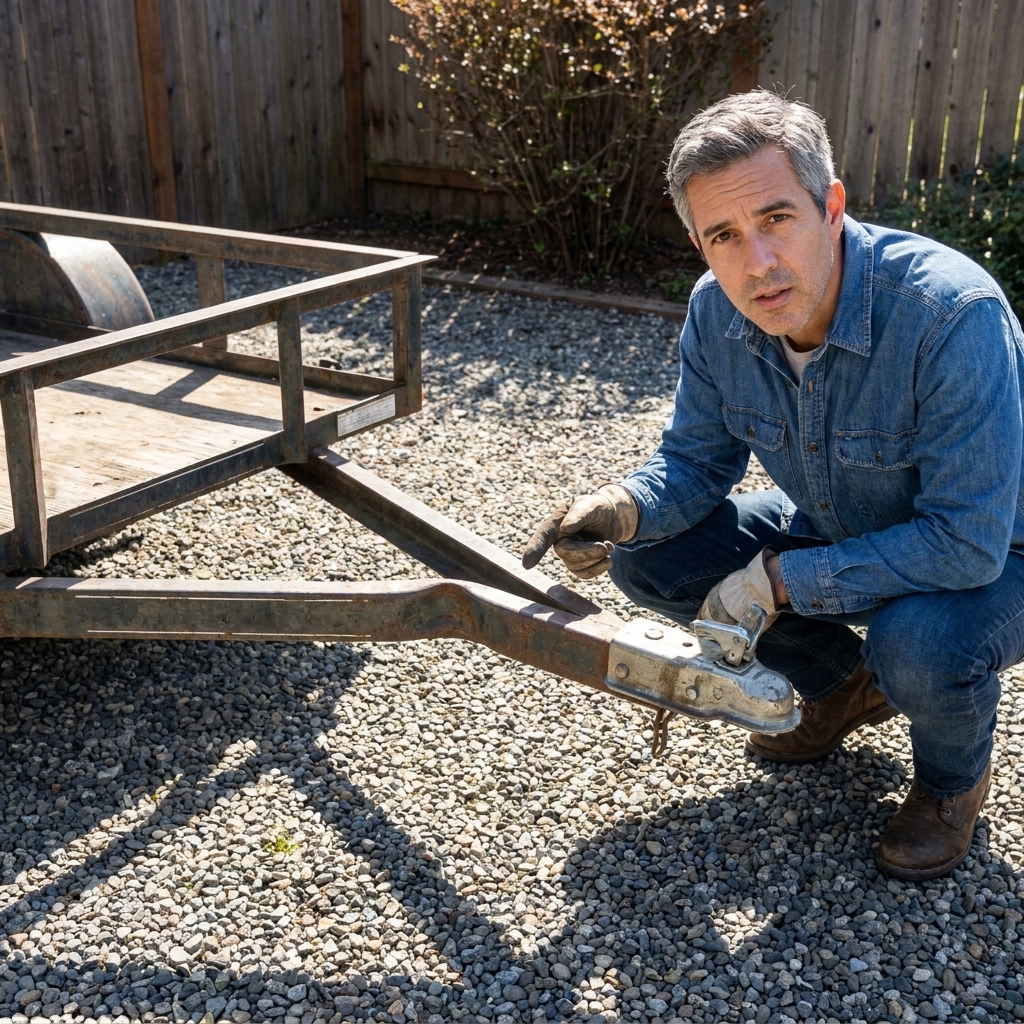
Coupler, chains, and jack
This is the “keeps the trailer attached to your truck” department. Do not skim it.
Coupler fit and latch
- Confirm coupler size (common: 1-7/8, 2, or 2-5/16). A mismatched ball is a real accident risk.
- Check that the latch closes fully and is not bent or sloppy.
- Look for egg-shaped wear in the coupler socket, which can indicate it has been towed loose, run on the wrong ball size, or simply worn over time.
- If possible, hitch it to your ball, latch it, and try lifting the tongue with the jack. It should not pop or clunk.
Safety chains
- Chains should be rated and in good shape with no stretched links.
- Hooks should have working safety latches.
- Mounting points should be solid, not bolted through rust or thin metal.
Tongue jack
- Crank it through its full travel. It should be smooth, not grinding.
- Check for a bent leg or a caster wheel that wobbles badly.
- Make sure the jack mounting bolts and bracket are not cracked or wallowed out.
Axle, springs, and alignment
Axle and suspension problems are a common source of uneven tire wear, sway, and broken parts at the worst time.
How to spot a bent axle
- Look at the tires from the front and rear. If they tilt in or out noticeably (camber), suspect an axle issue.
- Check for uneven tire wear, especially heavy wear on one inside edge.
- Stand back and see if the axle looks square to the frame. If it is “dog-tracking” (trailer not following straight), walk away or budget for repairs.
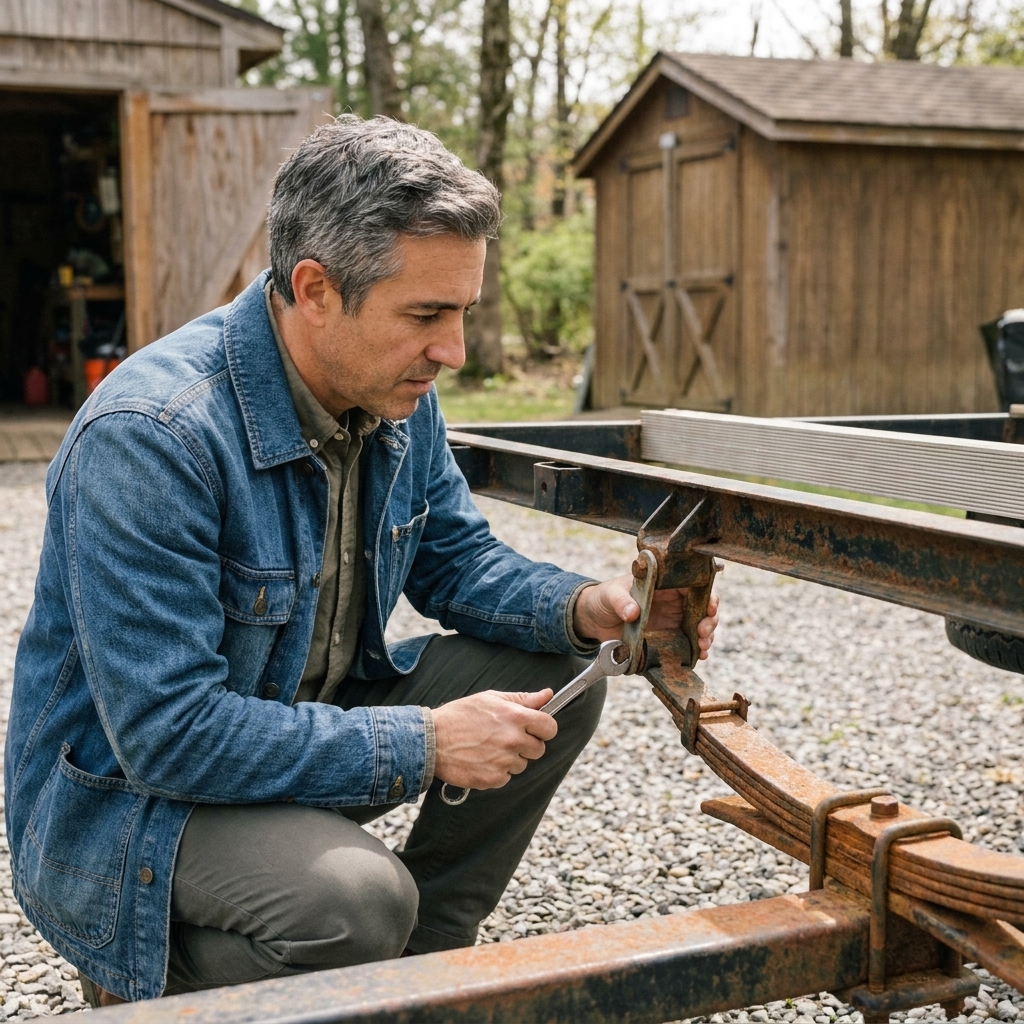
Leaf springs, hangers, and shackles
- Look for broken leaves, missing center bolts, and sagging spring packs.
- Inspect spring hangers for cracks and rust around welds.
- Check shackle links and bolts for oval holes or sloppy play.
U-bolts and hardware
U-bolts clamping the axle to the spring seat should not be heavily rusted, stretched, or missing hardware. If the axle has shifted on the springs, you may see shiny rub marks or misaligned spring seats.
Wheels, tires, and bearings
Most used trailers need tires sooner than the seller thinks. Tires and bearings are also where small neglect turns into roadside drama.
Tires: age and rating
- Prefer ST-rated trailer tires for most utility trailers. LT tires can also be acceptable on some trailers if the load and speed ratings match what the trailer needs. Avoid P-metric passenger tires.
- Check the DOT date code on the sidewall. Many tire makers recommend replacement around 5 to 7 years regardless of tread, depending on use and storage. Verify with the tire manufacturer if you want a hard number.
- Inspect for cracks, bulges, cord showing, or uneven wear.
- Verify the tires’ load range matches the trailer’s GVWR and your typical cargo.
- Check the sidewall max pressure and ask what pressure the seller runs. Many trailer tires are designed to run near their rated max cold pressure when loaded, but the correct pressure still depends on the tire and load.
Wheels and spare
- Check for bent rims and cracks around lug holes.
- Make sure all lug nuts match and threads are not stripped.
- Confirm the bolt pattern matches what you can easily service, and ask if a spare tire is included. If not, budget for one.
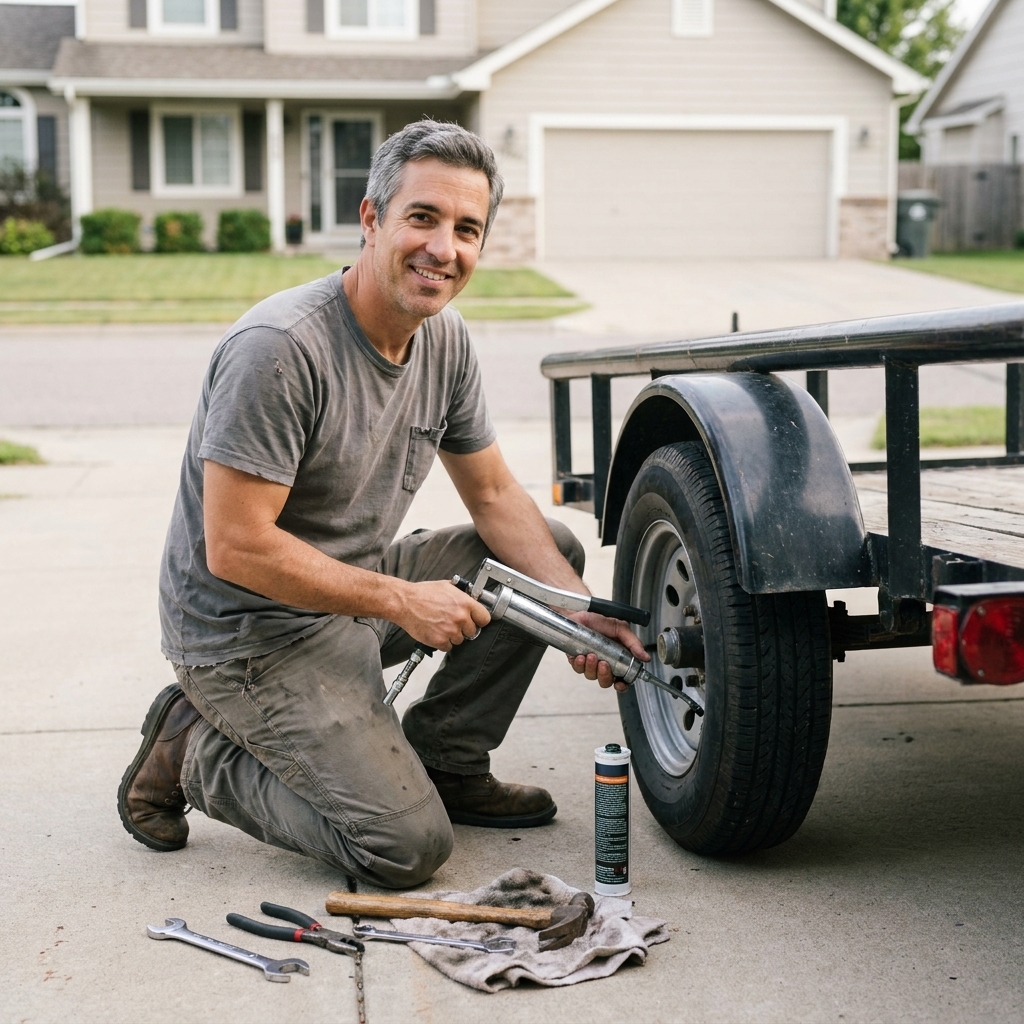
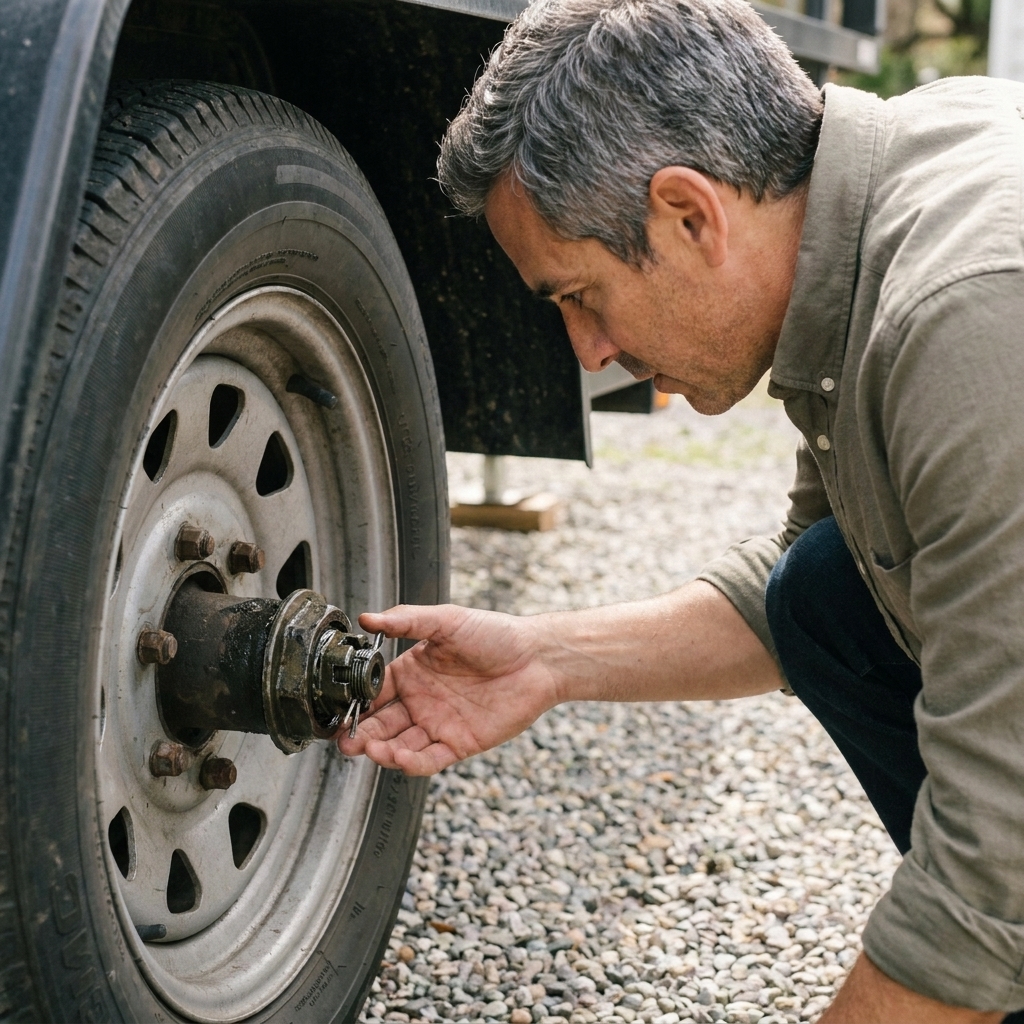
Bearings: quick checks
If the seller allows it, jack one side up and do this:
- Grab the tire at 12 and 6 o’clock and wiggle. Noticeable clunk can mean loose bearings or worn parts.
- Spin the wheel. It should rotate smoothly, not growl.
- Look for grease slung inside the wheel or on the backing plate. That can mean a failed seal.
Also look at the hub cap or bearing buddy style cap. If it is smashed or leaking, you are likely due for a full bearing service.
Optional check if you do a short test tow: carefully feel the hub with the back of your hand when you stop. A hub that is noticeably hotter than the others can point to a bearing or brake issue. Use common sense here. Do not burn yourself.
Deck, sides, ramps, and tie-downs
This is where utility trailers earn their keep. It is also where you find hard use fast.
Wood deck
- Walk the deck slowly. Soft spots, sagging, or cracking boards mean rot or weak framing.
- Check around the edges and fasteners. That is where water sits.
- If the boards are treated lumber, that is fine. If they are basic construction boards, expect shorter life.
Steel mesh floors
- Look for broken welds and thin, rusted mesh where tires or equipment sit.
- Check that the mesh is supported with enough crossmembers so it does not oil-can under load.
Gates and ramps
- Open and close them. Hinges should not bind or be cracked.
- Check ramp ends for bending and excessive wear.
- Look for secure latch mechanisms that will not pop open on rough roads.
Tie-down points
D-rings and stake pockets should be firmly mounted with no ripped metal around them. If you plan to haul motorcycles, ATVs, or equipment, strong tie-downs are not optional.
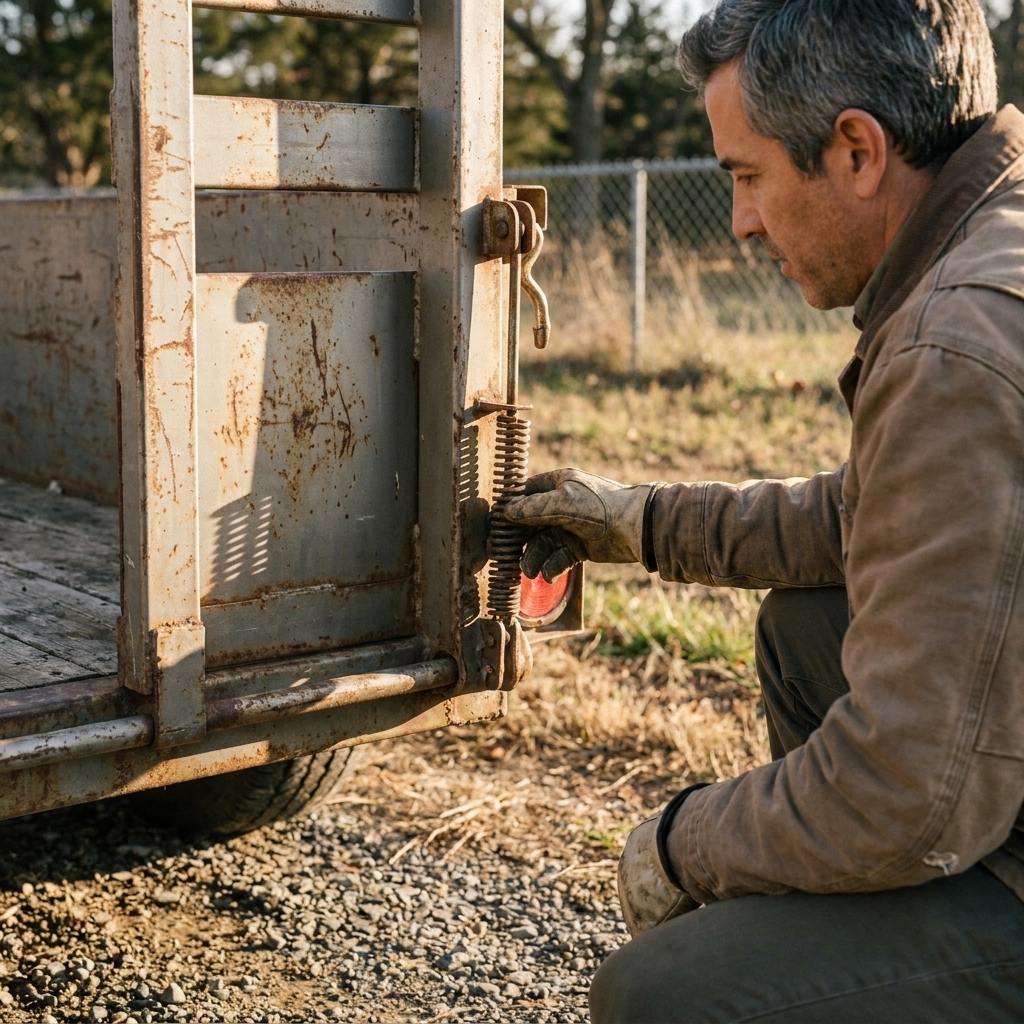
Lights and wiring
Bad wiring is one of the most common used-trailer problems. The fix is often simple, but the time and frustration add up quickly.
Do a full light test
Hook it to your truck if you can and test:
- Running lights
- Left and right turn signals
- Brake lights
- Reverse lights (if equipped, which is uncommon on basic utility trailers)
- Side markers and license plate light
Inspect the harness
- Look for dry-rotted insulation, scotch-lock connectors, twisted wires, and household wire nuts. Those are red flags.
- Check for hanging wires near the axle where they can get pinched.
- Inspect the plug for corrosion and bent pins.
Ground issues
Many trailer light gremlins come down to poor grounds. If the lights flicker when you wiggle the plug or tap the frame, plan on redoing grounds properly with clean metal contact and weather-protected connections.
Brakes
Not every utility trailer has brakes, but if it does, they need to work. Brakes are also where a “cheap trailer” can get expensive fast.
Electric trailer brakes
- Look for a connector with a dedicated brake circuit. Most commonly that is a 7-way RV plug, but some setups use a 6-way round connector.
- Confirm the trailer has a breakaway switch.
- Check that the breakaway battery is present and not swollen or corroded.
- Inspect wiring to each brake backing plate for damage, including loose or broken magnet wires.
Quick functional checks
If you can do a short pull, gently apply the trailer brakes with your brake controller manual lever. You should feel the trailer tug back. No change usually means wiring issues, weak magnets, or controller setup problems.
If you can safely lift a wheel, spin it by hand and have someone apply the manual lever briefly. You may hear a faint hum and feel the wheel drag as the magnet energizes. That is not a full brake inspection, but it is a useful sanity check.
Match it to your truck and use
This is where buyer’s remorse usually starts: the trailer is “fine,” but it is the wrong tool for the job.
Capacity: GVWR and payload
- GVWR is the maximum the trailer can weigh loaded (trailer plus cargo).
- Empty weight is what it weighs with nothing on it.
- Payload is GVWR minus empty weight.
Do not buy a trailer that barely covers your typical load. Leave margin for tools, straps, wet lumber, or that “one extra thing” that always comes home.
Tongue weight and sway
As a rule of thumb, aim for roughly 10 to 15 percent of the loaded trailer weight on the hitch. Too little tongue weight is a common cause of sway. Too much can overload the hitch or rear suspension. If a trailer has a reputation for being twitchy, load placement is usually the reason.
Ball height and level towing
A used trailer that sits nose-high or nose-low behind your truck is harder on tires and can sway more. Make sure your hitch and ball mount can get the trailer level when loaded.
Single axle vs. tandem axle
Single axles are simpler and easier to maneuver. Tandems tow nicer at speed and offer more capacity and stability, especially with taller loads. If you regularly haul heavy equipment or long highway miles, tandem axles are usually money well spent.
Red flags
- No proof of ownership, mismatched VIN, or the seller is vague about where it came from
- Fresh paint only on the underside with no clear explanation
- Cracked frame or tongue, especially near coupler or spring hangers
- Obvious axle camber or severe uneven tire wear
- Wiring held together with tape and random splices everywhere
- No basic cooperation with light testing, hitch-up checks, or a short pull (where reasonable)
There will always be another trailer for sale. Walking away is a skill.
Pricing and negotiation
I like to price used trailers by adding up “must-fix” safety items first. Here is an easy way to stay grounded:
- Tires: if aged out, cracked, or the wrong type, treat as immediate replacement.
- Bearings: if unknown history, budget a full service.
- Wiring: if lights are flaky, budget for a rewire or at least new grounds and connectors.
- Decking: soft boards or broken mesh add up fast.
- Brakes (if equipped): missing breakaway parts, damaged wiring, or dead brakes can get expensive quickly.
Then negotiate based on facts you can point to: tire date codes, a broken spring leaf, non-working lights, and missing paperwork are all concrete. “I just have a feeling” is not.
FAQ
How do I know if a used trailer was overloaded?
Uneven tire wear, a bent tongue, sagging springs, cracked welds near spring hangers, and a deck that is bowed between crossmembers are common clues. Also look for repeated repairs in high-stress areas.
Is surface rust okay on a utility trailer?
Usually, yes. What you do not want is deep pitting, flaking layers, rust at critical welds, or metal that feels soft when you probe it. Rust around spring hangers and the tongue deserves extra scrutiny.
Should I buy a trailer with non-working lights?
If the rest of the trailer is solid and the seller prices it accordingly, wiring is fixable. But if the harness is a mess of splices and corrosion, assume you are doing a full rewire and negotiate like it.
Do I need brakes on a utility trailer?
Legally, it depends on your state and the trailer weight. Practically, if you are towing heavier loads, descending hills, or mixing with highway traffic, brakes are a major safety upgrade. Your truck brakes will thank you too.
Printable walk-around checklist
If you want a quick list to use in the driveway, screenshot this:
- Paperwork: VIN matches title/registration (if applicable), GVWR plate present
- Frame: no cracks, no structural rust, crossmembers solid
- Tongue: straight, coupler securely mounted
- Coupler: correct size, latch works, no excessive slop
- Chains: rated, good hooks, solid mounts
- Jack: smooth operation, not bent
- Axle: no visible bend, sits square
- Springs and hangers: no broken leaves, no cracked brackets
- Tires: acceptable DOT date, no cracks or bulges, proper load range, correct pressure for use
- Bearings: no clunk, smooth spin, no grease sling
- Wheels: no cracks at lug holes, lug nuts match, spare plan
- Deck and ramps: no rot, hinges solid, latches secure
- Lights: running, brake, turn, markers all working
- Brakes (if equipped): brake circuit present (often 7-way, sometimes 6-way), breakaway switch and battery present
If you run this list and the trailer checks out, you are already ahead of most buyers. And if something feels off, trust that instinct and keep shopping. The safest trailer is the one you do not have to “hope” is okay.