If you tow long enough, you will eventually see it: a trailer on the shoulder with smoke rolling off a hub, grease slung all over the wheel, and a driver staring at the damage like it happened out of nowhere. Most of the time, it started as a basic wheel bearing issue that gave warnings but never got checked.
Trailer wheel bearings are simple parts doing a hard job. They carry thousands of pounds, spin at highway speed, and live inches from water, road salt, and hot brake drums. The good news is you can inspect, pack, and even replace them in a home driveway with the right tools and a patient approach. I will walk you through the process I used on work trailers and my own camper so you can tow with confidence.
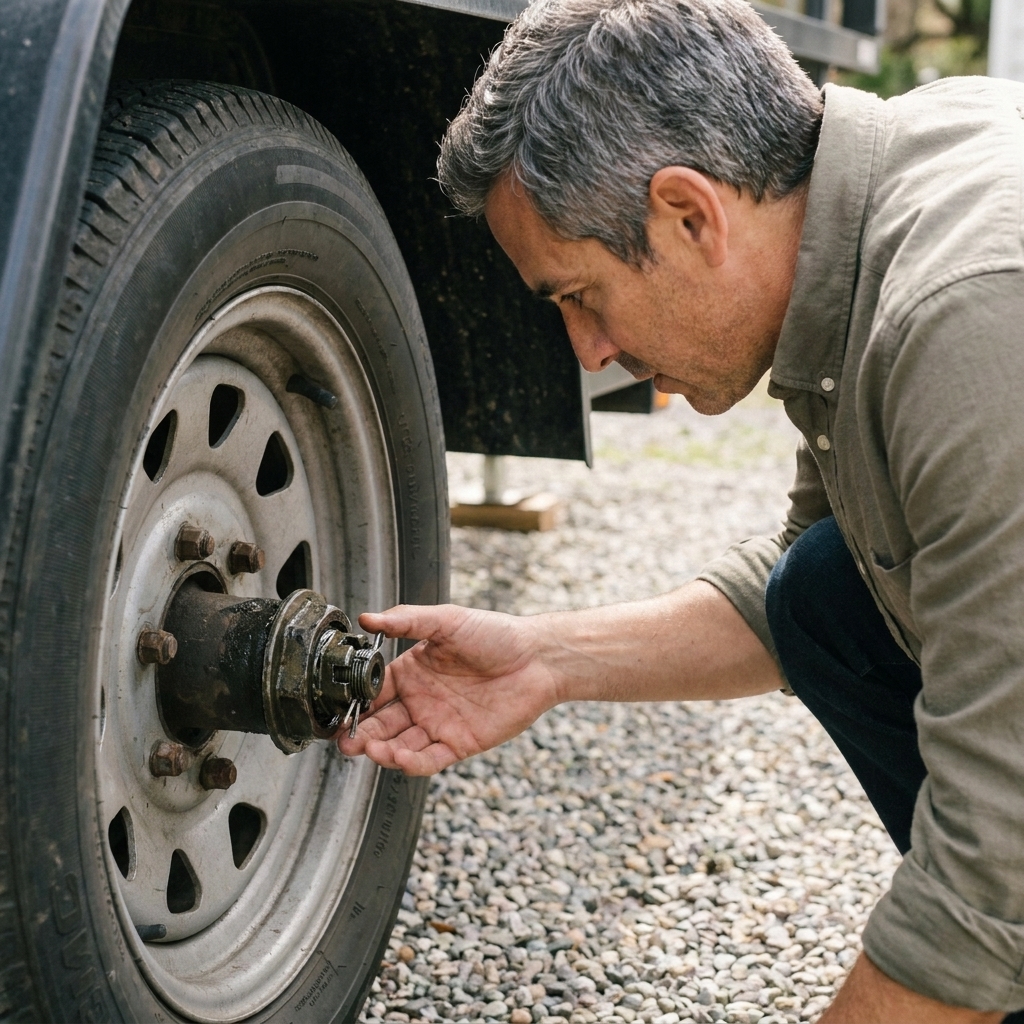
Why bearings fail
Bearings fail for a few predictable reasons:
- Old or contaminated grease: Water intrusion, dirt, or simply time breaks grease down. Once lubrication is compromised, heat climbs fast.
- Incorrect adjustment: Too tight overheats. Too loose beats up the races and can let the wheel wobble.
- Worn seals: A bad rear seal lets grease escape and can let water and grit in. It can also coat your brake shoes, killing braking power.
- Overloading: Running above axle rating pounds the bearings and can push grease out.
When a bearing overheats, it can blue the spindle, weld itself to the race, or in worst cases let the wheel come off. This is not glamorous maintenance, but it is pure safety.
Safety first
This is straightforward work, but it has real hazards. A few rules I do not bend:
- Never rely on a jack alone. Use jack stands on solid ground, rated for the load.
- Keep fingers out of pinch points when sliding the hub on and off.
- Avoid breathing brake dust. If you are working around drum brakes, use brake cleaner appropriately and avoid dry brushing.
- Keep solvent and grease off brake linings. If shoes or pads get soaked, they usually need replacement.
- Do not mix greases unless you know they are compatible. When in doubt, clean everything and stick with one grease type.
Tools and supplies
You do not need a shop full of specialty gear, but you do need the basics. Here is what I keep in my trailer-bearing tote.
Tools
- Floor jack and jack stands rated for the load
- Wheel chocks
- Lug wrench or impact with correct socket
- Pliers (needle-nose helps for cotter pins)
- Channel-lock pliers or adjustable wrench (for spindle nut if needed)
- Flat screwdriver or small pry bar (for dust cap and seal work)
- Hammer and punch (for races if replacing)
- Torque wrench (for lug nuts, and for some spindle nut systems if specified)
- Disposable nitrile gloves and shop rags
Supplies and parts
- High-temp wheel bearing grease suitable for trailers (disc brake or marine grease as appropriate)
- Brake cleaner (non-chlorinated is my preference) and a drain pan
- New cotter pins (do not reuse old ones)
- New grease seals for each hub you open (I treat seals like one-time parts)
- Replacement inner and outer bearings and races if needed
- Optional but handy: bearing packer tool
My rule of thumb: if you have the hub off, install a new seal. Seals are cheap. Brake jobs on the shoulder are not.
Know your parts
Bearings are not universal. The safest way to get the right parts is to:
- Check your axle tag (common brands are Dexter, Lippert, Al-Ko) for axle model and capacity.
- Pull one hub apart and read the bearing numbers stamped on the inner and outer bearings.
- Match the seal by size or part number.
Many common trailer axles do use common bearing sets, but do not buy on guesswork. Confirm the numbers on your bearings and seals before ordering spares.
If you are building a spares kit for the road, do this on a calm Saturday at home, not in a gravel turnout with trucks blasting by.
Quick checks before a trip
You can catch most bearing issues in two minutes.
1) Check for play
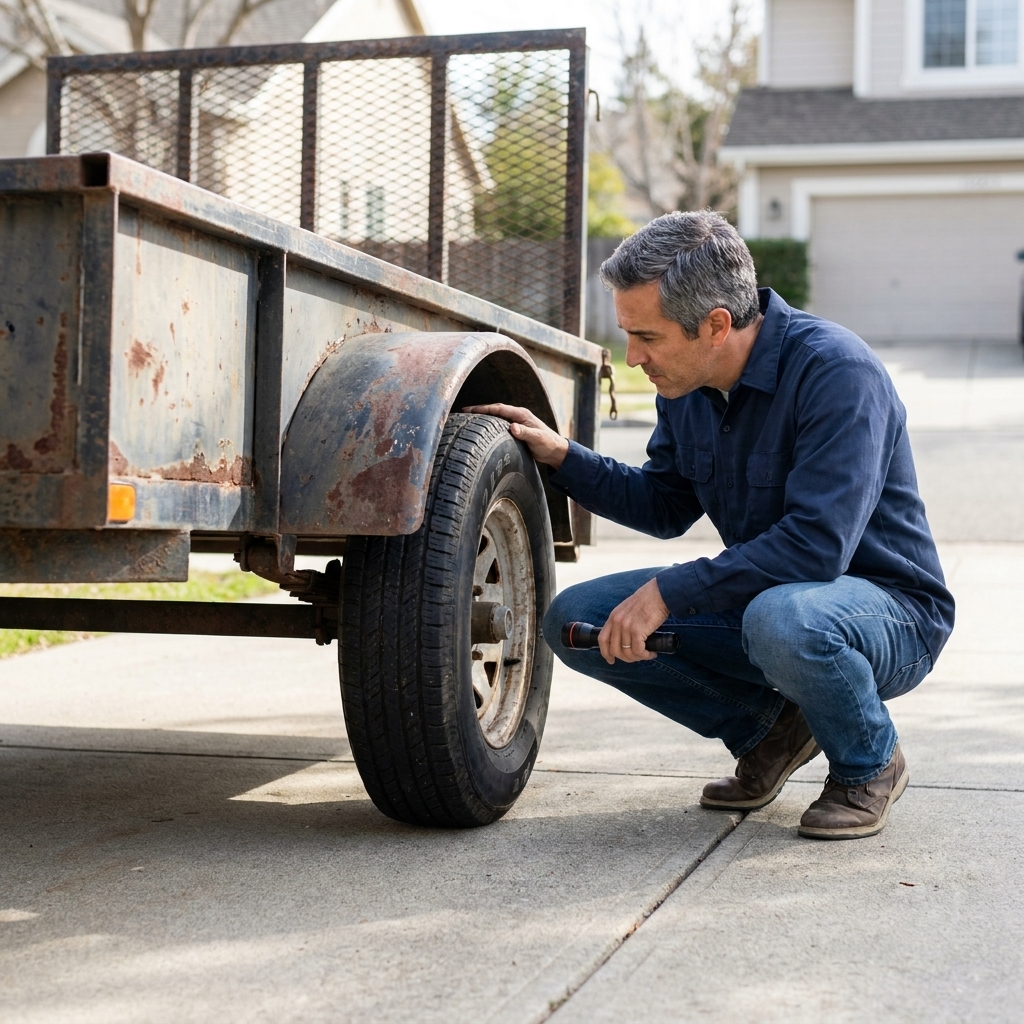
With the trailer hitched (or properly supported), grab the tire at 12 and 6 o'clock and rock it in and out. A tiny hint of movement can be normal on some setups, but a noticeable clunk or visible wobble is a red flag.
2) Look for grease leaks
Grease on the inside of the wheel, streaks coming from the hub, or oily brake dust means a seal is leaking or a grease cap got pushed out.
3) Feel hub temperature
After a short drive, carefully feel near the hub (do not burn yourself). Warm is normal. Hot enough that you cannot hold your hand near it is not. An infrared thermometer is even better for comparing hubs side to side.
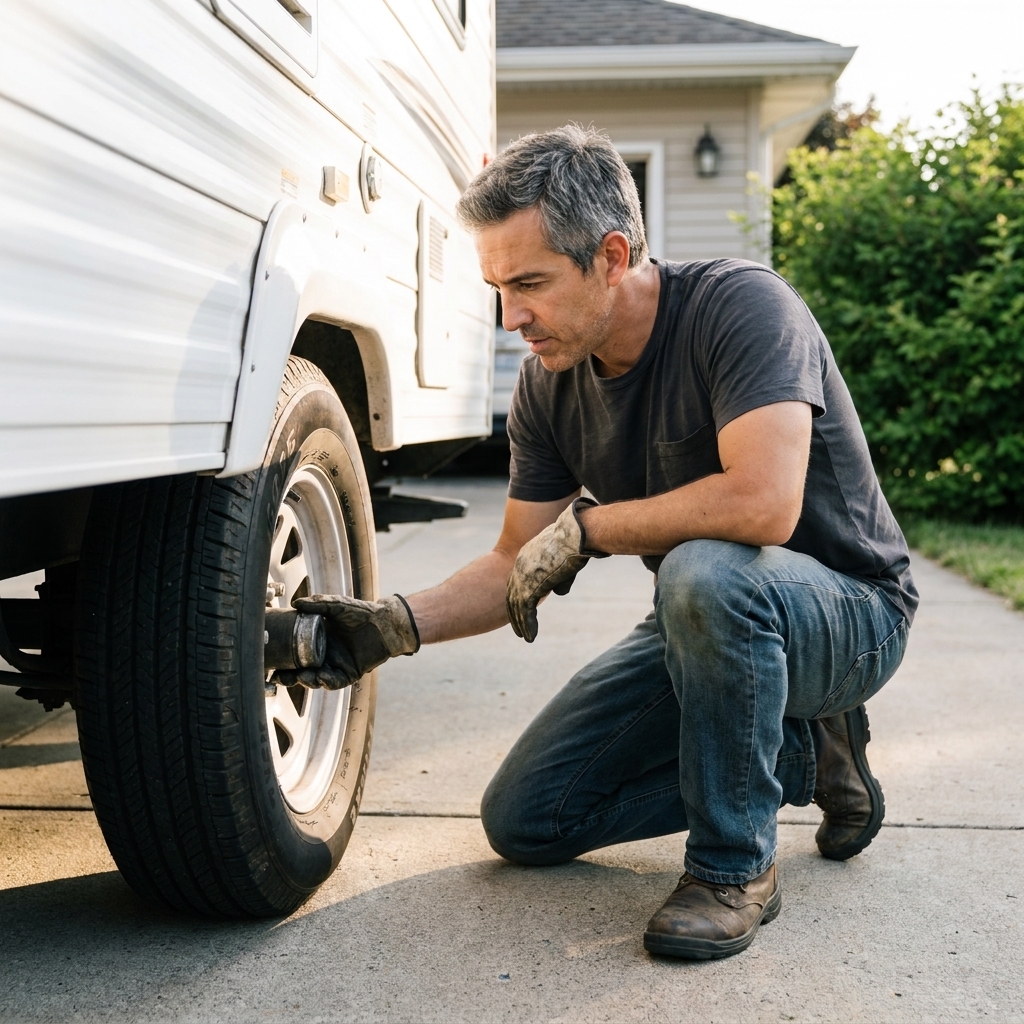
Remove the hub
Work one side at a time so you can use the other side as a reference if you get turned around.
1) Park and secure the trailer
- Park on level ground.
- Chock the wheels on the opposite side.
- If it is a tandem axle trailer, chock both sides of at least one tire.
2) Loosen lugs, lift, and support
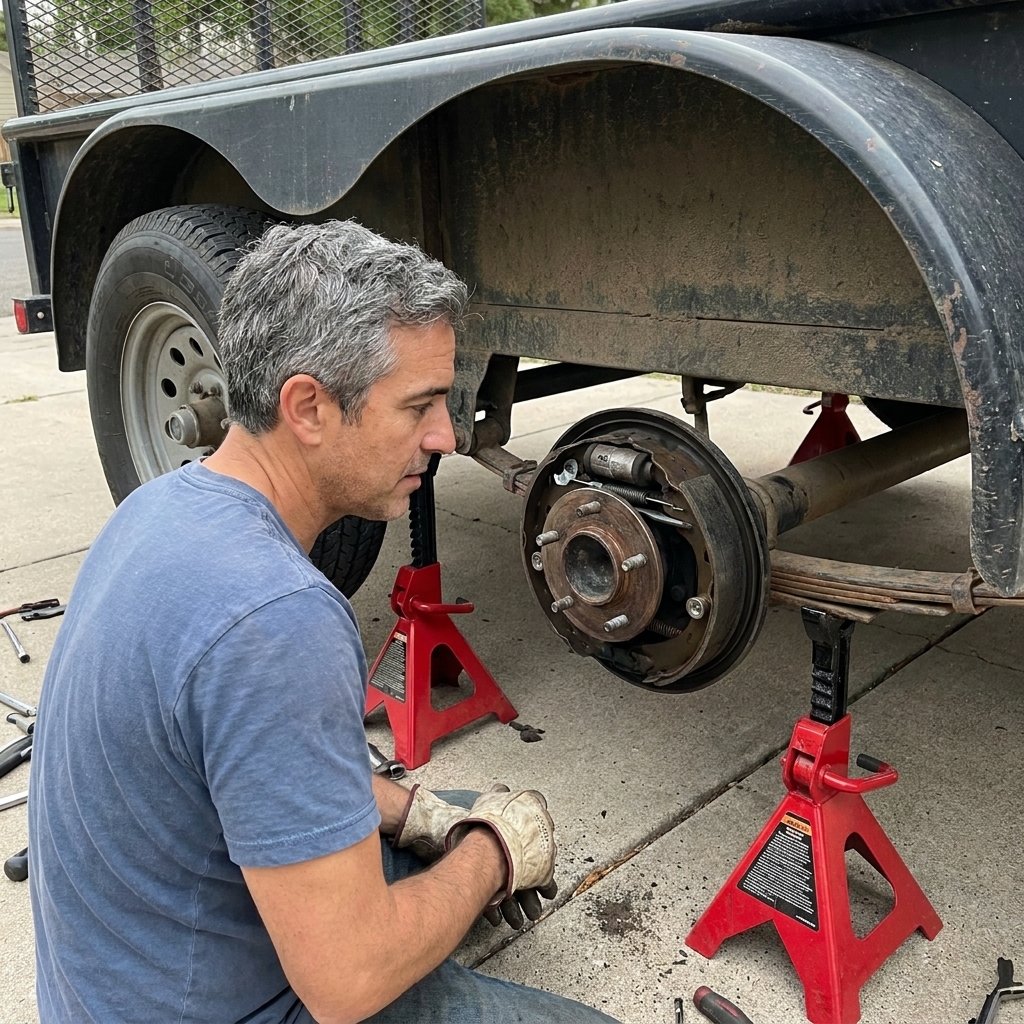
Crack the lug nuts loose before lifting. Jack on a solid point like the axle tube close to the spring perch (or the manufacturer-approved lift point), then set the frame or axle securely on a jack stand.
3) Remove the wheel
Set the wheel under the frame as an extra safety backup.
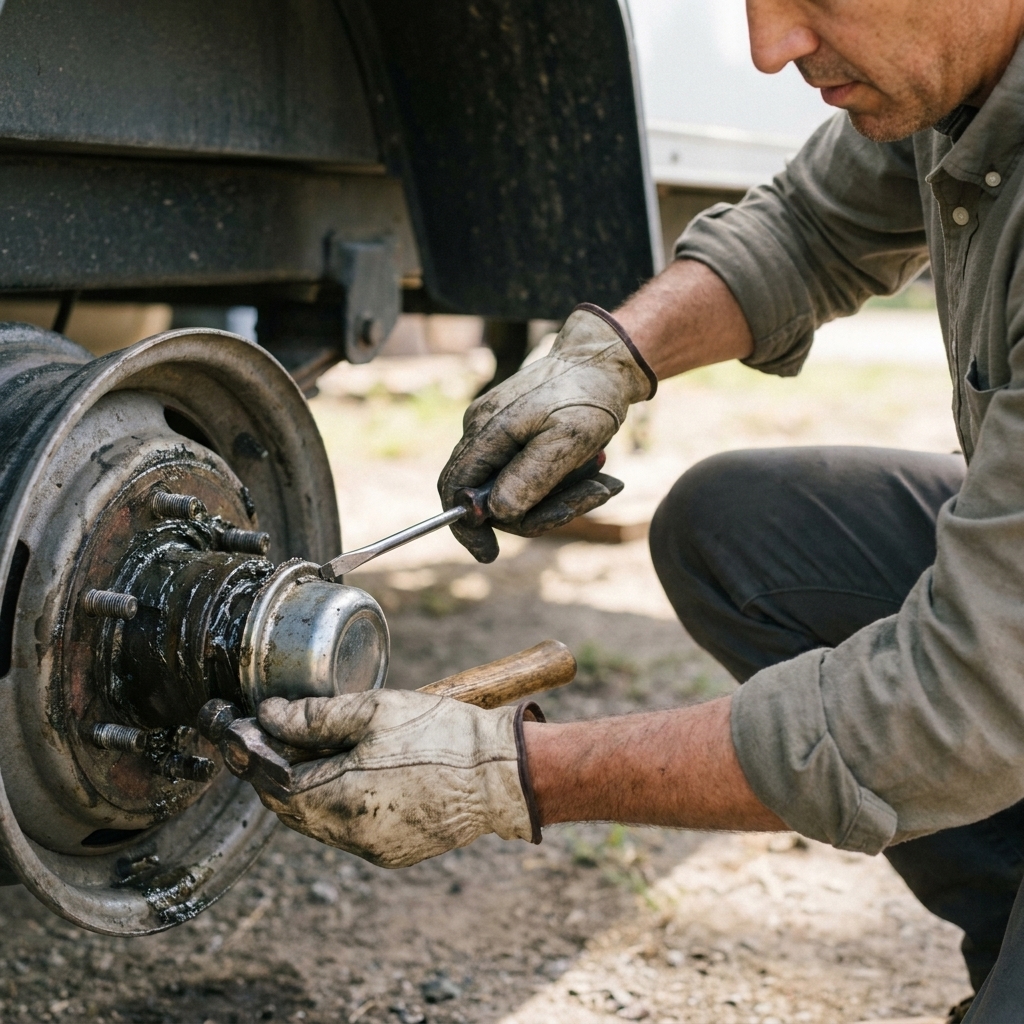
4) Remove the dust cap
Tap around the edge with a hammer while working a flat screwdriver carefully. Try not to deform the cap if you plan to reuse it.
5) Remove the retainer and spindle nut
Trailer hubs use a few common retention styles: cotter pin with a castle nut, a tang washer, or a nut with a keeper. Remove the retainer parts, then spin off the spindle nut. Keep everything in order as it comes off.
6) Pull the hub
As you slide the hub off, the outer bearing can fall out. Catch it cleanly and set it on a rag.
7) Remove the inner bearing and seal
Flip the hub over. Pry out the grease seal carefully and remove the inner bearing.
Clean and inspect
Clean everything
Wipe heavy grease off first, then wash bearings in a pan with solvent or brake cleaner. Agitate and flush old grease out without spinning the bearing fast. Let parts dry completely.
One hard rule: do not use compressed air to spin bearings. It is easy to damage them, and it can send solvent where you do not want it.
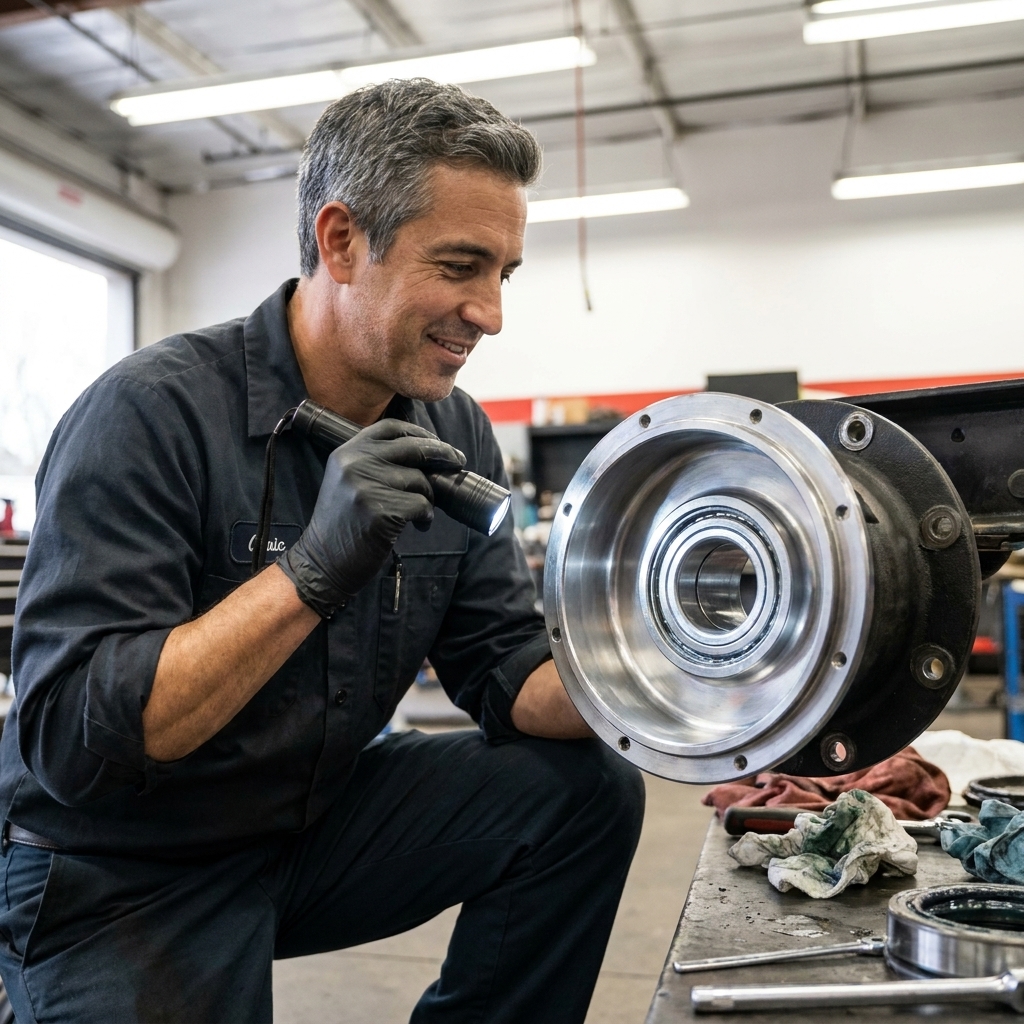
Inspect bearings and races
Use good light. You are looking for:
- Blue or purple discoloration: overheated metal, replace bearing and race.
- Pitting, flaking, or scoring: replace bearing and race.
- Roughness: if it does not feel glass-smooth, replace it.
- Damaged cage: replace immediately.
Also inspect the races pressed into the hub. If a bearing failed, you replace both the bearing and its race as a set. Mixing new bearings with old races is a great way to do the job twice.
Inspect the spindle
Wipe the spindle clean and inspect for grooves, heat damage, or metal transfer. If the spindle is scored where the bearings ride, you may be looking at a spindle repair sleeve or axle replacement depending on severity.
Pack the bearings
A bearing packer tool is nice, but hand-packing is reliable when done right.
Hand-packing method
- Put a golf-ball-sized glob of grease in your palm.
- Hold the bearing in the other hand and press the wide edge of the bearing into the grease.
- Force grease up through the bearing until it squeezes out between the rollers on the top side.
- Rotate slightly and repeat until grease appears all the way around.
- Smear a thin coat of grease on the outside of the bearing when finished.
You are not just coating it. You are pushing grease through it until there are no dry pockets.
About hub grease quantity: pack the bearings thoroughly and apply a light coating inside the hub. Avoid hydraulically packing the hub cavity tight. Some manufacturers want more grease in the cavity than others, so follow your axle or hub maker guidance if they specify a fill level.
Reassemble and adjust
1) Install the inner bearing and new seal
Drop the packed inner bearing into the race. Lightly grease the seal lip, then drive the new seal in square. A seal driver is best, but a flat block of wood can work if you tap evenly.
2) Slide the hub onto the spindle
Be careful not to nick the new seal on the spindle threads. A little grease on the spindle can help the hub slide smoothly.
3) Install the outer bearing, washer, and nut
Insert the packed outer bearing, then the washer, then thread on the nut.
4) Set bearing adjustment
This is the part people rush, and it is also the part that can vary by manufacturer. Many standard trailer hubs use tapered roller bearings and call for a seat, back-off, then a final snug with slight end play. Some systems use specific torque or a measured end play spec. If your axle or hub manufacturer provides a procedure, follow it exactly.
Here is the method that has served me well on most standard trailer hubs (again, verify your manufacturer procedure):
- Seat the bearings: while spinning the hub, tighten the spindle nut snug to seat the bearings and squeeze excess grease.
- Back it off: loosen the nut until it is free.
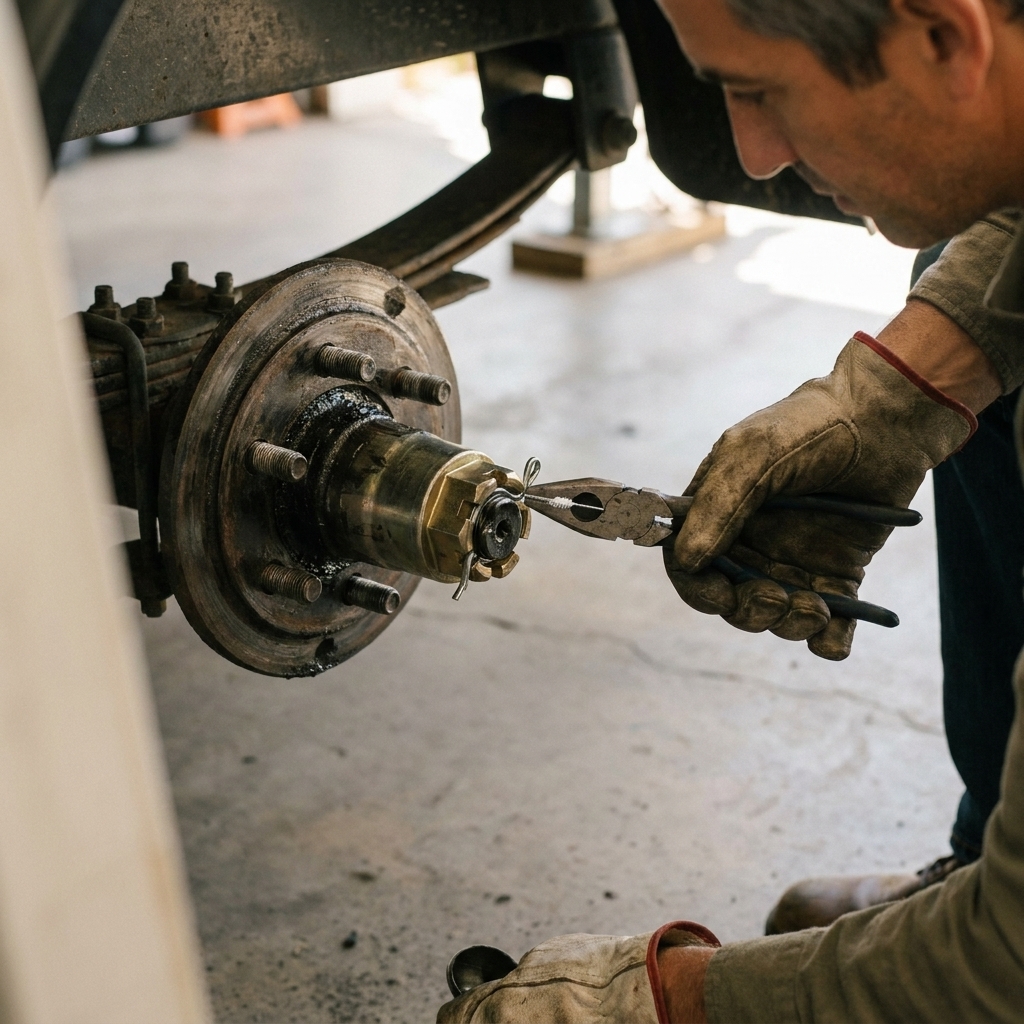
- Set final adjustment: tighten the nut by hand until it is just snug, then back off slightly to align the cotter pin hole or retainer. The hub should spin freely with no bind.
You are aiming for smooth rotation with minimal play, not a cranked-down nut. Too tight cooks bearings. Too loose lets things hammer.
5) Install a new cotter pin
Use a fresh cotter pin. Bend the legs over the nut so it cannot back out.
6) Reinstall the dust cap
Tap it in evenly around the edge. If you have an EZ Lube style spindle or grease cap fitting, make sure the cap is seated fully.
7) Reinstall the wheel and torque lugs
Snug in a star pattern, lower the trailer, then torque to your wheel manufacturer specification. Recheck torque after 25 to 50 miles on any wheel you have had off.
Replace races
If you are replacing bearings due to wear, heat, or damage, replace the races too. Races are pressed into the hub.
Race removal and install
- With the hub off the trailer and bearings removed, drive the old race out from the opposite side using a punch on the race lip, alternating taps around the circle.
- Clean the bore in the hub.
- Drive the new race in square using a race driver or a suitable tool that contacts the outer edge of the race evenly.
- Make sure it seats fully against the shoulder. You will hear the tone change when it bottoms out.
If you do not feel confident getting races perfectly square and fully seated, a local trailer shop can press them in quickly. A cocked race will ruin new bearings fast.
Special setups
Electric drum brakes
Watch for grease contamination. If your seal fails and grease gets on the brake shoes, cleaning rarely restores full braking. Plan on replacing shoes and possibly magnets if they are soaked.
Bearing Buddy caps
These spring-loaded caps can help maintain slight pressure to keep water out, but they are not a free pass to ignore seals and adjustments. Do not over-grease them. Too much pressure can blow a seal.
EZ Lube and grease-through spindles
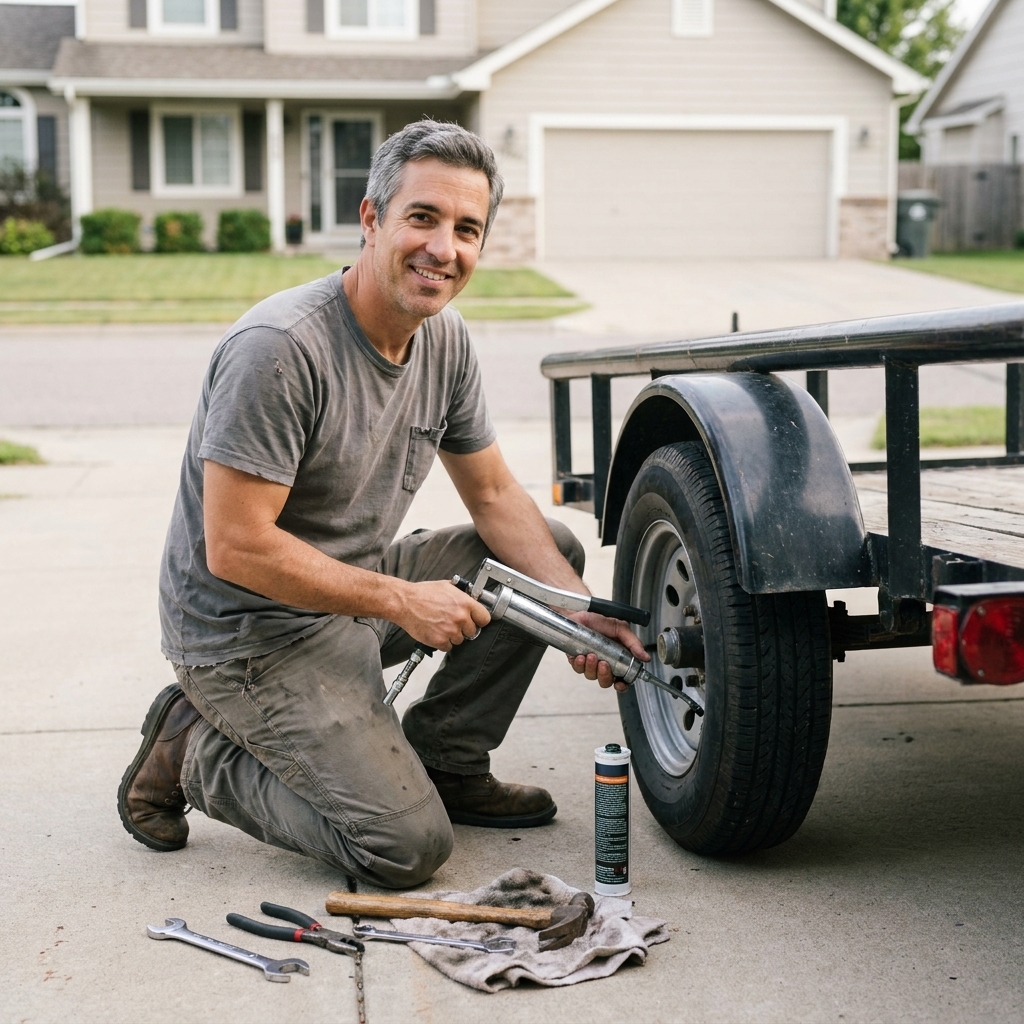
These systems let you add grease through a zerk fitting. They are convenient for maintenance, but they do not replace periodic tear-down inspection. When you add grease, rotate the wheel slowly and stop as soon as you see fresh grease begin to move outward. If you hammer grease in with a gun, you can push grease past the rear seal and into the brakes.
How often to repack
Intervals depend on how you tow and where the trailer lives. The most important rule is to follow your axle or hub manufacturer recommendation when it is available. If you do not have that documentation, these are common guidelines many trailer owners use as a starting point:
- Travel trailers and utility trailers: inspect at least annually, and repack around every 12 months or roughly 10,000 to 12,000 miles.
- Boat trailers: inspect more often due to water exposure, commonly every season.
- New-to-you trailer: service the bearings right away unless you have proof it was done correctly and recently.
If you tow through heavy rain, do frequent mountain descents, or dunk hubs in water at ramps, shorten the interval.
Smart spares
If you travel far from home, a small bearing kit can save a trip.
- One complete set of inner and outer bearings with matching races (per axle type)
- Two grease seals
- Cotter pins
- Small tub of the same grease you use at home
- Nitrile gloves and rags
- A way to jack and support the trailer safely
Even if you cannot do a full repair roadside, having the correct parts makes it a lot easier to get help quickly.
Troubleshooting
| Symptom | Likely cause | What to do |
|---|---|---|
| Hub is much hotter than the others | Over-tight bearing, failing bearing, dragging brake | Stop towing, let it cool, inspect before continuing |
| Grease on inside of wheel | Failed rear seal or over-greased hub | Replace seal, inspect brakes for contamination |
| Wobble or clunk when rocking tire | Loose bearing adjustment, worn bearing or race | Disassemble and inspect, adjust or replace |
| Growling or grinding sound while rolling | Damaged bearing or race | Do not tow far, repair immediately |
| Repeated seal failures | Grooved spindle seal surface, over-greasing, heat | Inspect spindle, consider repair sleeve, correct greasing method |
FAQ
Can I just add grease without taking the hub apart?
You can on some spindles, but you should still do a full tear-down inspection periodically. Adding grease will not remove water, grit, or metal debris already inside.
What grease should I use?
Use a high-quality high-temp wheel bearing grease. If the trailer sees water immersion (boat trailer), choose a marine grease. Whatever you choose, stay consistent. Mixing incompatible greases can cause separation.
Should there be any play in trailer wheel bearings?
A small amount of end play can be normal depending on the hub design and the manufacturer spec, but you should not feel a clunk or see the wheel wobble. When in doubt, consult the axle manufacturer specs and inspect.
Do I need to replace bearings every time I repack?
No. If bearings and races are smooth, clean, and show no heat discoloration, pitting, or scoring, they can often be reused. Seals are the part I replace every time a hub comes apart.
Final check
Once everything is back together:
- Spin each wheel by hand to confirm smooth rotation.
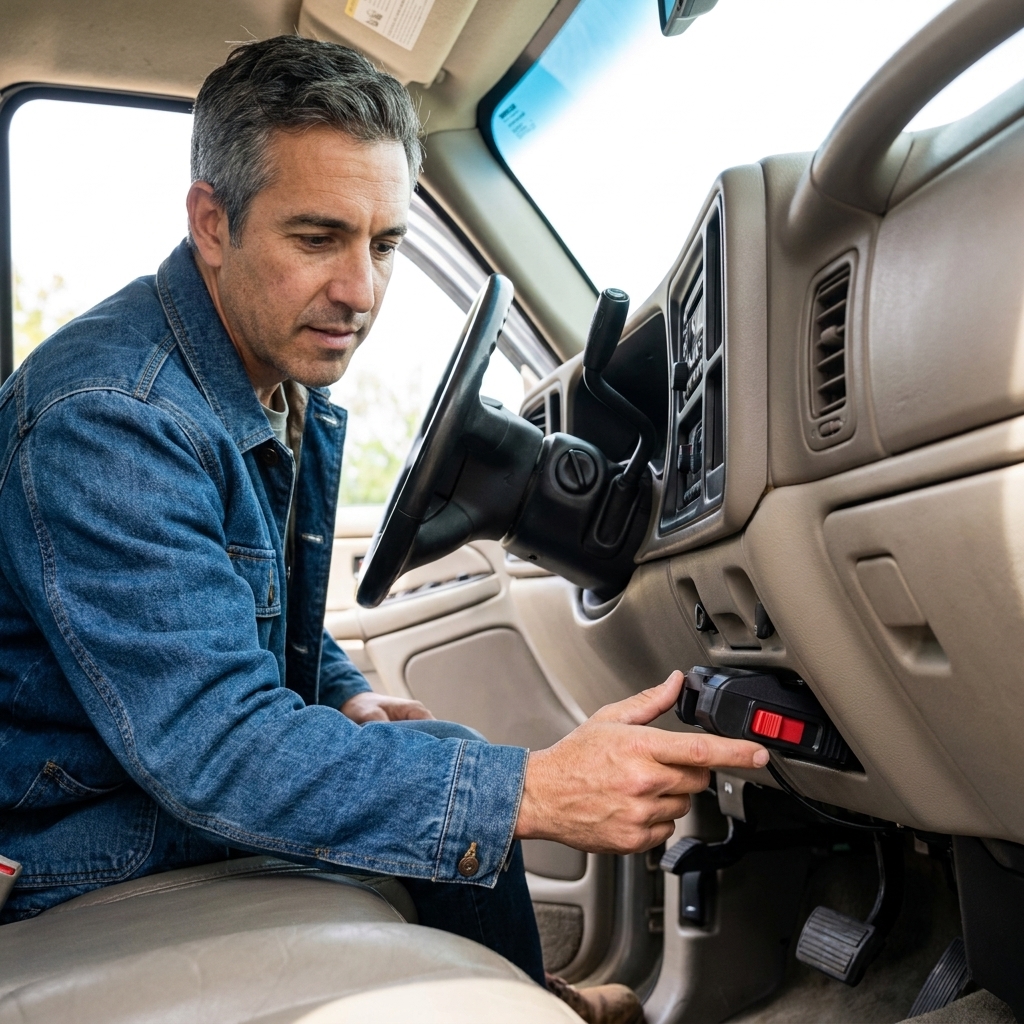
- Verify braking before you roll. For electric brakes, that means the trailer is connected and you can confirm braking response. For surge or hydraulic setups, confirm the coupler and hydraulics operate correctly and nothing is leaking.
- After 10 to 15 miles, pull over and compare hub temps side to side and recheck lug torque.
If you take care of your bearings, they will quietly do their job for years. And that is the goal with towing maintenance: boring, predictable miles, with your family and your trailer arriving together.