If you tow long enough, you eventually hear the same story at a campground or fuel island: “My trailer was under the posted clearance… until it wasn’t.”
Clearance trouble usually comes down to two things: guessing your height instead of measuring it loaded and hitched, and trusting car-style navigation that was never built to think about bridges, construction, or detours.
Let’s fix both. I’ll walk you through an at-home accurate way to measure your true overall height, what to write down so you never have to do the math again, and how to plan a route using information that actually reflects current restrictions.
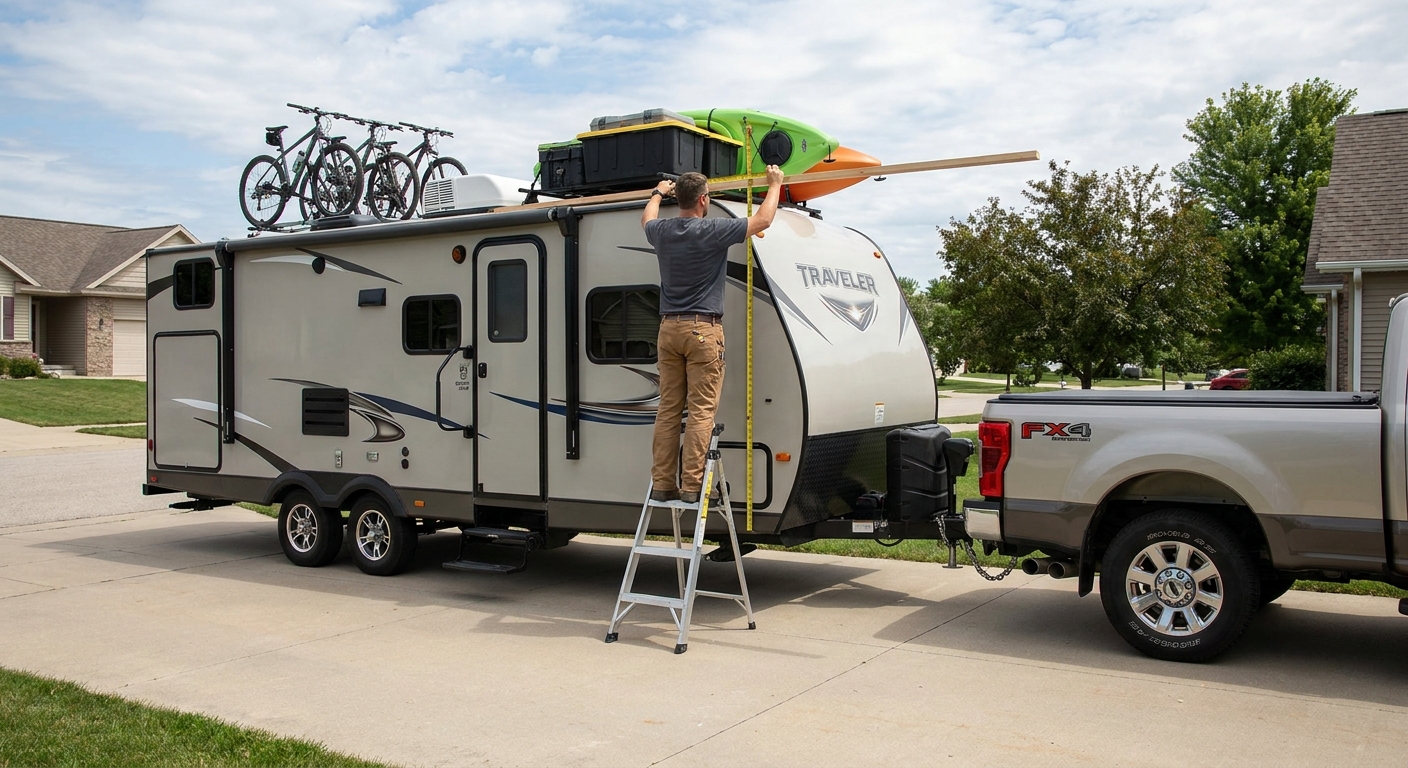
What “loaded trailer height” means
When you’re route planning, the number that matters is your overall height: ground to the highest fixed point on the trailer while it is hitched to your tow vehicle, loaded the way you’ll travel.
That last part is where folks get burned. Brochure height and “dry” height are fine for marketing, but in the real world your height changes with:
- Hitch attitude (nose up or nose down)
- Suspension squat from tongue weight and cargo
- Tire size and pressure
- Add-ons like AC shrouds, vent covers, Starlink dishes, antennas, roof racks, solar panels, cargo pods, and ladders
- Load distribution that changes pin weight or tongue weight
Your goal is one dependable number you can trust on your worst day, not your best day.
Tools you need
You do not need a laser tripod setup to do this safely and accurately. Here’s what I recommend:
- 25 ft tape measure
- A straight board (a 6 to 8 foot 2x4 works great) or a long level
- Step ladder tall enough to safely reach above the roofline
- Chalk or painter’s tape to mark a spot on the trailer side
- A helper (strongly recommended for safety)
Skip climbing onto the roof unless you have a safe, designed access point and you’re comfortable up there. Most of the time you can measure from the side with a board.
Measure overall height
1) Load the trailer like travel day
Do the measurement with the trailer in “go mode,” not “storage mode.” That means:
- Full or typical fresh water load (if you tow with water)
- Propane on board
- Normal gear, food, bikes, generator, etc.
- Normal truck bed cargo too (toolbox, firewood, cooler)
If your load varies wildly, measure your “tallest trip” configuration and use that number every time.
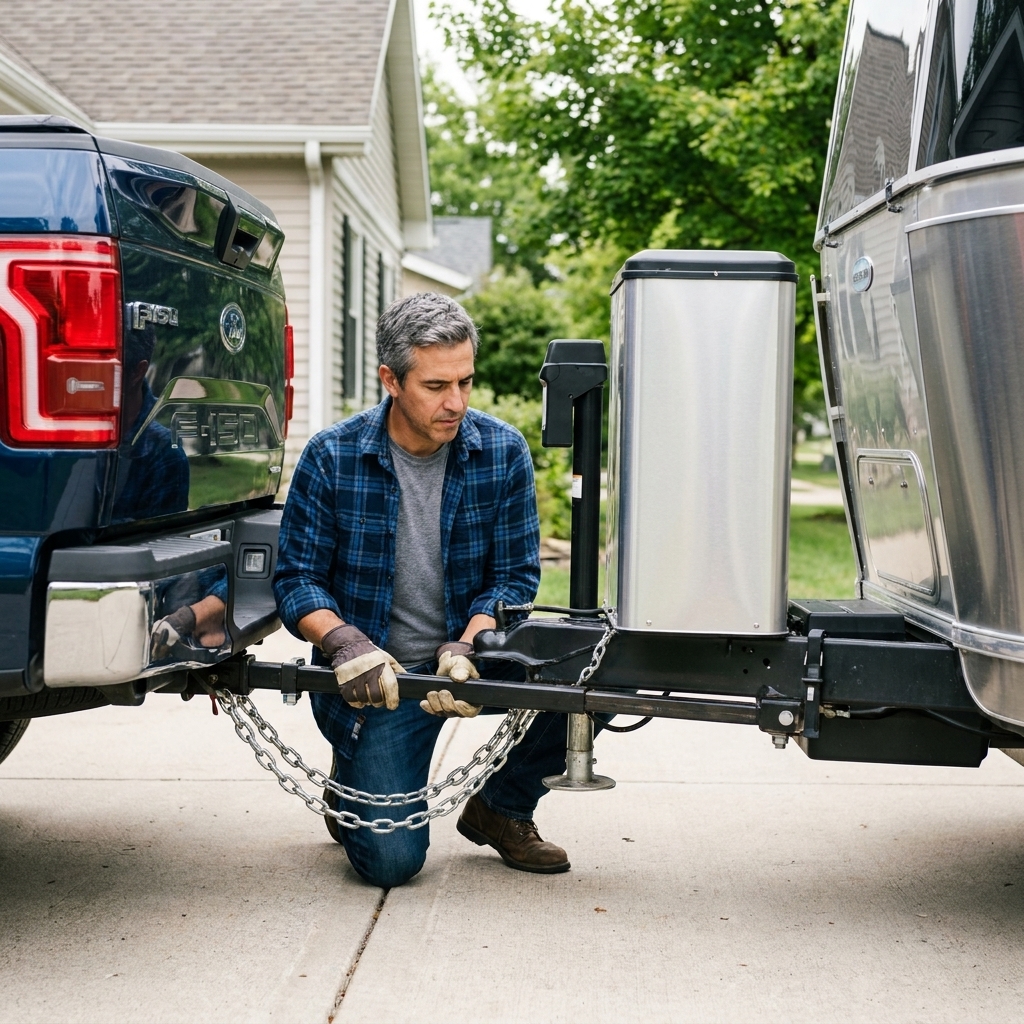
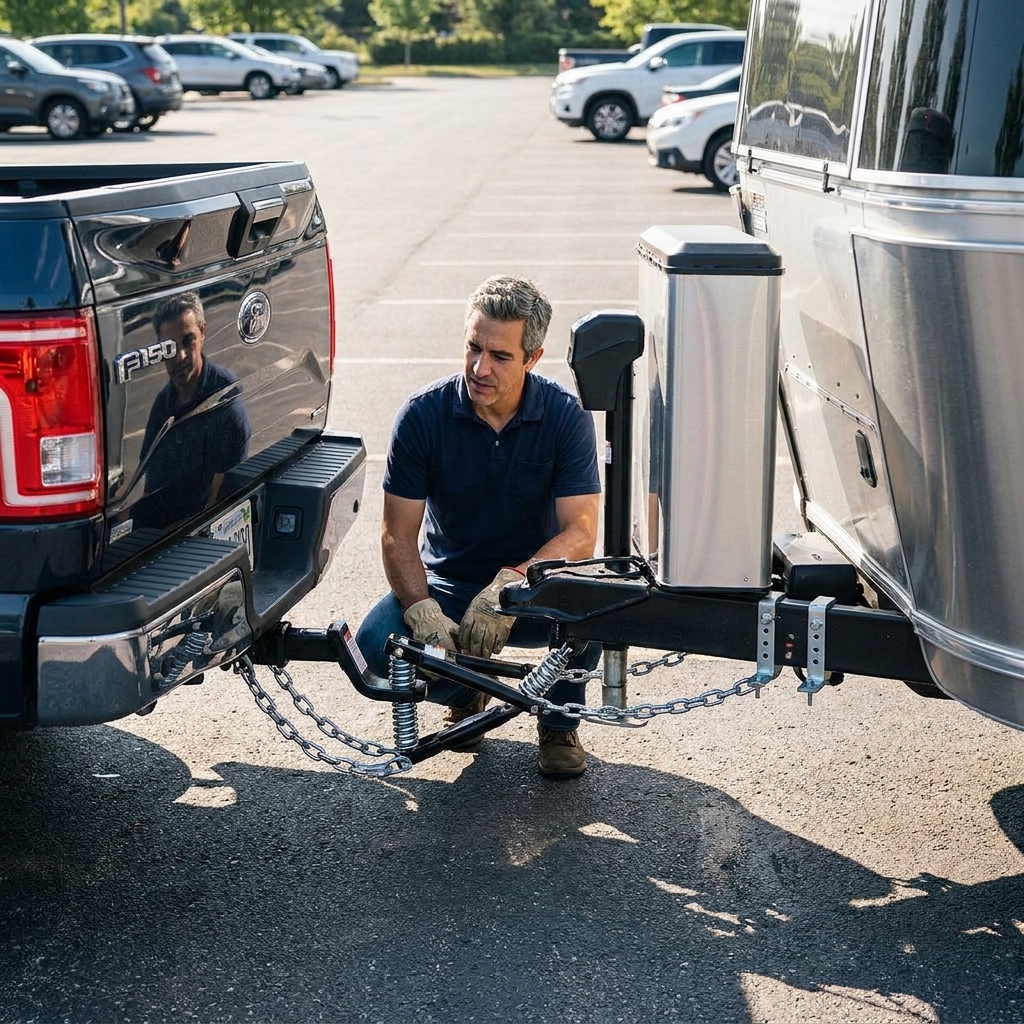
2) Park level and hitch up
Find the flattest pavement you can. A concrete driveway is perfect. Hook up like you’re leaving:
- Coupler latched (or fifth wheel locked)
- Weight distribution bars tensioned (if used)
- Air suspension set to towing mode (if equipped)
- Trailer attitude set as it would be on the road
Important: “Level” matters. A sloped spot can change how the rig sits, and it can also trick you into measuring slightly off-vertical if you are not careful. Either way, you can end up with a bad number.
3) Find the highest fixed point
Walk around and look up. On most RVs it is the AC unit shroud. On enclosed cargo trailers it might be a roof vent, an HVAC cap, a ladder top, or a rack. On flatbeds it might be the load itself (but that’s a separate conversation about securement and legal height).
You are measuring the tallest thing that will not fold down when you hit a bump. If you have a crank-up antenna or a removable flag, put it down or remove it, then measure what remains.
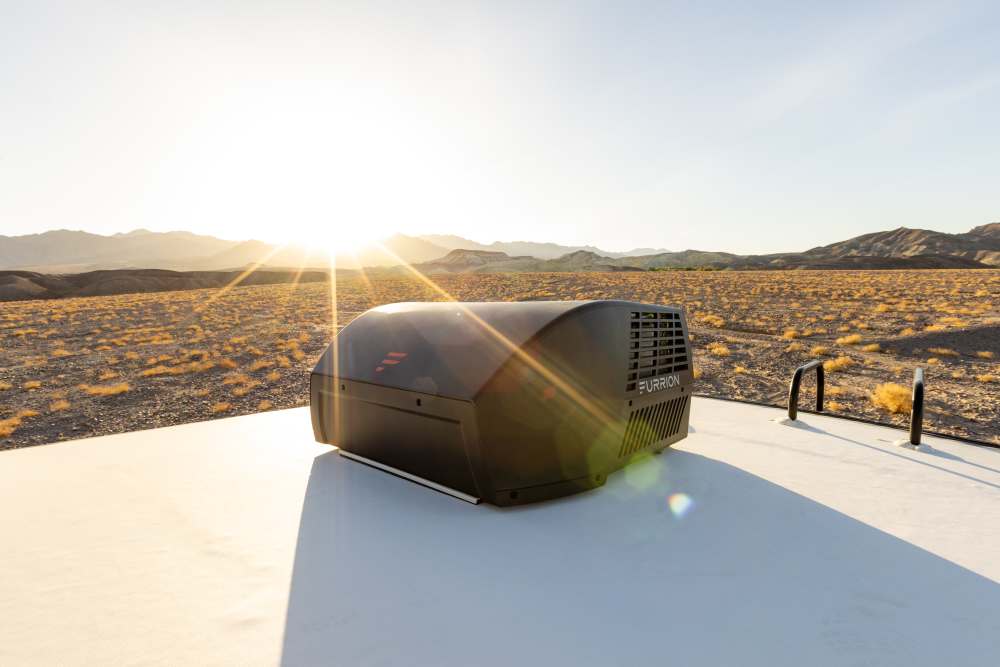
The board and tape method
This is my go-to because it’s simple and repeatable.
1) Set a straight board across the highest point
With a helper steadying the ladder, place the board so it just touches the top of the highest item. Get the board as level as you reasonably can.
2) Measure straight up to the underside of the board
Hook the tape at the ground directly below the board and measure to the bottom of the board. Keep the tape plumb (straight up and down), not angled. If it helps, have your helper sight the tape from the side and call out when it is vertical.
3) Repeat once
Do it one more time. If the numbers differ by more than about a half inch, slow down and re-check that you’re measuring under the same spot and the board is sitting correctly.
Pro tip from the fleet world: round your final number up to the next inch. If you measure 12 ft 10 1/4 in, record it as 12 ft 11 in.
Also, do not treat that one inch as a magic shield. If you regularly drive in older areas, construction zones, or anywhere clearances run tight, give yourself a bigger personal buffer. A few extra inches of “nope” is cheap insurance.
Record it where you will see it
Once you have your verified overall height, treat it like your trailer’s name and birthday. It should be easy to find when you’re tired, it’s raining, and you just got detoured downtown.
- Write it on a card and keep it in the glove box
- Add it to a note on your phone under something obvious like “TRAILER HEIGHT”
- Put a small label inside a cabinet door near your entry
I like to record:
- Overall height (hitched, loaded): ___ ft ___ in
- Date measured
- Configuration notes: “WDH engaged, fresh tank half, bikes on rear rack”
If you change anything on the roof, re-measure. New vent cover, new AC, new rack, new antenna, even new tires can move the number.
Common height mistakes
Measuring unhitched
On the jack, many trailers sit higher or lower than they do behind the truck. Hitch it first.
Measuring on a slope
A sloped driveway can change your trailer’s attitude and it can also make it harder to keep the tape truly vertical under the highest point. Both can skew your result enough to matter.
Forgetting the highest thing is not always the AC
Aftermarket add-ons get people. I’ve seen vent covers, Starlink mounts, and roof racks stick up above the AC shroud.
Assuming posted clearance is exact
Clearance signs vary by jurisdiction and are often posted with a safety margin. On top of that, resurfacing, construction, and lane-by-lane differences can reduce real clearance. Treat signs as a warning system, not a promise.
Route planning
Your phone map is built for a sedan. By default, it does not know your height, and it can happily route you onto a “shortcut” that includes an old railroad underpass.
There are RV and truck routing apps and dedicated GPS units that let you enter vehicle dimensions, and they can help. Just remember this: their clearance databases are not perfect, and detours happen. Use them as a tool, not permission.
Instead, do two things every trip:
1) Check official restriction info
Before you roll, verify your route using up-to-date, official sources for the roads you’ll be on. Depending on where you travel, that can include:
- State DOT websites for construction updates, detours, and restriction notices
- 511 traveler information (many states have a 511 site and app)
- Municipal or county road advisories for local bridge work and closures
- Posted truck route maps where applicable
If you’re going through a city or older industrial area, spend the extra five minutes confirming that the roads you plan to use are appropriate for tall vehicles. It is boring research that prevents exciting problems.
2) Cross-check “shortcuts” and detours
If your navigation suggests a different route than you expected, especially near downtown areas, rail lines, or older neighborhoods, pause and verify. Detours are where low-clearance hits happen because you are no longer on the road you planned for.
If I can leave you with one habit: when you get a detour, assume it was designed for commuter cars. Then prove otherwise before you follow it.
Clearance numbers to use
Use the height you measured, rounded up to the next inch, as your hard minimum.
Then drive like a professional. If a posted clearance is close, do not try to “thread the needle” because:
- Road surfaces vary and can crown in the middle
- Your suspension moves over bumps
- Bridge surfaces are not always uniform across lanes
- Construction can add temporary overhead obstructions
When in doubt, take the longer way around. Fuel is cheaper than a roof repair and a ruined trip.
One more smart check: know your legal maximum height for the states or provinces you travel in. Many places allow 13 ft 6 in, but not everywhere. If you are anywhere near the limit, it is worth confirming the rules before you build a route around “probably fine.”
If you meet a low clearance
If you see a low bridge or obstruction ahead and you are not 100 percent sure you clear it, treat it like a stop sign.
- Do not commit just because traffic is behind you.
- Put your hazards on early and slow down smoothly.
- Find a safe place to pull off before the obstacle and reassess.
- Do not reverse on a highway unless law enforcement is controlling traffic.
- If you are boxed in, call the local non-emergency number for help with traffic control.
Quick checklist
- Trailer loaded like travel day
- Hitched and set up exactly like road mode
- Parked on level ground
- Measured to the highest fixed point
- Height rounded up and recorded in the cab
- Route verified using current, official restriction info
FAQ
Should I measure with weight distribution engaged?
Yes. Measure the trailer in the configuration you will actually tow. Weight distribution changes ride height and trailer attitude, which can change your overall height.
Do I need to measure every trip?
Not if nothing changes. But if you add gear to the roof, change tires or suspension components, adjust hitch setup, or load significantly differently, it is worth re-checking.
What about fifth wheels?
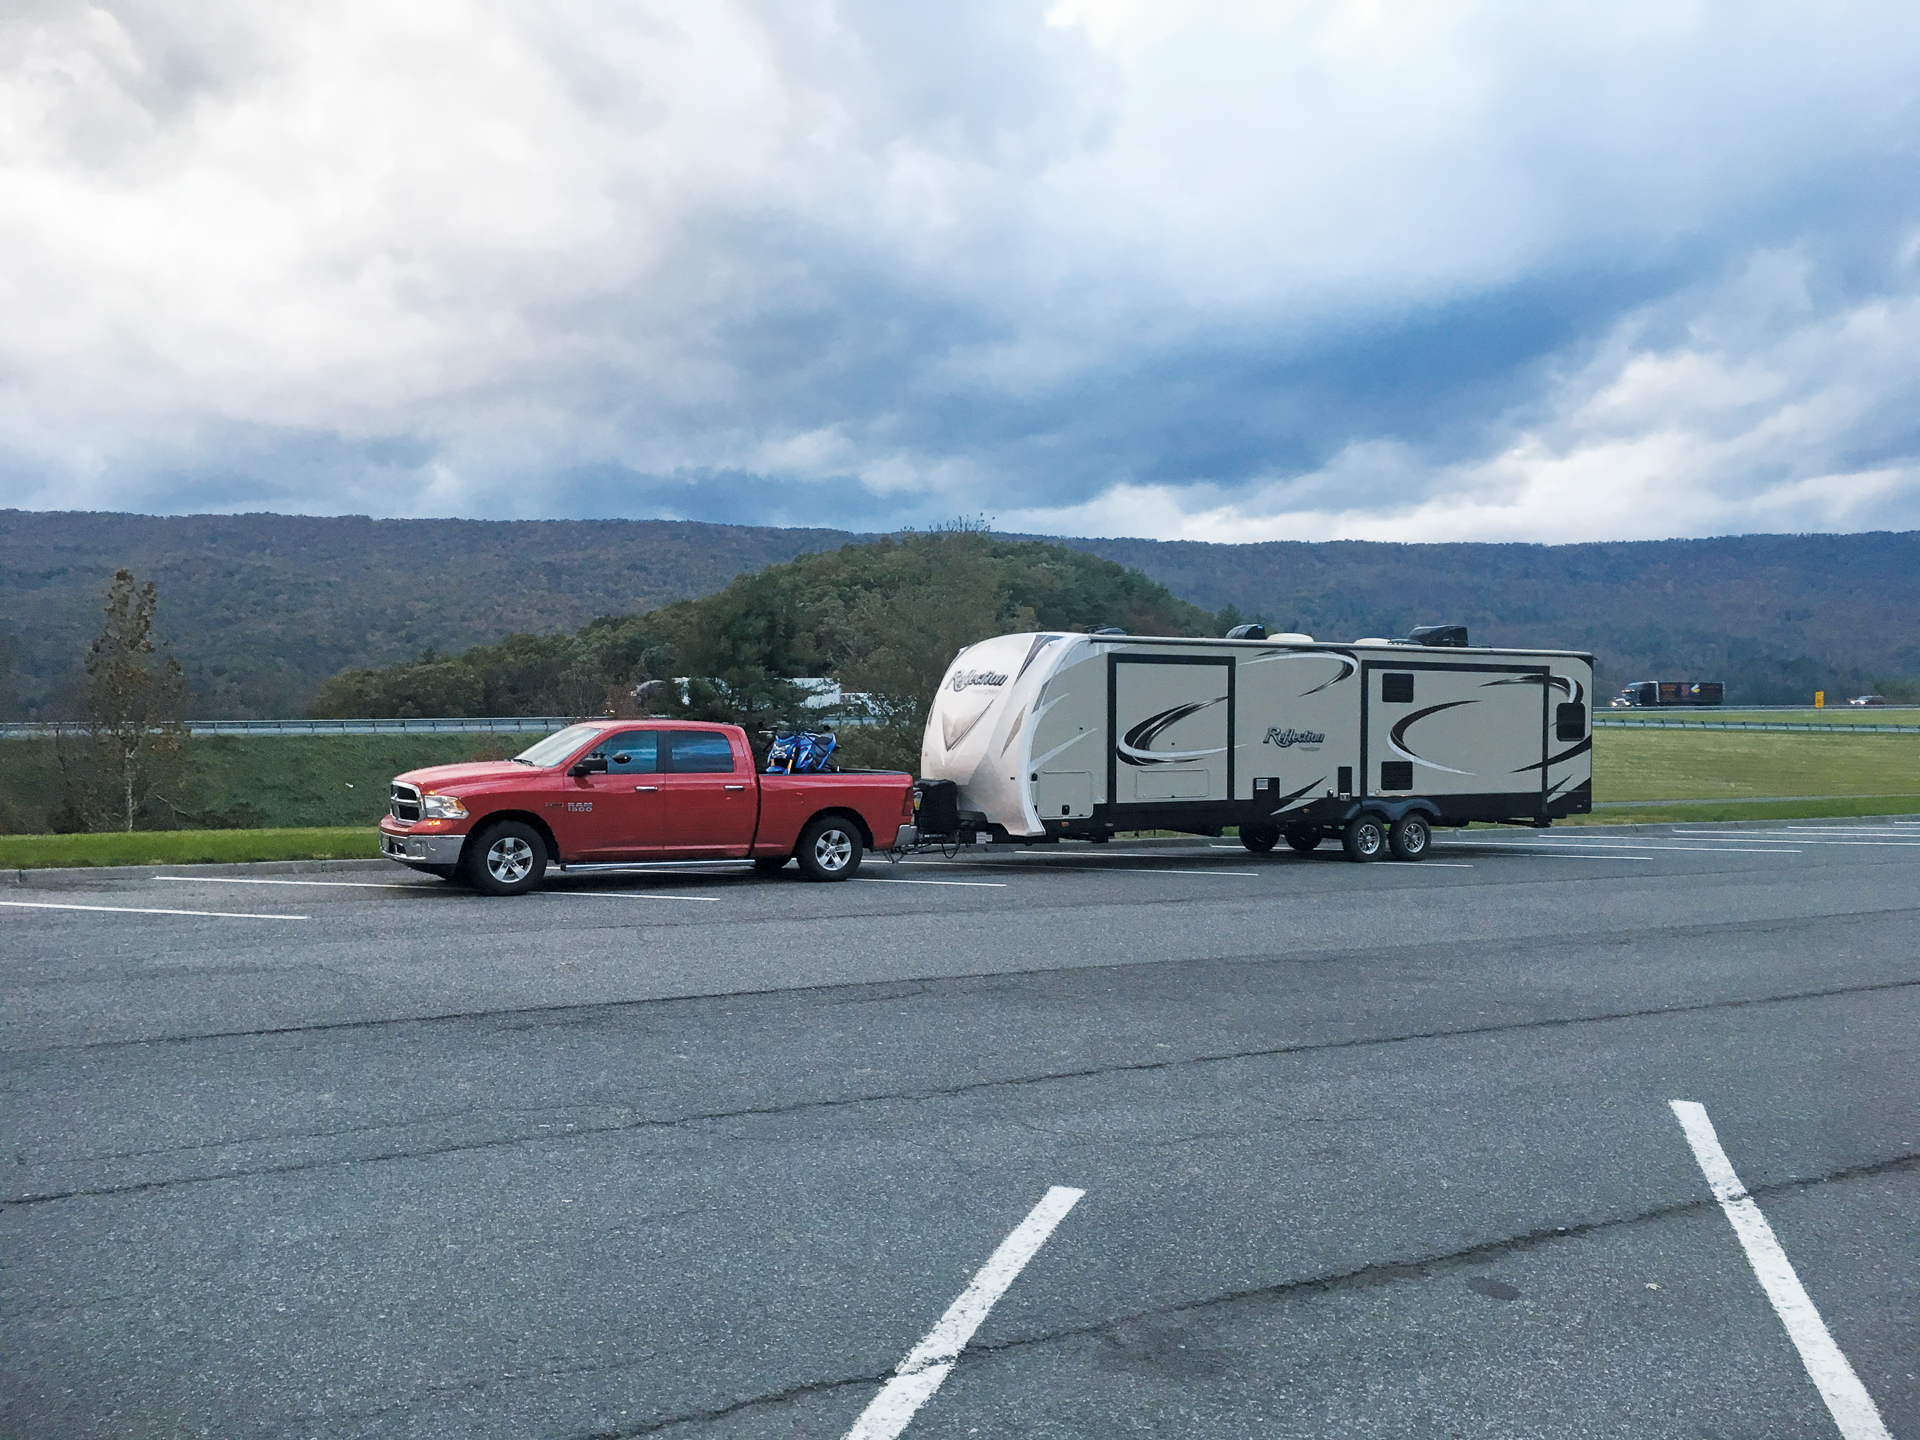
Same idea: measure hitched, loaded, and on level ground. Fifth wheels can sit differently depending on pin box height, hitch height, and truck squat, so don’t use brochure numbers.
Can I just use the manufacturer’s height spec?
I wouldn’t. Manufacturer numbers are often taken in a controlled, unloaded condition. Real-world towing adds variables, and even a 1 to 2 inch surprise is a big deal when you are near a low bridge.
What if I cannot find clearance info online for a local road?
Treat that as a warning flag. Stick to known major routes, truck routes, or roads you can verify. If you’re heading somewhere tight, call the campground, venue, or local public works office and ask what route they recommend for taller RVs and trailers.