If you tow a 5th wheel or gooseneck, your hitch is doing a lot of quiet, heavy work every mile. When it is clean, lubricated, and properly torqued, you get three wins: smoother coupling, less noise and chucking, and fewer surprises when you hit a pothole or hard brake.
I have seen plenty of “it seemed fine” hitches that were dry as a bone, packed with grit, and held together by hardware that had not been checked since install day. The good news is hitch maintenance is straightforward. The key is using the right lube in the right places and verifying torque the right way.
What to maintain on a bed hitch
Most 5th wheel and gooseneck systems boil down to a few critical contact points and fasteners:
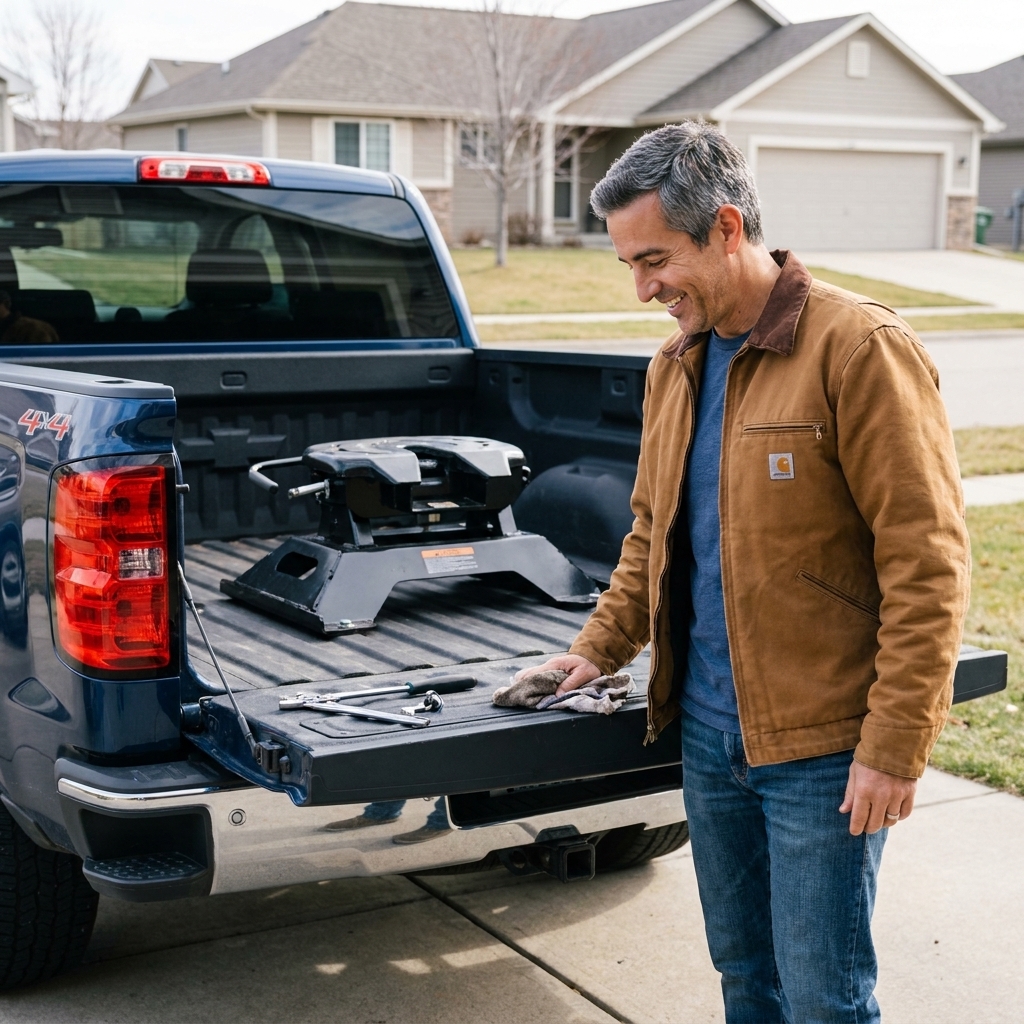
- 5th wheel hitch plate (the skid plate the pin box rides on)
- Jaw or wraparound lock mechanism (where the kingpin is captured)
- Pivot points (head pivots, trunnions, bushings, and any zerk fittings)
- Rails, pucks, or turnover ball hardware (mounting bolts, U-bolts, saddle brackets, safety chain anchors)
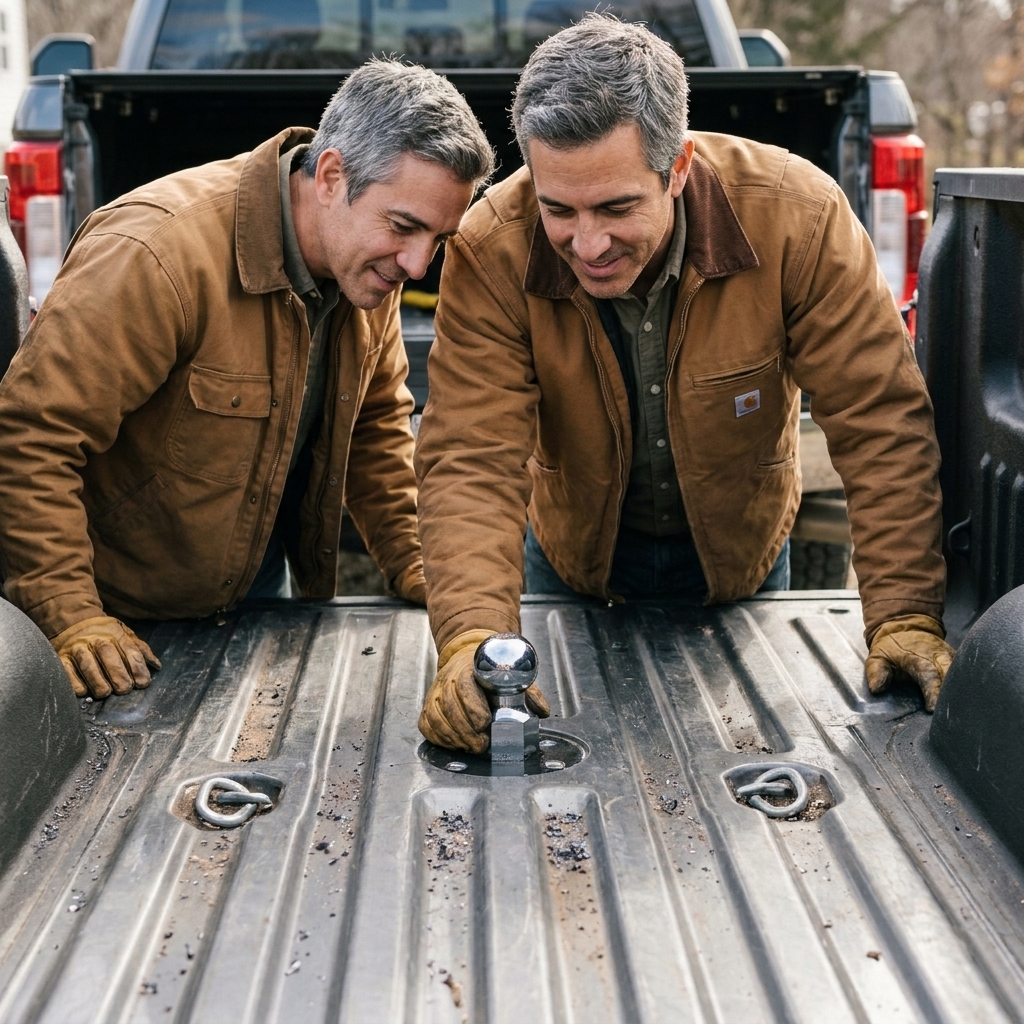
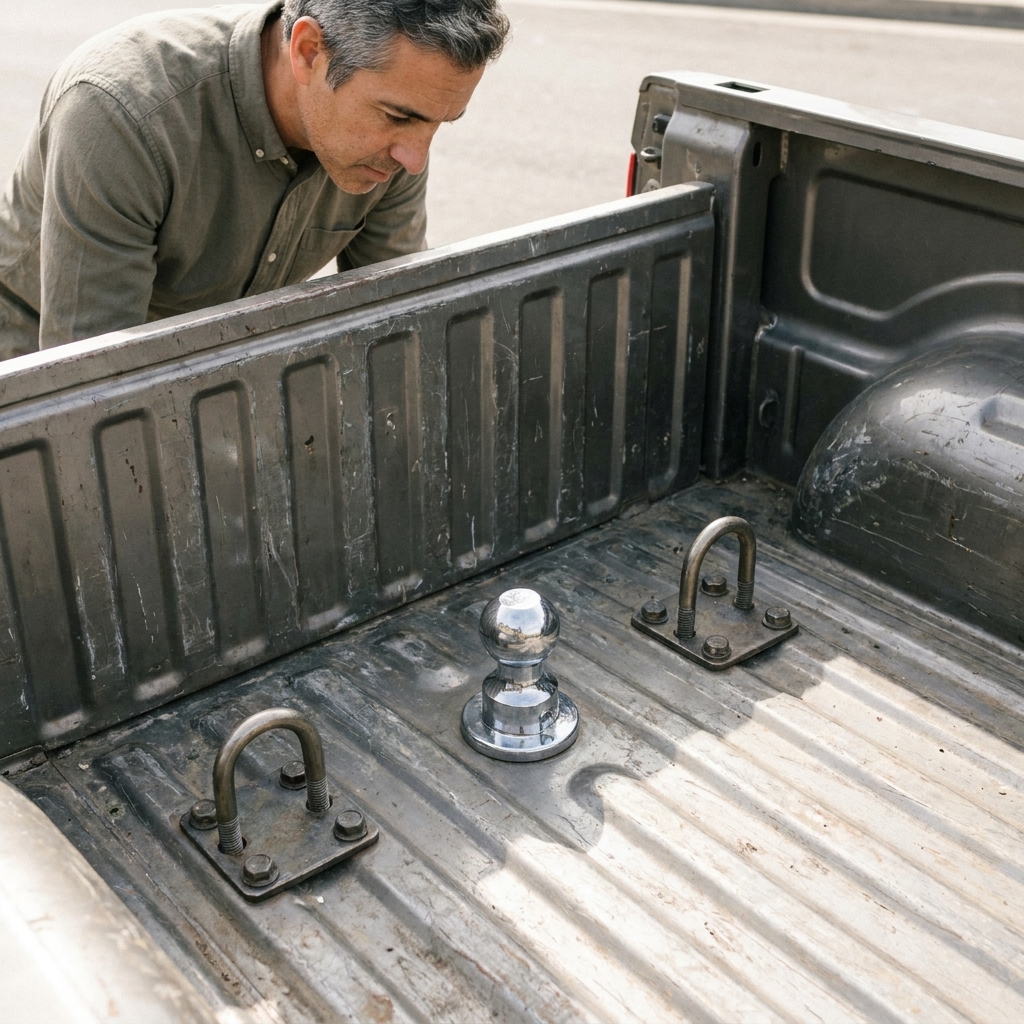
- Gooseneck ball (ball surface, latch, and socket area)
Hitches vary by brand and model, but the maintenance logic is the same: reduce friction where metal slides on metal, keep the locking mechanism clean and lightly protected, and keep structural fasteners at the correct clamp load.
Tools and supplies I keep in the hitch tote
- Torque wrench that covers your hitch’s torque range (often 50 to 250 ft-lb for mounting hardware)
- Socket set plus the specific sizes your hitch uses
- Wire brush and a small nylon brush
- Shop towels and disposable gloves
- Parts cleaner that is plastic-safe, plus a small catch rag
- Grease gun (if your hitch has zerks)
- High-quality grease (details below)
- Dry graphite (optional, for some gooseneck latches and dusty environments)
- A thin flashlight for inspecting jaws and pins
If you only buy one “upgrade” item, make it a torque wrench you trust. Hitch fasteners are not the place for guesswork.
Quick cleaner caution: many brake cleaners are hard on plastics, rubber, paint, and some bed liners. Even with a plastic-safe cleaner, keep overspray off coatings, and do not soak bushings or seals unless your hitch maker says it is OK.
Lubrication: what to use and where
Grease for plates and pivots
For most 5th wheel plates and pivot points, a quality EP (extreme pressure) lithium complex or synthetic grease works well. Look for an NLGI #2 grease that is rated for high load and has good water resistance. If you tow in wet or salty conditions, a synthetic marine-style grease can be a solid choice for pivot points.
Two notes from the real world:
- More is not always better. Excess grease becomes a dirt magnet, especially on the plate.
- Temperature matters. If you tow in deep summer heat and long grades, a higher drop point grease helps it stay put.
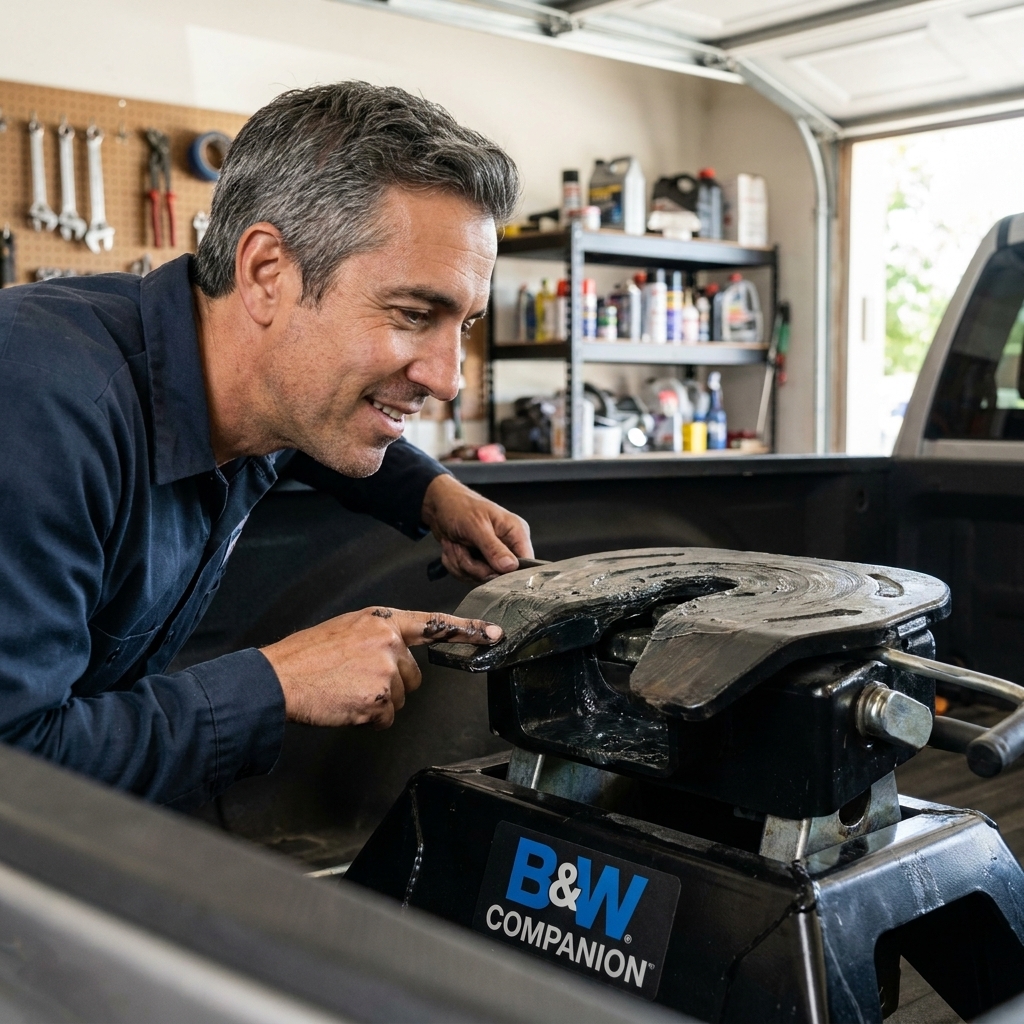
5th wheel plate: grease vs lube plate
You have two common approaches for the hitch plate surface:
- Light grease film on the hitch plate: Traditional, inexpensive, works great when kept clean.
- Poly lube plate on the trailer pin box: Cleaner, less mess in the bed, often quieter. You still lubricate pivots and jaw points, but you typically do not grease the hitch plate when running a lube plate.
If you switch to a lube plate, wipe the hitch plate clean first. Grease plus a lube plate can let grit embed in the plastic and chew up surfaces over time.
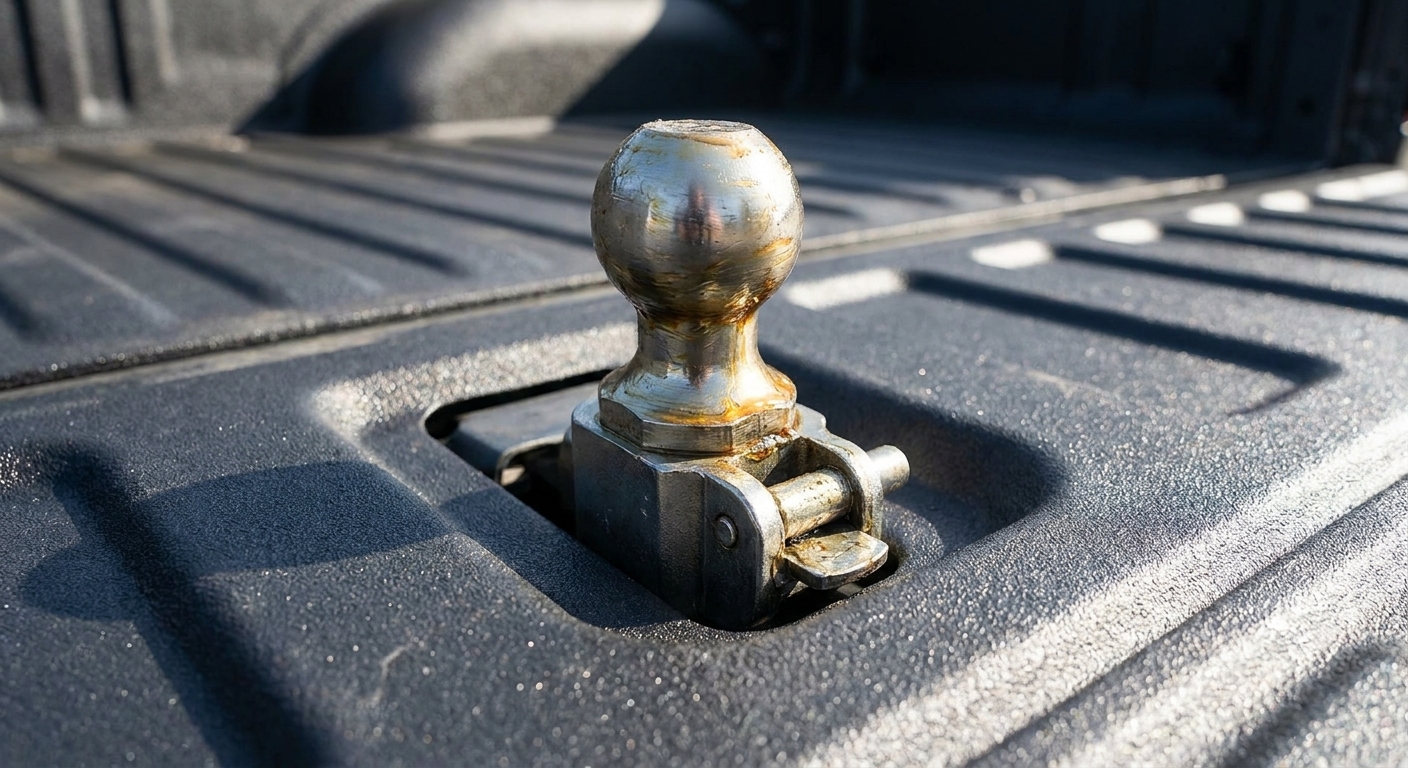
Gooseneck ball lubrication
Goosenecks are simple but they live right where dust, water, and gravel collect. I like:
- A thin coat of grease on the ball itself for smooth articulation
- Light lubrication on the latch mechanism and pivot, applied carefully to avoid gumming up the works
If you tow in very dusty areas, consider using dry graphite on the latch parts instead of wet grease. Wet grease in fine dust can turn into grinding paste.
How to grease a 5th wheel plate
Here’s the driveway version that works:
- Clean first. Wipe off old grease and grit with shop towels. If it is caked, use a plastic scraper and a little cleaner on the rag.
- Inspect the plate. Look for deep grooves, sharp burrs, or flaking coating that could accelerate wear on the pin box.
- Apply a thin, even film. A light coat across the contact zone is plenty.
- Pay attention to the landing area. The front portion of the plate takes a lot of initial contact as you back under.
- Cycle the hitch head. If your hitch pivots, move it through its range by hand to spread grease where it actually carries load. Keep fingers clear of pinch points.
If you see grease slinging onto the bed walls after a trip, you used too much.
Cleaning and lubricating the jaws
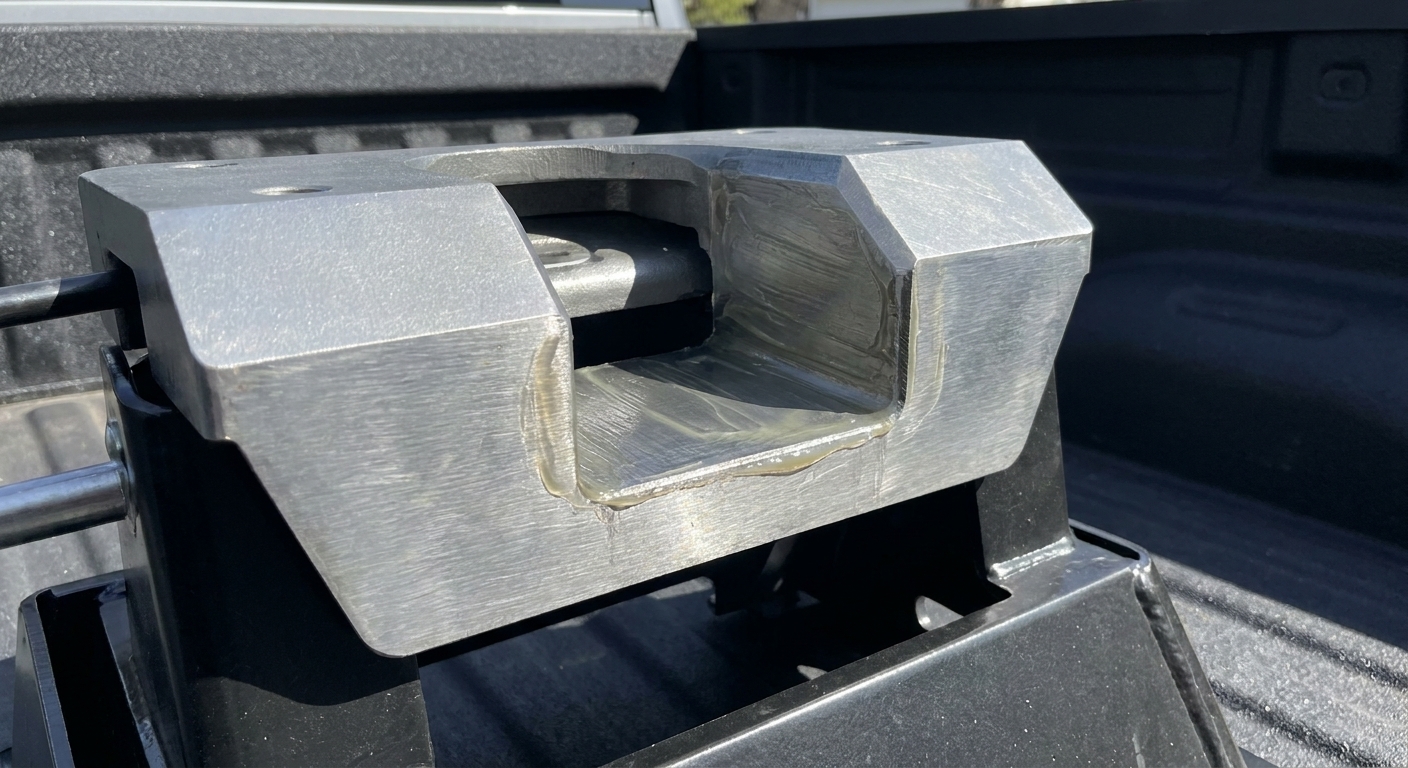
The jaws and kingpin contact surfaces should be clean and lightly protected. The goal is smooth engagement and full closure, not a greasy mud trap.
Step-by-step jaw cleanup
- Chock the trailer wheels if the trailer is connected, and set the truck in park with the parking brake.
- Keep clear of pinch points. Do not put hands between moving jaw parts, and do not get under the pin box or hitch head while you are cycling the mechanism.
- Open the hitch per your manufacturer’s procedure.
- Brush out debris with a nylon brush, then a light wire brush if needed on stubborn rust.
- Use cleaner on a rag to wipe the jaw faces and the throat area. Avoid blasting solvents directly into bushings unless the manufacturer says it is OK.
- Inspect jaw edges. You are looking for rounded corners, cracks, or metal deformation.
- Apply a light coating of grease on jaw contact points and the kingpin contact area if your hitch maker recommends it. If you run a lube plate or your manufacturer specifies dry operation in certain areas, follow that guidance.
Pivot points and zerks
If your hitch has grease fittings, use them. A dry pivot can cause binding that feels like trailer chucking or a hitch that does not want to settle in.
General method:
- Wipe the zerk clean before connecting the grease gun.
- Pump grease slowly until you see fresh grease appear at the bushing seam or pivot area, if the design allows purge.
- Stop once you see fresh grease. On some designs, over-greasing can blow seals or push contamination into places you do not want it.
- Wipe away excess so it does not collect dirt.
If a fitting will not take grease, do not just lean on it until something breaks. Remove and replace the fitting, or verify the passage is not blocked. Also follow your manufacturer’s interval. Some pivots want grease more often than others, and some “sealed” points are meant to be left alone.
Torque specs: how to do it right
There is one rule I will not bend on: use the torque values from your exact hitch model and mounting kit. Rails, puck kits, and turnover ball kits all have different bolt sizes, grades, and torque requirements. Even within the same brand, a bed kit for a Ford can differ from a GM kit.
That said, here is the process I use in the shop and in the driveway to make torque checks accurate and repeatable.
Torque-check method that works
- Start with a cold hitch. Metal expands with heat, and a hot hitch after towing can skew “feel.”
- Set the torque wrench correctly. Dial the value, lock the setting if your wrench has a lock, and use the correct drive size and socket.
- Pull slow and steady. Smooth pull, straight line. When it clicks, stop. One click is the goal.
- Avoid extensions you do not understand. Crowfoot and cheater setups can change the applied torque unless you account for correction factors. If you must use one, follow the tool manufacturer’s guidance.
- Use the correct socket and keep it square. A cocked socket can round heads and give false readings.
- Torque in a pattern. For rails or crossmembers, work from the center outward, alternating sides to seat evenly.
- Do not loosen then re-torque unless the manufacturer specifies it. A torque check is typically verifying that the fastener still meets spec, not re-setting it.
- Watch for spinning hardware. If a bolt turns too easily, something is stripped, stretched, or the backing hardware is shifting.
One more thing: torque wrenches are tools, not magic. If yours has been dropped, stored cranked down, or lived in a wet toolbox, consider having it checked or replaced. I also like to return adjustable wrenches to their lowest setting for storage.
Common torque ballparks (reality check only)
If you are staring at a fastener and wondering “am I in the right universe,” general torque tables (like common SAE reference charts) put many Grade 8 fasteners in rough neighborhoods like these with dry threads:
- 3/8-inch Grade 8: often around 30 to 45 ft-lb
- 1/2-inch Grade 8: often around 90 to 130 ft-lb
- 5/8-inch Grade 8: often around 150 to 220 ft-lb
Those ranges can swing a lot with thread pitch, washer stack, plating, and whether threads are lubricated or treated with threadlocker. Treat them as a gut-check only, not a spec.
My fleet habit: after any new hitch or bed kit install, I re-check torque after the first 100 to 200 miles of towing, then again at about 1,000 miles. After that, I check at least seasonally or before any long trip.
Stop towing now red flags
Most hitch issues give you warning before they become a headline. If you see any of this, stop and sort it out before you pull onto the highway:
- Jaws will not fully close, the handle will not seat, or the lock or safety pin will not install normally
- Visible jaw damage like cracks, chips, bent parts, or severe rounding that prevents full wrap
- Cracked welds on the hitch, base, or mounting brackets
- Missing, loose, or shifting mounting hardware, including bolts that will not torque or holes that look elongated
- Excessive fore-aft movement in the hitch head or connection that is new or getting worse
- Unusual metal dust, shiny rub marks, or rust trails around rails, pucks, or bed mounts that suggest movement
If something looks wrong and you cannot prove it is safe, park it. Tow bills are cheaper than what comes after a dropped trailer.
Where people get into trouble
Greasing the wrong places
Some hitches have friction surfaces that are designed to be dry, or they use specific lubricants. If your manufacturer calls for dry lube on a latch, do not pack it with chassis grease. That can slow spring action and collect grit.
Using impact tools on torque-critical bolts
An impact is fine for removal, but final tightening should be with a torque wrench. Over-torquing can stretch bolts and reduce clamp load over time, which is the opposite of what you want.
Ignoring bed corrosion and ovaled holes
If you see rust trails, shiny metal dust, or elongated mounting holes, torque alone will not fix it. That is a “stop and investigate” moment. Movement at the rails or pucks is a big red flag.
Keeping grease off the bed
If your hitch doubles as a work truck setup, the mess matters. A few simple habits help:
- Run a lube plate if your hitch and pin box allow it and you want the cleanest bed.
- Wipe the plate after towing if you grease it, especially before hauling cargo.
- Use a hitch cover when the hitch is installed but not in use. It keeps dust off the jaws and keeps your stuff off the grease.
- Throw down a bed mat or dedicated hitch mat if you carry gear around the hitch.
Maintenance schedule that fits real life
If you tow every weekend, you do not need to turn this into a second job. You just need a rhythm.
Before each trip
- Visual check: plate condition, jaw area not packed with debris
- Verify the hitch handle and lock move smoothly
- Quick look at rail or puck mounting points for rust trails or shiny movement marks
Monthly or every 1,000 miles of towing
- Wipe and refresh the hitch plate lubricant (or inspect lube plate wear)
- Clean and lightly lube jaws as your manufacturer recommends
- Grease zerks as needed (if equipped)
Seasonally or before a long haul
- Full torque check of mounting hardware to manufacturer spec
- Inspect pins, clips, spring tension, and any locking indicators
- Inspect the trailer kingpin and pin box plate for unusual wear patterns
Cold weather and rainy season tips
Winter
- Use a grease that stays workable in low temps. Some cheaper greases get waxy and stiff.
- Keep the jaw area dry when possible. Moisture plus road salt can start corrosion fast.
- If you store the hitch, store it clean with a light protective film on bare metal.
Rain and mud
- After a muddy trip, clean first, then re-lube. Do not trap grit under fresh grease.
- Pay attention to gooseneck latch pockets where water sits.
Quick FAQ
Can I use regular chassis grease on a 5th wheel plate?
Often yes, as long as it is a quality EP grease and you keep it clean. Apply a thin film. If you want less mess, a lube plate is a good alternative.
Should I grease the kingpin itself?
Grease only where your hitch maker or pin box maker recommends it. If you use a lube plate, many setups do not need kingpin grease at all. If your manufacturer allows it, a very light film on the kingpin contact area can help, but do not glob it on.
How do I know my jaws are fully locked?
Follow your hitch’s specific procedure and indicators. In general, you want a full wrap or full closure around the kingpin, the handle seated where it belongs, and a lock or pin installed. When in doubt, do a proper pull test in a safe area.
Do I need threadlocker on hitch mounting bolts?
Only if the manufacturer calls for it. Some kits specify dry threads, some specify lubricated, some specify threadlocker, and it changes the torque requirement.
Bottom line
A 5th wheel or gooseneck hitch is not complicated, but it is not forgiving either. Keep friction surfaces lubricated correctly, keep the jaws clean and moving freely, and verify torque on the hardware that holds it all to the truck. That small routine is how you get quiet towing, easier hookups, and peace of mind when your family and your trailer are behind you.