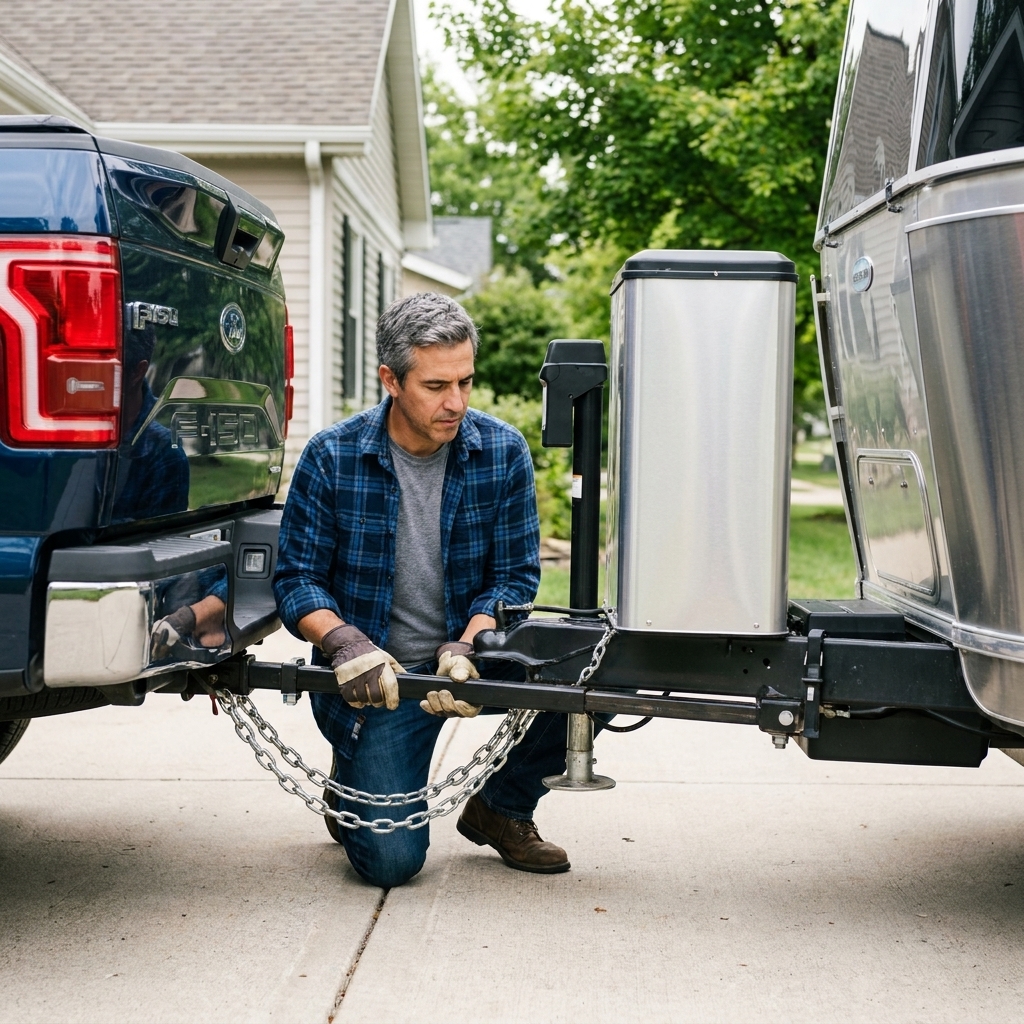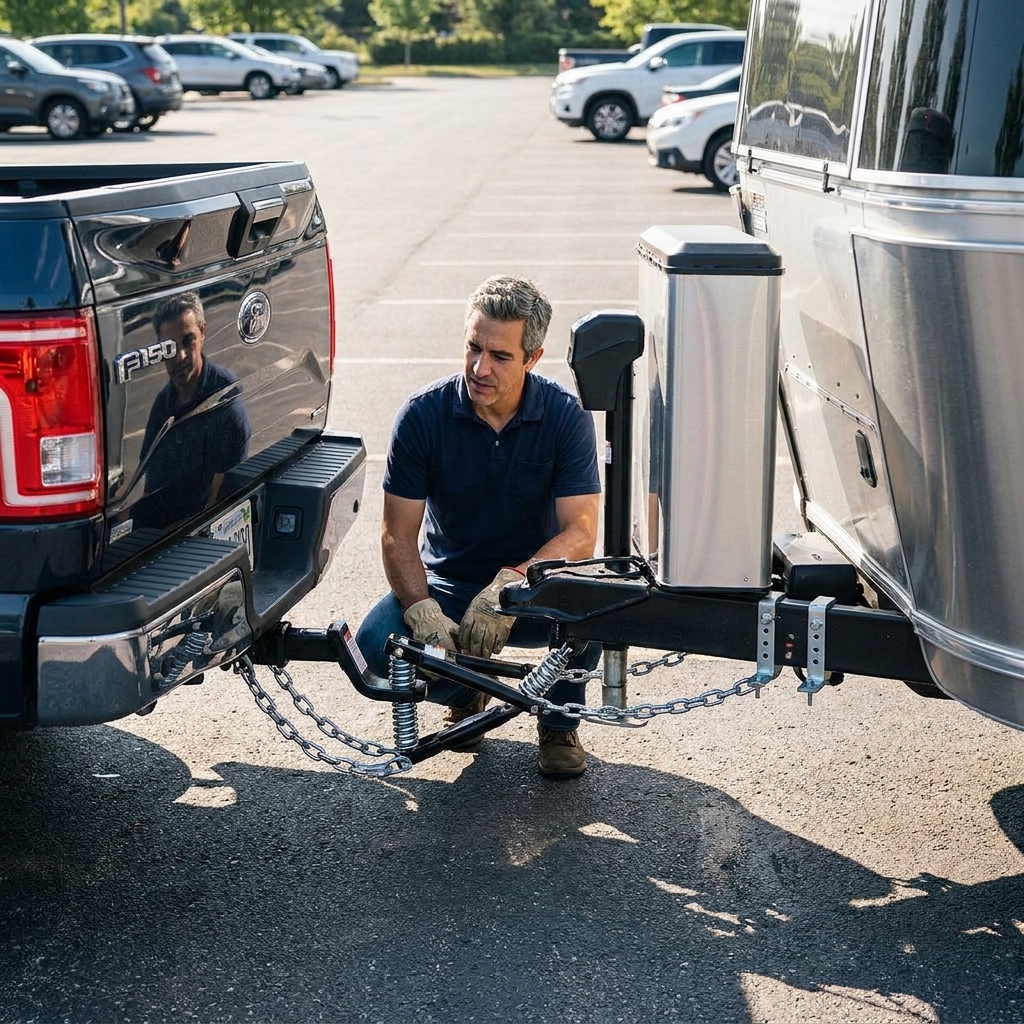
I have seen more close calls in parking lots and campsites from a rolling trailer than from just about anything else. The good news is that most of them are preventable with one simple habit: chock the wheels correctly before you take weight off the hitch.
In this guide, I will walk you through how to choose wheel chocks that actually match your tires and terrain, where to place them, and the order of operations that keeps you out of trouble.
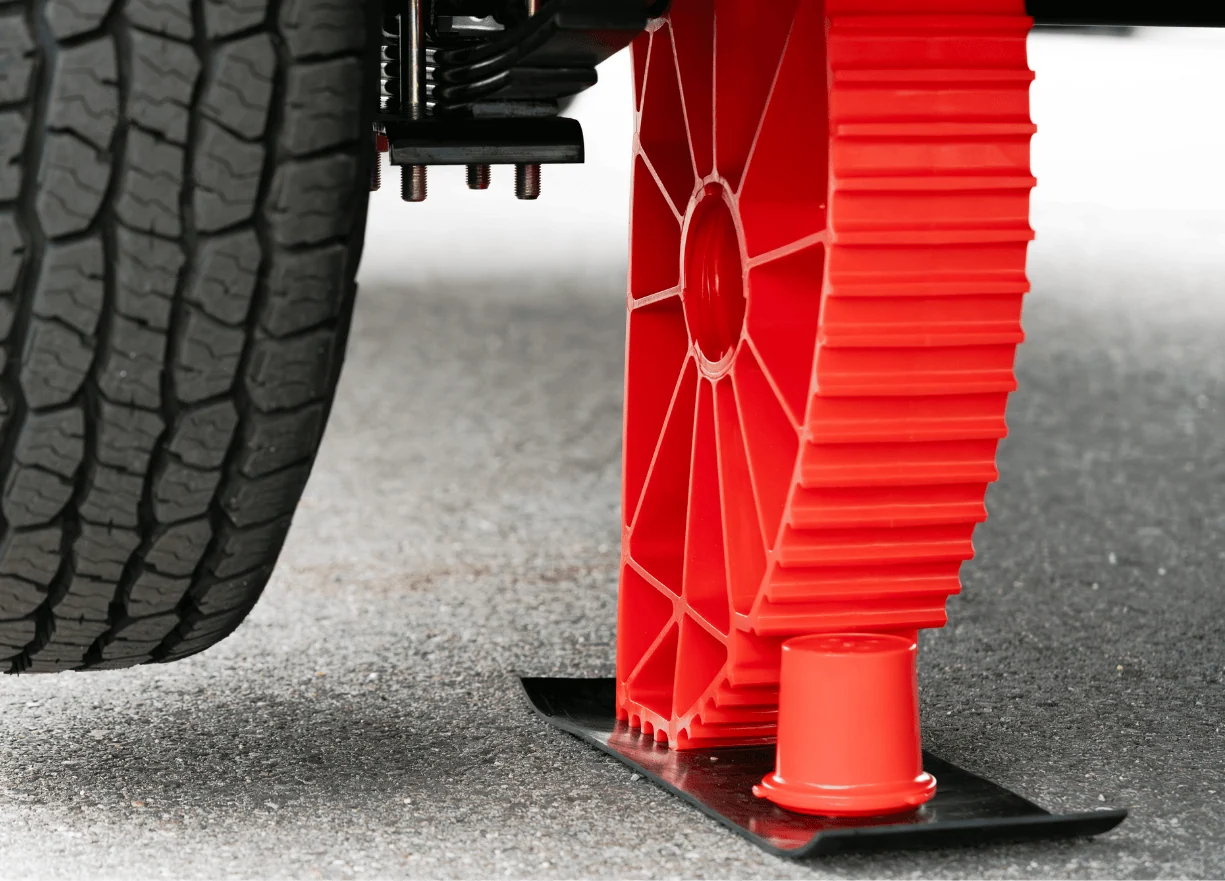
Chocks vs blocks vs jacks
These three get mixed up all the time, and the mix-up is where people get hurt.
- Wheel chocks are for one job: preventing the trailer from rolling. They resist tire rotation.
- Leveling blocks are ramps or block systems used to raise one side of the trailer to level it. They are not a substitute for chocks.
- Stabilizer jacks (the corner jacks on many travel trailers) reduce bounce and wiggle after you are parked. They are not designed to stop a trailer from rolling and should never be treated like a parking brake.
If you remember one sentence: Chocks stop rolling. Levelers set height. Stabilizers reduce movement.
Choosing the right chocks
Fit the tire
Chocks are not one-size-fits-all. A chock that barely touches the tire is basically a brightly colored suggestion.
- Height matters: The chock should contact a meaningful amount of the tire sidewall and tread, not just kiss the bottom edge.
- Wide tires need wider contact: Many utility trailers and toy haulers run wider tires than small cargo trailers. Narrow wedge chocks can squirm out on wider rubber.
- Single axle vs tandem axle: Tandem axle trailers benefit from chocking at least one wheel on one axle, and often a wheel on both axles depending on slope and surface grip.
Match the surface
Surface compatibility is a big deal. The best chock is the one that grips your ground without sliding.
- Rubber chocks: My go-to for most travel trailer and work trailer situations. Rubber tends to bite better on pavement and concrete, and it is quieter and less prone to skittering.
- Polyurethane chocks: Similar benefits to rubber, often lighter and very durable. Good all-around choice.
- Hard plastic chocks: Can work fine on clean, dry pavement, but they are more likely to slide on wet concrete, dusty asphalt, or smooth garage floors.
- Metal chocks: Common in industrial settings. Strong, but they can slide on smooth surfaces if the contact face is not aggressive. They can also damage some delicate surfaces.
If you camp on mixed terrain, choose chocks with an aggressive, non-slip base and a shape that does not depend on a perfect surface to hold.
When X-chocks help
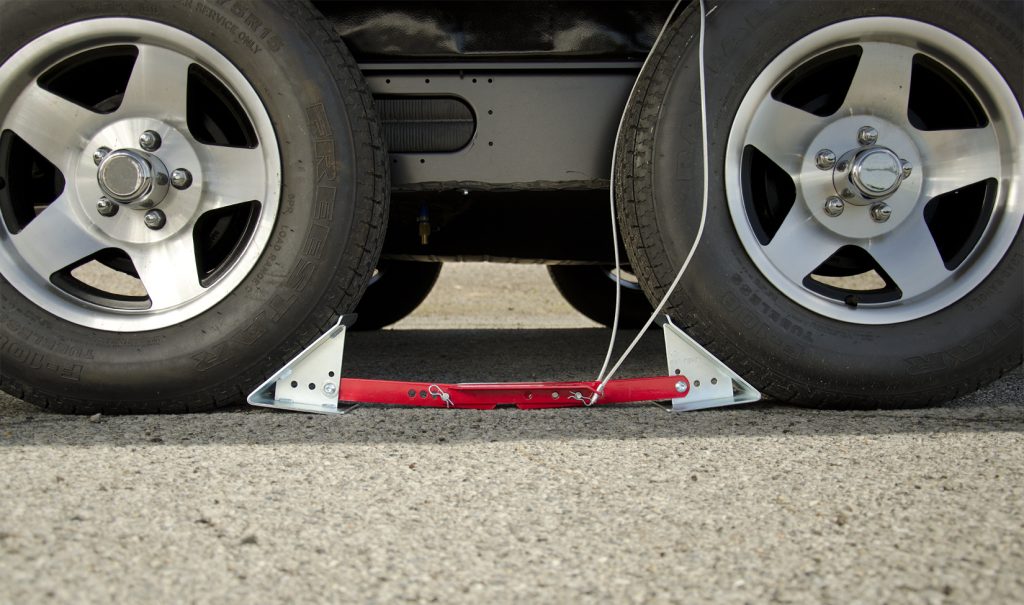
There are chocks that wedge between tandem wheels to reduce tire movement and trailer wiggle. They can be helpful, but they are not magic and they are not always a primary chock.
- Use them only on tandem axles, and only within the manufacturer’s specified tire spacing range.
- They are great for reducing fore-aft rocking once you are parked, but you should still follow a conservative approach and use true wheel chocks on sloped ground or sketchy surfaces.
Bottom line: follow the chock manufacturer’s instructions for your axle type and tire spacing, and do not assume “between-the-tires” equals “won’t roll.”
Placement rules
Chock before you unload
This is the most important timing point in the whole process. With the trailer still coupled, the truck is helping keep the trailer from moving. The moment you start lifting the coupler off the ball, you can change the forces on the tires. That is when trailers decide to creep.
So the rule is: set the tow vehicle’s parking brake, then place chocks, then begin uncoupling steps.
Place them safely
Plan your chock placement so you can set them without putting yourself in a bad spot.
- Approach from the side of the trailer where you have stable footing and good visibility.
- Keep your hands and feet out of pinch points. A rolling tire can grab a chock and shift it fast.
- Do not crawl under an unsecured trailer to place or “adjust” anything. If the trailer is not fully stabilized and secured against movement, stay out from underneath it.
Block the roll
Think like gravity. If the trailer could roll forward, you want a chock in front of the tire. If it could roll backward, you want one behind it.
- On flat ground: Chock at least one wheel, snug to the tire. Many folks chock one wheel on each side for extra peace of mind.
- On any slope: Chock the downhill side of the tires first. In real-world terms, that usually means placing chocks so they block the trailer from rolling downhill. If you can, chock both sides of at least one tire (front and back) to prevent any little fore-aft shifts.
Even a “small” slope in a driveway can be enough for a trailer to start creeping once the hitch tension changes.
Snug counts
A wheel chock should be tight against the tire. Gaps are where momentum builds.
- Slide the chock in until it is firmly seated against the tire.
- If the ground is loose gravel, press it in so the base has something to bite into.
- Re-check after you start lifting with the tongue jack. Sometimes the tire settles and opens a gap.
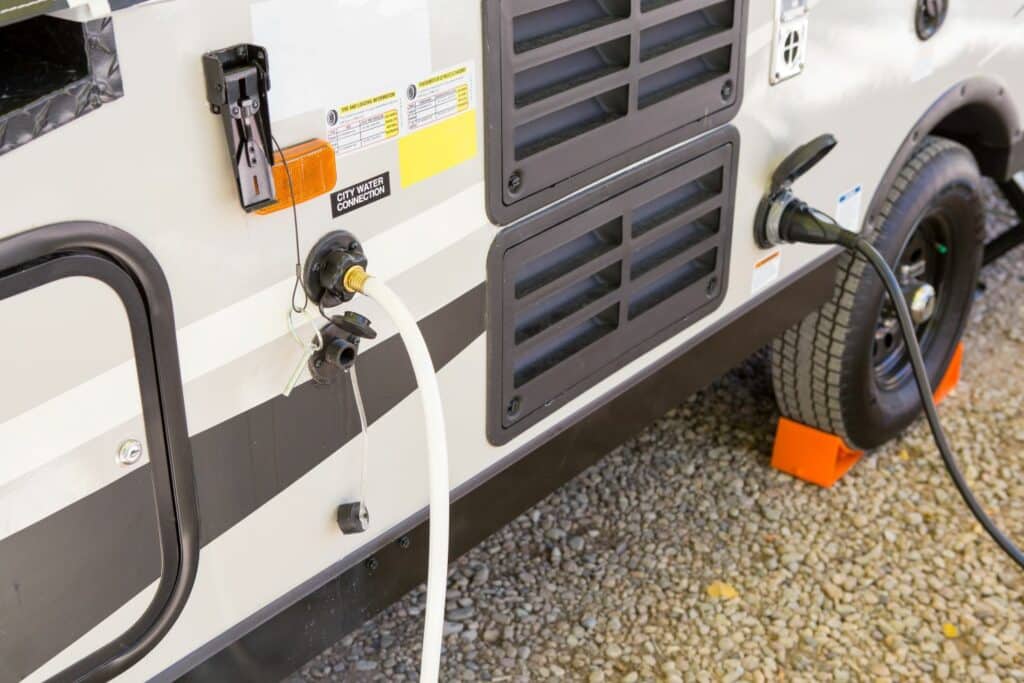
Follow the instructions
This might sound boring, but it is how you avoid buying a good product and using it in a bad way.
Many chocks have design features that only work when oriented correctly, like stepped faces, traction ribs, or a specific angle intended to match tire contact. Between-the-tires devices often have strict guidance on:
- Which direction the mechanism faces
- How much tire spacing is required
- Whether they are meant as a primary rolling restraint or a secondary stabilizer
- Torque or hand-tightness recommendations
If the package says “do not use on slopes” or “not for steel decks” or “for tandem axles only,” believe it. That is not legal fine print. That is somebody trying to keep your trailer from ending up in your neighbor’s mailbox.
Safe uncoupling steps
Here is the driveway-fence version of a safe order of operations. Your specific trailer and hitch may add a step or two, but the logic stays the same.
- Stop where you want the trailer to live. Straighten the rig if you can. It makes everything easier.
- Do side-to-side leveling first, while still hitched. If one side needs to go up on leveling blocks, do it now. This step usually requires moving the trailer a few inches or a foot, and that is tow-vehicle work.
- Keep the trailer coupled. Do not rush to pop the latch.
- Set the tow vehicle parking brake. If you have wheel chocks for the tow vehicle on steep ground, use them too.
- Place wheel chocks. Snug them tight to the tires according to the chock maker’s instructions and the slope direction.
- Re-check chocks visually. Confirm they are seated and not perched on a rock or debris.
- Uncouple. Lower the tongue jack to take weight, open the coupler latch, and raise the trailer off the ball per your hitch procedure.
- Do front-to-back leveling. Use the tongue jack to level the trailer front to back.
- Stabilize last. Only after the trailer is level and stable should you deploy stabilizer jacks (if equipped) to reduce wiggle.
Farm kid rule: If you have not chocked it, you have not parked it.
When to remove chocks
Chocks come off only after the rig is secured for movement. In plain English, that means you are hitched up correctly and ready to pull away.
Before removing chocks
- The coupler is fully seated on the ball and the latch is closed
- The safety pin or lock is installed (if your coupler uses one)
- Safety chains are connected properly
- Breakaway cable is attached correctly
- Trailer electrical plug is connected and lights work
- Tongue jack is raised and secured
- Stabilizer jacks are fully up (never tow with them down)
Then remove the chocks last, stow them, and do a slow initial roll while listening and feeling for anything off. If you are on a slope, be extra deliberate and keep the tow vehicle’s brake control until you are confident the trailer is tracking normally.
Common mistakes
- Leveling at the wrong time: Side-to-side leveling with blocks has to happen while you are still hitched, because you need to roll the tires onto the blocks. Do it first, then chock, then uncouple.
- Chocking after opening the coupler: That is the moment you are most likely to get movement.
- Using the wrong tool: Leveling blocks and stabilizers are not wheel chocks.
- Placing chocks where you cannot access them safely: If you have to reach under or between risky pinch points, reposition the trailer and try again.
- Trusting one tiny chock on a steep grade: Add chocks, reposition to flatter ground, or both.
- Assuming the trailer “won’t move because it never has before”: All it takes is one time with a slightly different slope, a slick spot, or a tire settling.
Quick FAQ
Do I chock the front or back?
Chock the side that blocks the direction the trailer could roll. On a slope, that usually means chocking the downhill side first. When in doubt, chock both sides of at least one tire (front and back) so the tire cannot creep either direction.
How many chocks do I need?
Minimum is typically one wheel chocked properly on flat ground, but I prefer at least one chocked wheel per side when conditions are less than perfect. On slopes, loose gravel, or heavy trailers, using more chocking force is cheap insurance.
Can I rely on trailer brakes?
Some trailers have brake systems that can hold position, but wheel chocks are still the simplest, most reliable mechanical backstop. Use chocks even if you have braking help, especially during hitching and unhitching when loads shift.
Can I use something random if I forgot chocks?
No. Do not use makeshift blocks. If you do not have proper chocks, the safest move is to stay hitched until you can get the right equipment or reposition to a safer, flatter area.
The takeaway
Wheel chocks are not glamorous, but they are one of the highest return safety items you can buy for towing. Choose chocks that grip your usual surfaces, follow the manufacturer’s placement guidance, and make it a habit to set them before you start uncoupling. Then remove them only when you are fully secured and ready to move.
Your trailer should never get the chance to surprise you. A good chock routine takes less than a minute and can save a whole lot more than a minute’s worth of damage.