If you have ever stared at your hitch-mounted bike rack and your trailer tongue and thought, There is no way these two are going to play nice in a tight turn, you are not alone. I have seen plenty of bent racks, dented trailer frames, and busted taillights that started with the same assumption: “It looks like it will clear.”
The problem is that clearance changes fast as you turn. What looks fine when everything is straight can turn into a contact point when the trailer tongue sweeps toward the vehicle and the rack during articulation.
Below is how I check it in the real world, in the order I recommend doing it. The big themes are simple: confirm the combo is allowed, confirm you are not overloading anything, measure what you can, and then do a controlled clearance test before you ever hit the road.
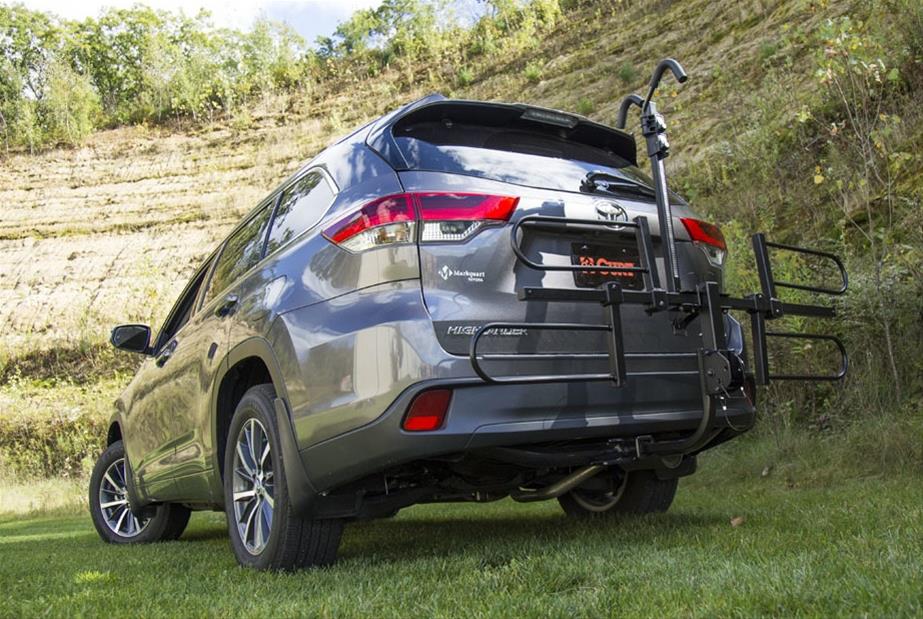
Step 1: Confirm the rack allows towing with it installed
Not every hitch bike rack is designed to have a trailer hooked up at the same time. Some racks flat-out prohibit it. Others allow it only with specific hitch types, specific receivers, or only when used with an accessory that keeps the coupler at the correct distance.
Also, quick reality check: a lot of people are not just “towing with a rack installed.” They are trying to tow from behind the rack using a dual receiver, hitch-to-hitch adapter, or stacked extensions. That is a different load path, and it is where many rack manufacturers draw a hard line.
What to look for
- The rack manual: Look for language like “not rated for towing,” “no towing,” “do not use with trailers,” “do not use with adapters,” or “approved for towing only when…”
- Manufacturer fit guides: Many brands publish hitch and vehicle-specific notes. Do not rely on product photos.
- Your hitch manual: Some hitches also prohibit certain accessory combinations or extension use.
My rule of thumb is simple: assume it is not allowed unless the manufacturer explicitly says it is. Some manuals are silent rather than clear, and policies vary. If you cannot find a straight answer, contact the rack maker and the hitch maker in writing and keep the reply.
Step 2: Check receiver size, ratings, and tongue weight
Even if you are only worried about the rack hitting the trailer, you still need to make sure the setup is safe and within ratings. Adding a bike rack changes leverage on the receiver. And the tongue weight you think you have might not be the tongue weight your hitch is actually feeling.
Quick checklist
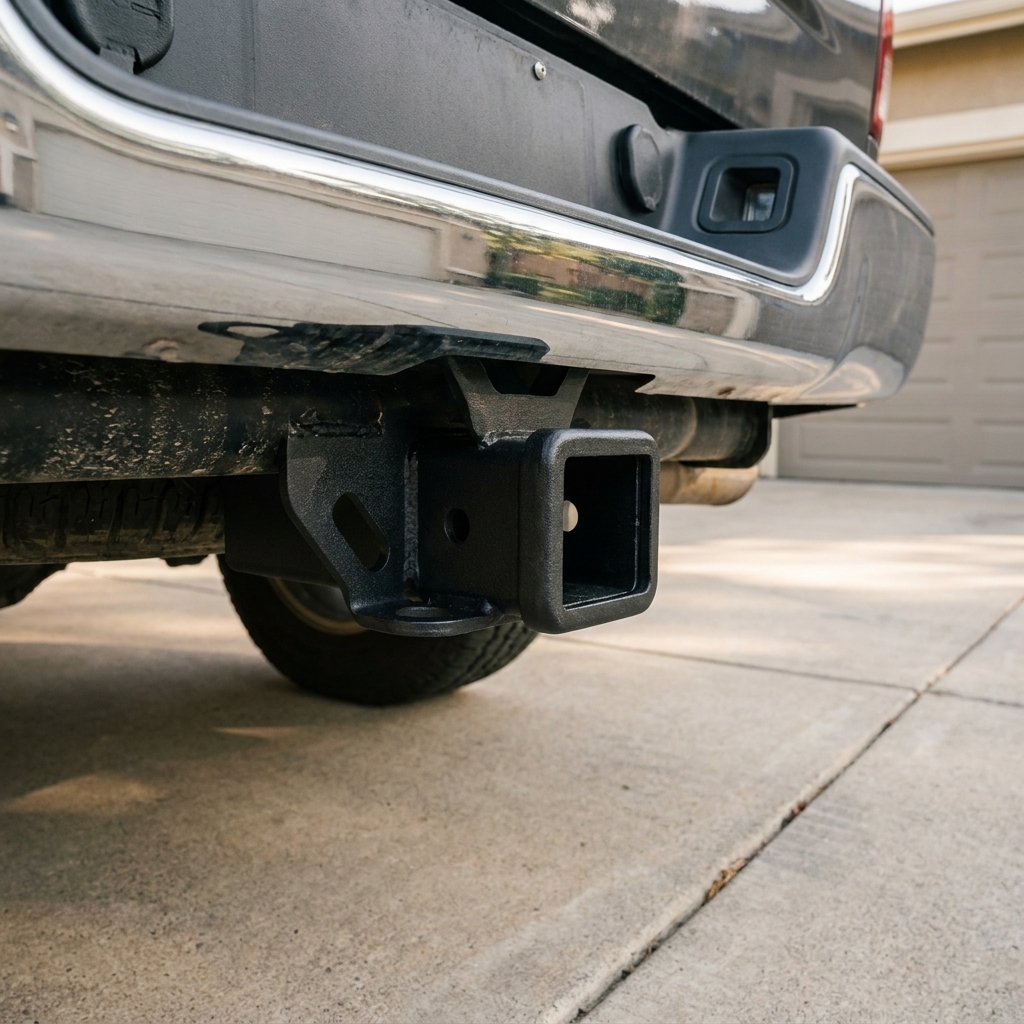
- Receiver size: 2-inch vs 1.25-inch matters. Many towing-rated racks assume a 2-inch receiver, and many 1.25-inch setups are more limited for both racks and adapters.
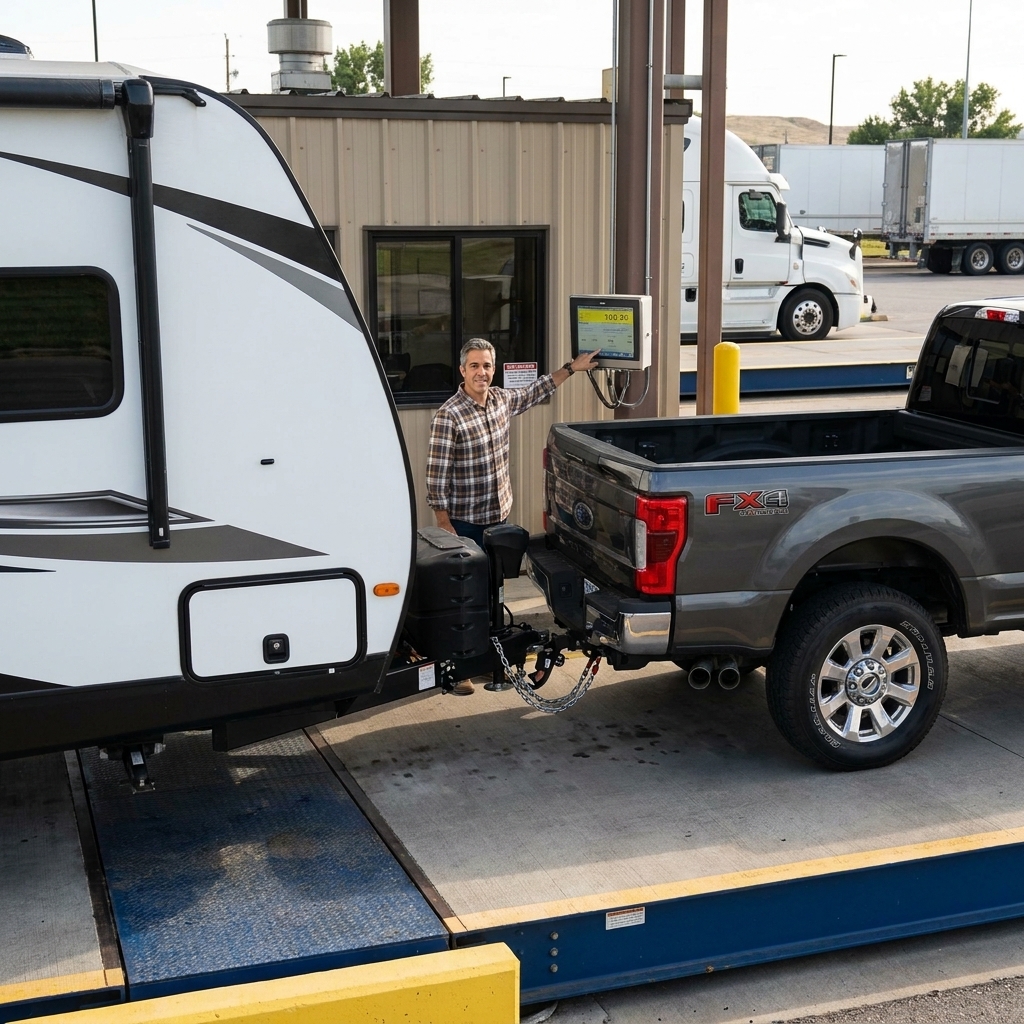
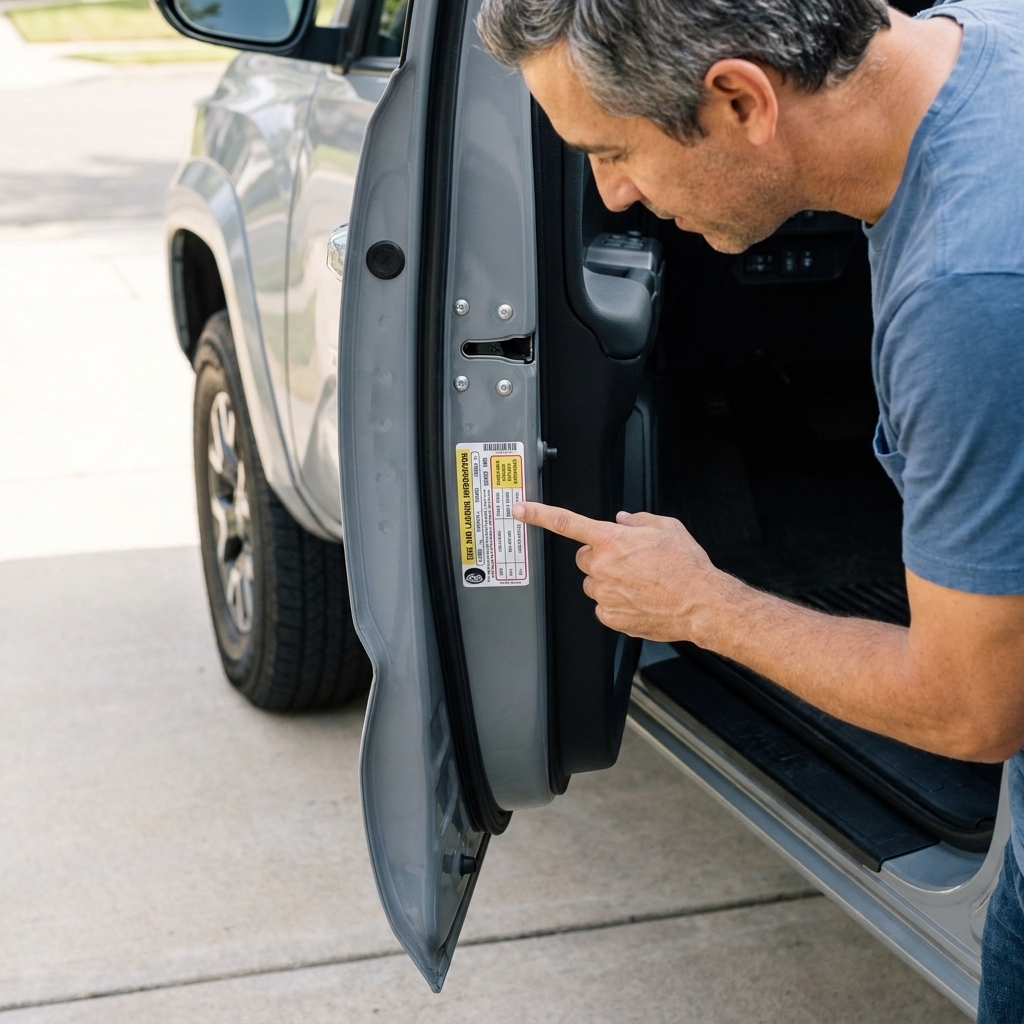
- Hitch rating: Your hitch has a max trailer weight and max tongue weight. Stay under both.
- Vehicle limits: Your truck or SUV has its own limits too. The lowest rating wins.
- Leverage matters: Trailer tongue weight plus the rack and bike weight all load the back of the vehicle, but they do not all sit at the same point. The farther out the load is, the more it can leverage the receiver.
Important note from a guy who has replaced receivers for a living: avoid stacking extenders and adapters to “make it fit.” Extensions and adapters commonly reduce rated capacity, sometimes a lot. The amount depends on the specific part and hitch class. Always follow the extender’s stated derating and re-check your hitch and vehicle limits with that derating applied. If your clearance only works with a long extension the rack manufacturer does not approve, treat that as an incompatible combo, not a challenge to solve.
One more practical check that gets missed: do not let the rack block the trailer plug or force the wiring to rub on sharp edges. If you cannot plug in cleanly and strain-free, that is a problem.
Step 3: Know the usual contact points
Most rack-to-trailer contact happens in one of three places:
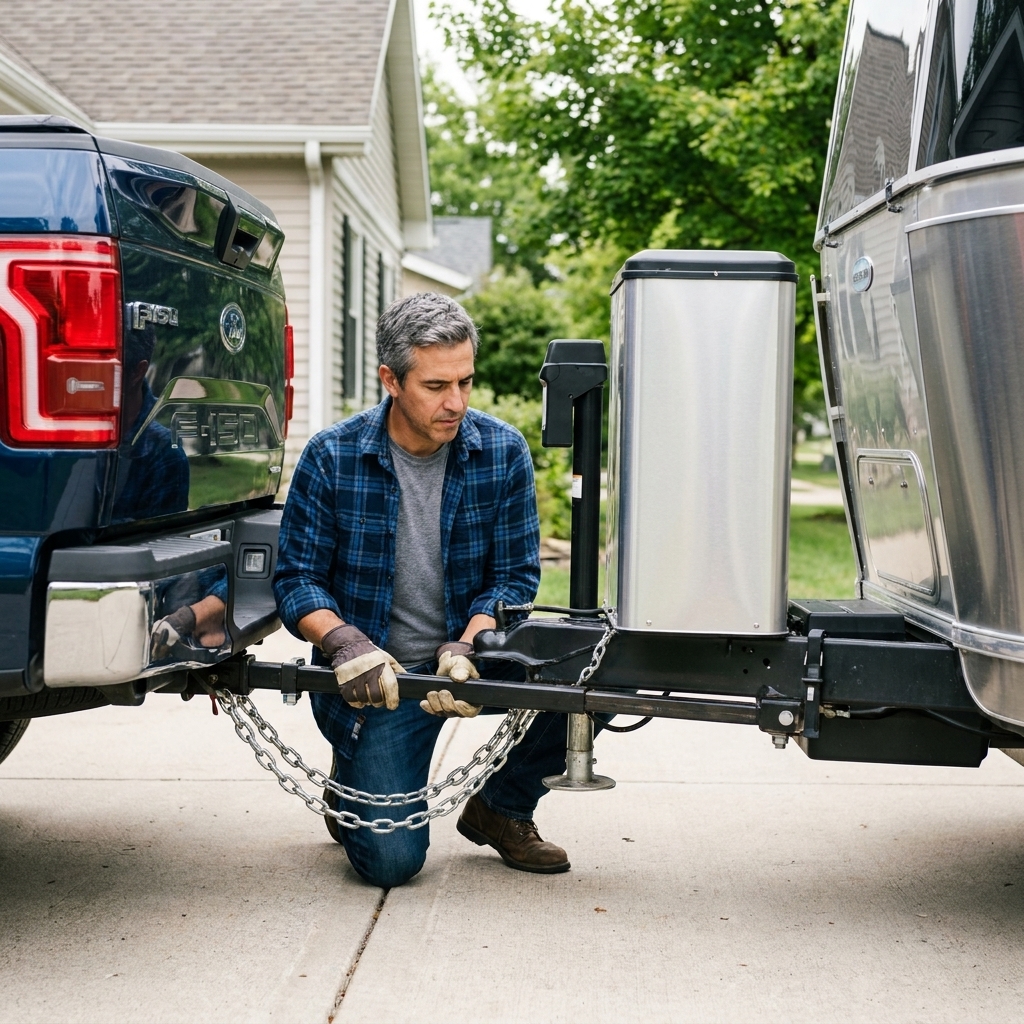
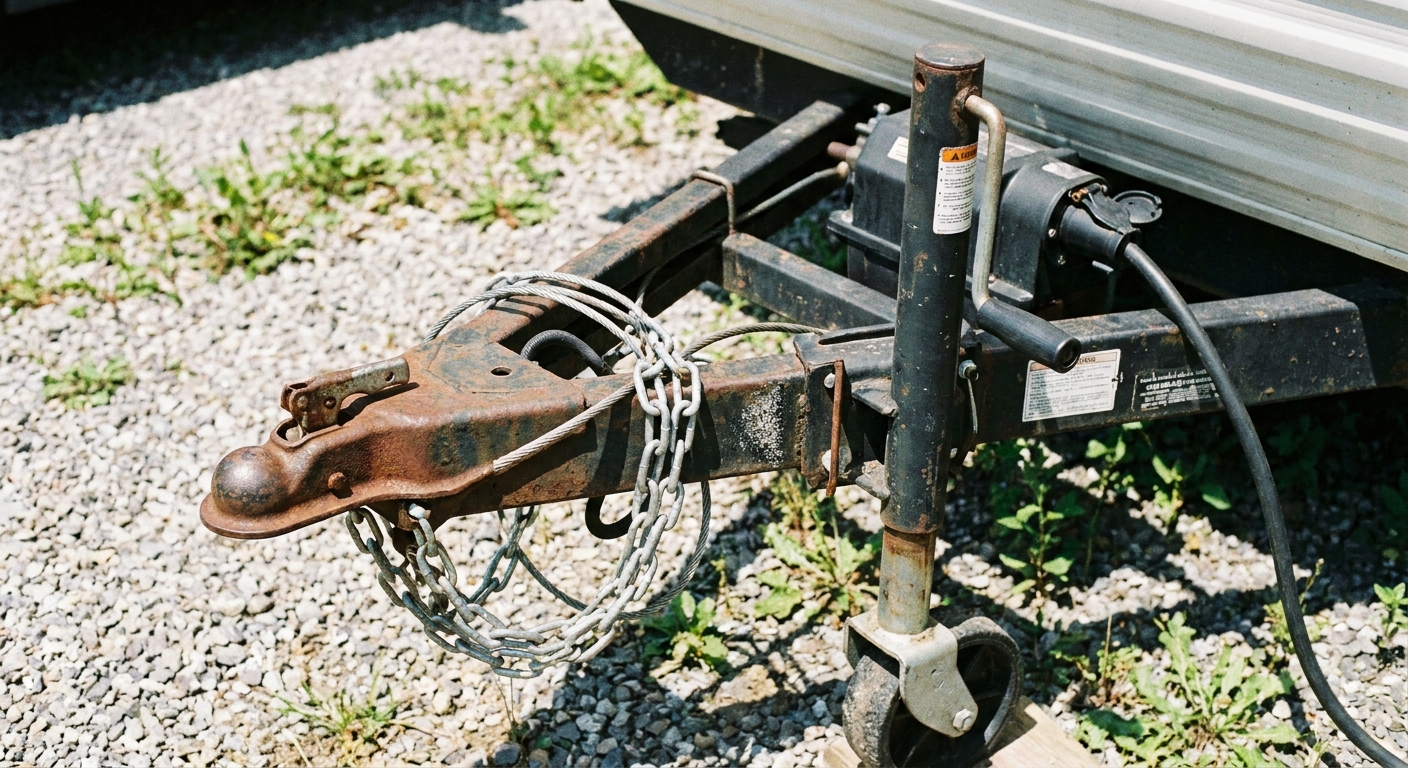
- Trailer coupler area contacting the nearest point on the rack when turning.
- Trailer jack or jack foot hitting the rack trays or upright mast.
- Safety chain loops, breakaway cable hardware, or wiring connectors snagging on the rack during tight articulation.
Platform racks (tray style) tend to be bulkier but lower. Hanging racks tend to sit higher but can swing, flex, and introduce their own clearance problems.
If you run a weight distribution hitch, pay attention to the head assembly and any sway control arms. Some setups also have limits on backing angle or require extra care to avoid binding. Follow the WDH manufacturer’s instructions.
Step 4: Take two key measurements
You can do a lot with two measurements and a realistic idea of your turning angle.
Measurement A: Rack forward reach
Measure from the center of your hitch pin hole to the closest forward-facing part of the rack that could hit the trailer (often the nearest tray edge, upright mast, or a folded cradle).
Measurement B: Trailer tongue hit zone
Measure from the center of the coupler ball socket back to the closest point on the trailer tongue assembly that could contact the rack during a turn. Common hit-zone parts include the jack post, jack wheel, A-frame corners, and any gussets or hardware.
Think of it like this: Measurement A is how far the rack reaches toward the trailer. Measurement B is how far the trailer hardware reaches back toward the rack.
These numbers do not guarantee clearance, but they tell you whether you are living in the danger zone before you even bother with a driveway test.
Step 5: Do a controlled clearance test
This is the part most folks skip, and it is the part that prevents damage.
What you need
- A flat, open parking lot or driveway free of obstacles
- Wheel chocks
- A helper (strongly recommended)
- Painter’s tape or chalk
- A tape measure
How I do it safely
- Hook up completely like you are going towing: coupler latched, chains on, breakaway attached, wiring plugged in, jack fully up.
- Load the rack realistically. If you normally carry bikes, test with bikes on the rack. Many racks sit differently when loaded, and they can flex more.
- Chock the trailer wheels. You want the trailer stable and predictable.
- Start straight and measure the closest gap between the rack and the trailer tongue area. Mark the closest points with painter’s tape.
- Turn slowly to each side while creeping at idle. Your helper watches the marked points and calls out distances. Keep your helper out of pinch points and away from the path of the trailer and tires. If you are alone, stop often, put the vehicle in park, and check.
- Find your worst-case. Tight angles matter, especially when backing into campsites or cutting sharply around curbs. Then, if you can do it safely, repeat the test on a mild slope or driveway breakover. Uneven ground can change angles and eat clearance faster than a flat-lot test.
- Set a real buffer. My personal minimum is 2 to 3 inches of clearance at the closest point while moving slowly, with the rack loaded. That is a rule of thumb, not a standard. Trailer geometry, suspension travel, rack flex, and uneven ground can all demand more.
If you contact even lightly during this test, do not write it off as “only in extreme turns.” Extreme turns are exactly what backing and tight campground maneuvering require.
Do not forget plate and lighting
Even if your rack clears the tongue, the rack and bikes can still create problems:
- Blocked tail lights or turn signals
- Obscured license plate
- Hidden reflectors
Rules vary by state and province, so treat this as a compliance check, not a suggestion. If anything is blocked, you may need auxiliary lights and a plate relocation bracket.
Clearance killers people miss
Even when your driveway test looks decent, a few real-world factors can reduce clearance.
- Uneven ground: Pulling into a sloped driveway or a dipped gas station entrance can twist the hitch and change the rack angle.
- Rack play: Some racks have more movement at the receiver. Anti-rattle devices help, but they do not make a rack a structural tow point.
- Trailer jack rotation: Swing-away jacks or rotated jack handles can become the new closest point.
- Bikes shifting: Handlebars and pedals can stick out farther than you think, especially on wide bars or fat-tire bikes.
- WDH hardware: WDH head assemblies, sway control arms, and chain brackets add hardware in the same neighborhood as a rack.
When to reject the combo
I get it. Nobody wants to buy a different rack after they already own a good one. But some combinations are just not compatible, and forcing it usually ends with damage or a compromised towing setup.
Walk away from the combo if any of these are true:
- The rack manufacturer does not approve towing with the rack installed, or prohibits adapters or dual-receiver use.
- You need an unapproved hitch extender, stacked adapters, or a multi-piece setup to gain clearance.
- Your stationary test shows less than a few inches of clearance at the worst angle, especially once you repeat the test on uneven ground.
- The rack blocks or interferes with chains, breakaway cable, wiring, or the coupler latch.
- The rack or bikes block trailer jack operation or make it impossible to hitch and unhitch safely.
- The rack or bikes block lights or the license plate and you are not prepared to add proper auxiliary lighting or relocation hardware.
Better options are usually a rack designed for these towing setups, carrying bikes on the trailer itself (where allowed and properly mounted), or moving bikes inside the vehicle or trailer when practical.
Quick FAQ
Can I use a longer ball mount to move the trailer back?
Sometimes a longer ball mount can help clearance, but it can also change towing dynamics and increase leverage on the hitch. It also does nothing if the rack is not approved for towing. Verify ratings, keep your trailer level, and do the clearance test after any change.
Is there a standard turning angle I should test?
Not really. Your worst-case is usually backing sharply or making a tight pull-through turn in a parking lot. Test both left and right, then add a real-world check on uneven ground if you can do it safely.
What clearance is enough?
At slow speed, my rule of thumb is 2 to 3 inches minimum at the closest point, with the rack loaded. It is not a standard, and some setups need more because of dips, driveway transitions, trailer geometry, or rack flex.
Will a swing-away bike rack solve this?
Swing-away racks can help with access and sometimes clearance, but they add hinges and extra length. Only use one that is explicitly approved for your towing scenario, and still do the clearance test.
My driveway-rule takeaway
If you remember one thing, make it this: clearance is not a guess, it is a test. Check the manuals, confirm you are within ratings, measure the key points, then do a slow, controlled turn test with the rack loaded before you commit to a trip.
It is a lot cheaper to spend 20 minutes in the driveway than it is to replace a rack, a coupler, or a chunk of trailer tongue hardware at a campground.