Once the camping trips and jobsite hauls slow down, it is tempting to just park the rig and forget it until spring. That is how you end up with a dead battery, flat-spotted tires, a trailer brake that is stuck, or gasoline that smells like varnish. Winterizing is not complicated, but it does need to be deliberate.
I am going to walk you through the big three most people need for winter storage, fuel stability, battery health, and tire protection, plus a few extra steps that keep towing gear safe and predictable when the weather swings hard.
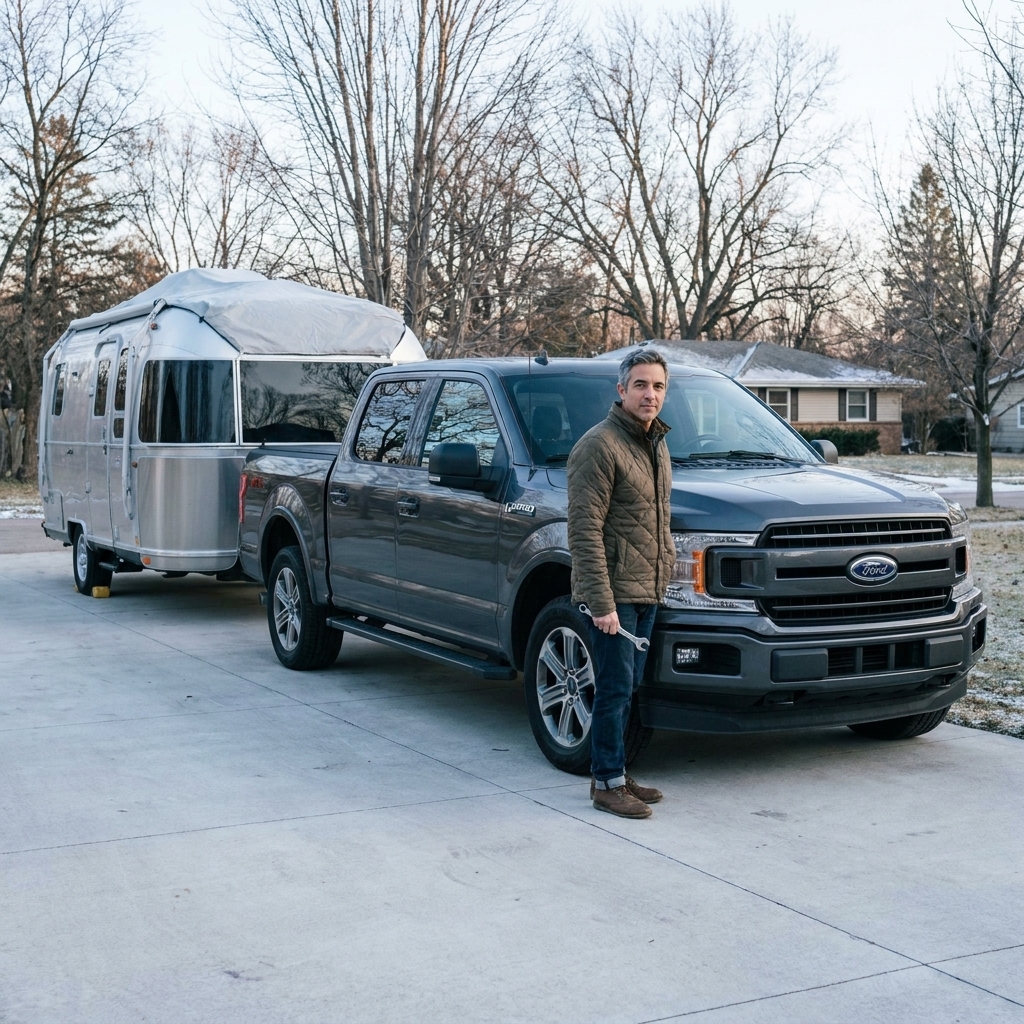
Before You Start: Pick the Right Storage Plan
How you winterize depends on where it sits and how long it sits. A rig stored outside in Ohio slush needs more protection than one tucked into a dry barn in Arizona. Still, the priorities stay the same: keep fuel fresh, keep batteries alive, keep tires healthy, and keep water out.
Quick decision points
- Storage length: Over 30 days means fuel treatment and battery planning matter. Over 90 days means they matter a lot.
- Outside vs. inside: Outside storage increases UV exposure on tires, moisture on electrical connections, and corrosion on hitch parts.
- Access to power: If you have power, maintain batteries correctly. If not, plan to remove batteries or schedule charging.
Step 1: Stabilize Fuel (Truck and Any Onboard Equipment)
Modern gas and diesel are not happy sitting. Gasoline can oxidize and form gums. Diesel systems can end up with water in the tank from condensation, poor storage practices, or contaminated fuel, and once water is present, microbial growth can become a real issue. The goal is simple: store with treated fuel, and minimize air space where condensation forms.
For gas trucks
- Fill the tank to reduce condensation. Leave a little room for expansion, but do not store near empty.
- Add a quality fuel stabilizer using the dose on the bottle for your tank size. If your truck runs ethanol-blended fuel (E10, E15), choose a stabilizer that specifically covers ethanol blends, especially for storage beyond a month.
- Run the engine 10 to 15 minutes so treated fuel reaches the injectors and fuel rail.
- Treat any onboard gas equipment (generator, pressure washer, etc.) that will sit. Small carbureted engines are especially prone to gumming up.
For diesel trucks
- Top off the tank to reduce condensation.
- Add a diesel stabilizer that covers oxidation stability and water control. In cold climates, choose one rated for cold flow if you will start it in deep winter.
- Run the engine long enough to circulate treated fuel through the system.
Mechanic tip: If your diesel has a history of water in the separator, drain the water separator before storage and again when you bring it back online. Water is where most diesel storage problems start.
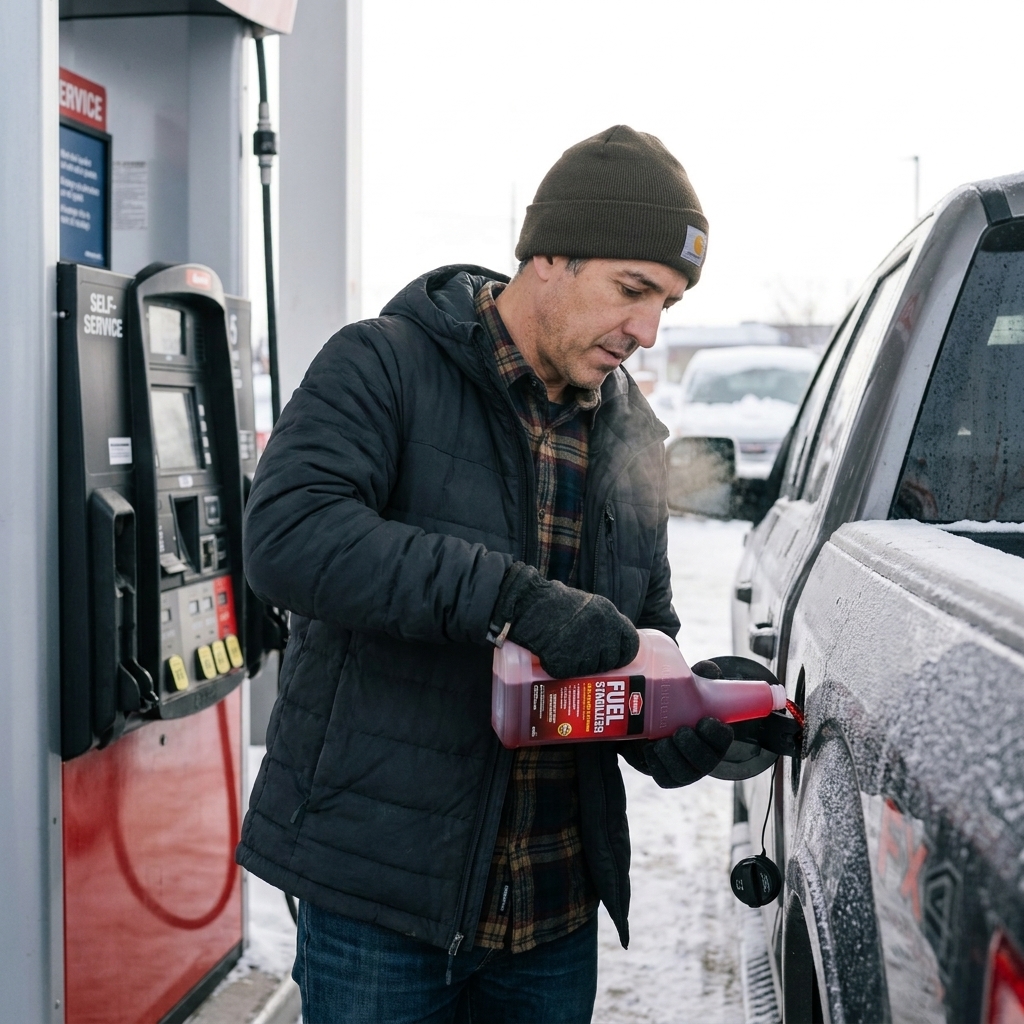
Step 2: Battery Health Without Guesswork
A battery that is fine in October can be stone-dead by January. Cold temperatures slow chemical reactions inside the battery, and even small parasitic draws add up over time. Trailer breakaway batteries and onboard camper batteries get neglected the most, so we will cover them too.
Truck battery checklist
- Clean the terminals if you see white or green crust. Corrosion adds resistance and makes spring starts harder.
- Test battery condition if you have a tester, or have a parts store test it before you store the truck. Weak batteries hate winter.
- Decide on your strategy:
- Best: Connect a quality smart maintainer (not a constant trickle charger) if you have power access.
- Next best: Disconnect the negative terminal to stop parasitic draw.
- Best for long storage with no power: Remove the battery and store it in a cool, dry place where it will not freeze, then charge it on a schedule (often monthly, depending on battery type and age).
Trailer breakaway battery and house batteries
If your trailer has electric brakes, the breakaway battery is a safety device, not an accessory. A dead breakaway battery can turn a bad day into a catastrophic one if the trailer ever separates.
- Find the breakaway battery (often on the tongue in a small plastic box).
- Charge it fully and test it if possible.
- Maintain it with a smart maintainer if you have shore power access, or remove and charge on a schedule if you do not.
- For RV house batteries: confirm your battery type (flooded lead-acid, AGM, lithium) and use the correct maintainer profile. Lithium batteries often have their own storage guidance and may prefer partial charge storage depending on the manufacturer.
Safety note: Do not leave a cheap, non-smart charger connected for months. Overcharging boils electrolyte in flooded batteries and can shorten battery life fast.
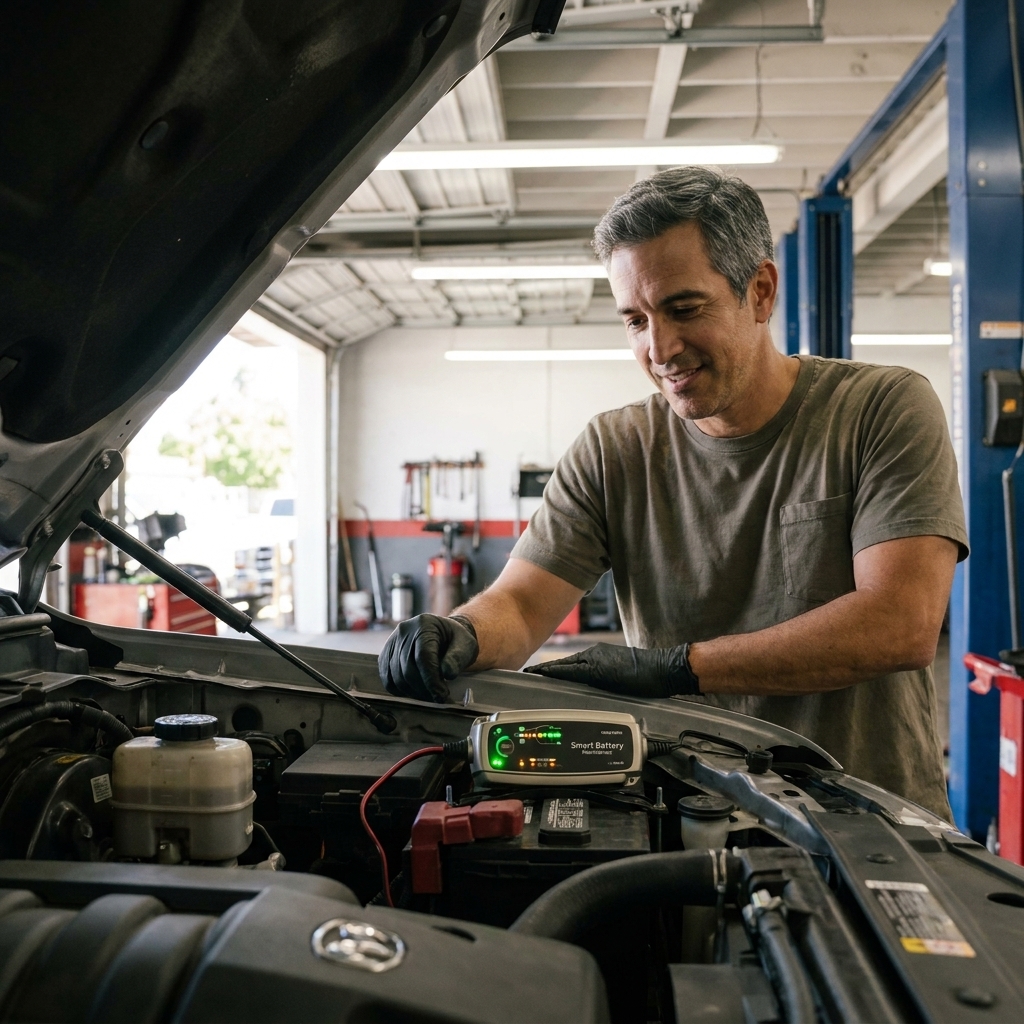
Step 3: Protect Tires From Dry Rot and Flat Spots
Tires fail from age as much as mileage, and winter storage speeds up the bad kind of aging if you let UV, ozone, and weight sit in one spot for months. Trailer tires are especially vulnerable because many trailers sit loaded in the same position for long stretches.
What causes dry rot during storage?
- UV exposure: sunlight breaks down rubber compounds.
- Ozone exposure: electric motors and some shop equipment create ozone that accelerates cracking.
- Low pressure: underinflation stresses sidewalls and can create flat spots.
- Long static load: sitting in one spot can permanently deform tires, especially on trailers.
Truck tire storage steps
- Wash the tires and wheels with mild soap and water. Road salt residue is not your friend.
- Inflate to the door-jamb placard (or your normal unloaded pressure if your setup varies). Do not guess. Use a decent gauge.
- Park on a clean, dry surface. If you are outside on asphalt, consider putting a board under each tire to reduce long-term contact with petroleum-based surfaces.
- Cover tires if stored outside. Tire covers are cheap insurance against UV.
Trailer tire storage steps (where most people get burned)
- Unload what you can. Less weight on tires and suspension helps everything.
- Inflate to the correct pressure for your load. Use the trailer placard and the tire manufacturer load and inflation chart. Many ST trailer tires are intended to run at or near max sidewall pressure, but do not treat max pressure as a blanket rule if your placard or load chart calls for something else.
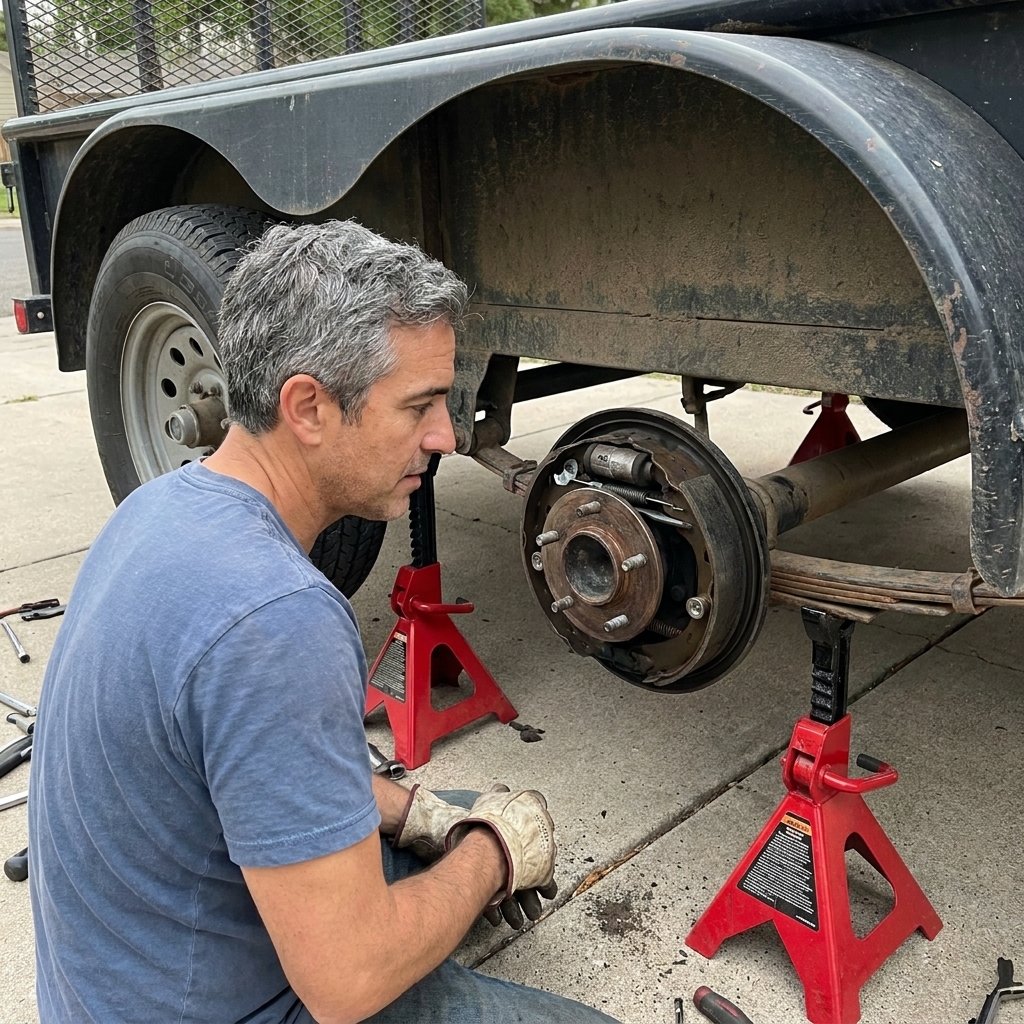
- Chock first, then consider lifting: If you can safely support the trailer on jack stands rated for the load, placed at manufacturer-approved support points (often the frame, but verify for your trailer), taking some weight off the tires helps prevent flat spotting. If you are not confident here, leave it on the tires and focus on pressure and covers.
- Use tire covers any time the trailer sits outside. UV damage is a major contributor to sidewall cracking.
- Do not dress tires with shiny products before storage. Some tire dressings can accelerate rubber degradation. Clean and cover is the move.
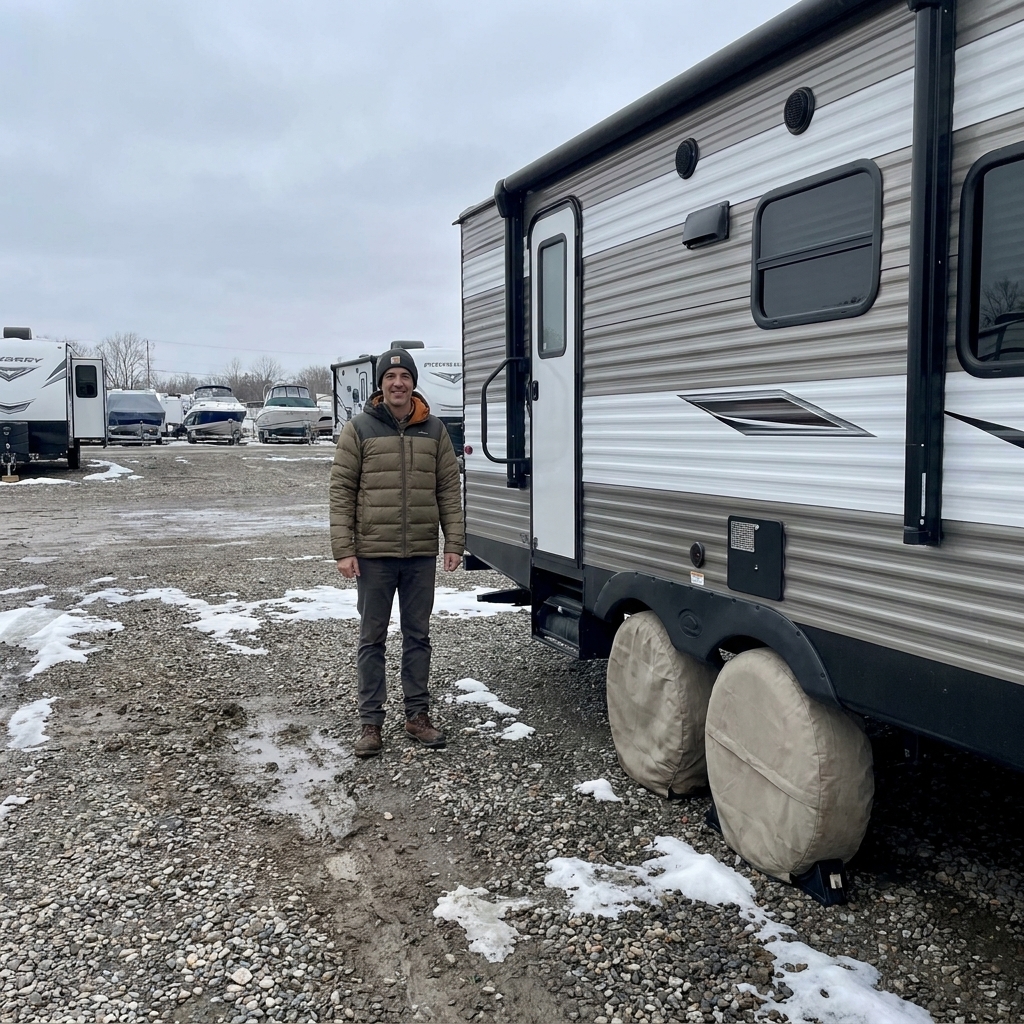
Step 4: Hitch, Chains, and Electrical
Winter moisture finds its way into every connector and pivot point. Come spring, that is when you get corroded plugs, sticky latches, and noisy weight distribution bars.
Do this before you walk away
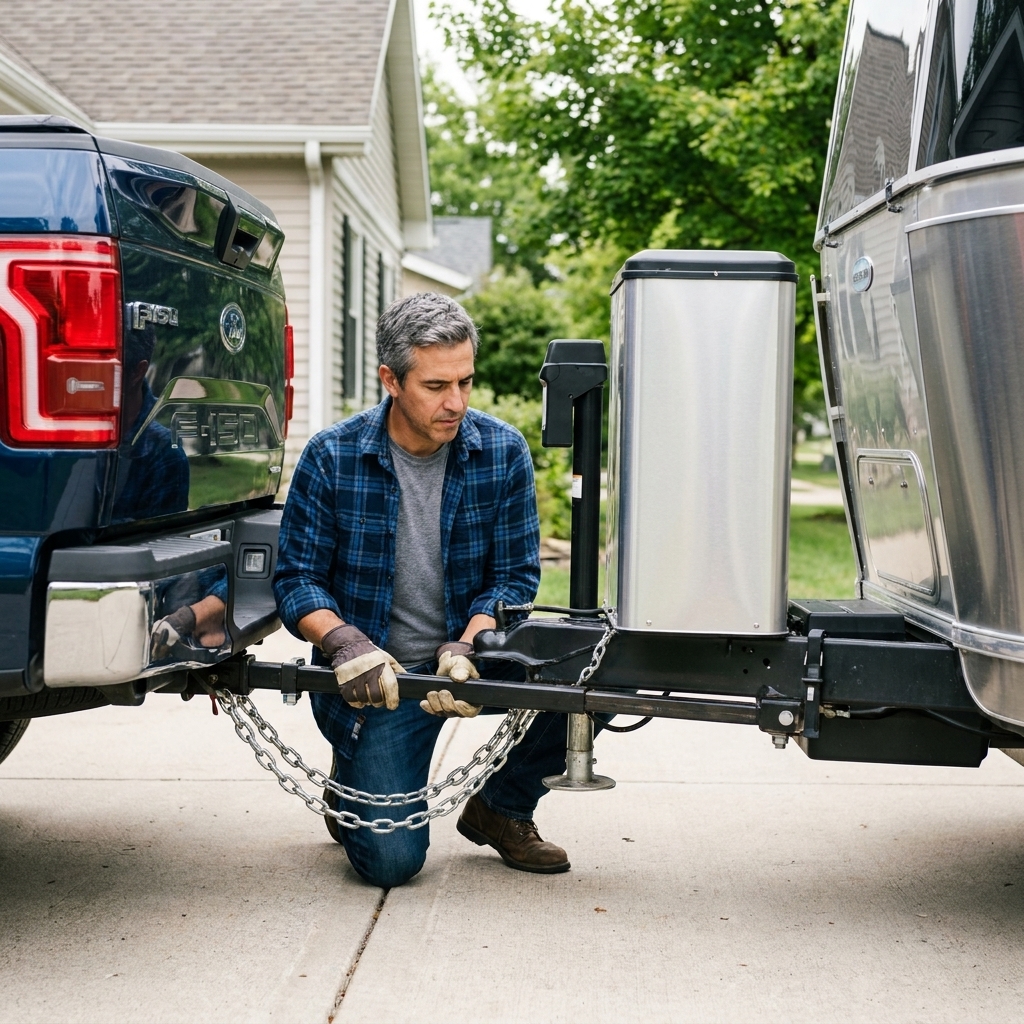
- Clean and lightly lubricate the hitch ball, coupler latch pivot, and jack screw with an appropriate lubricant.
- Inspect safety chains for rust, stretched links, or damaged hooks.
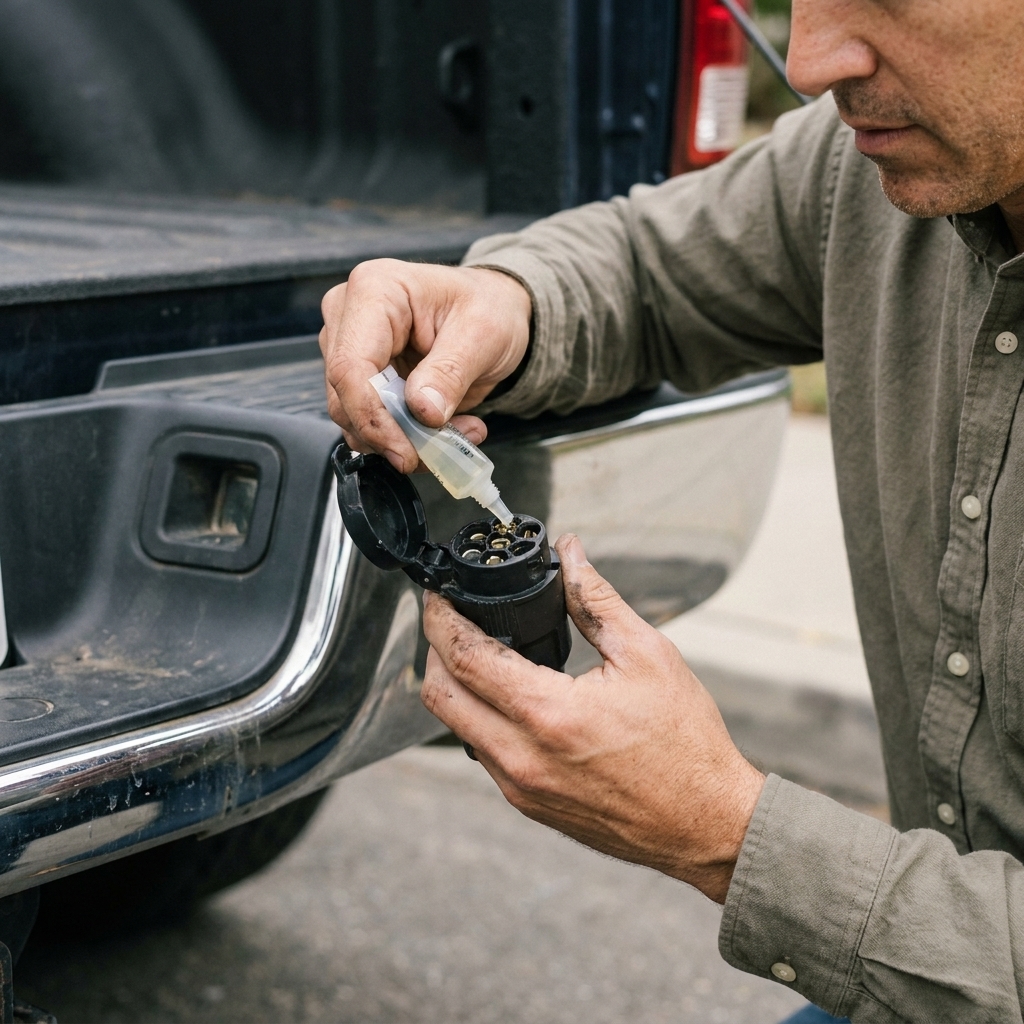
- Protect the 7-pin connector: make sure the cap closes, and use dielectric grease lightly on the pins to resist corrosion.
- Check breakaway switch cable for fraying and confirm the pin is seated correctly.
Step 5: Brakes and Bearings
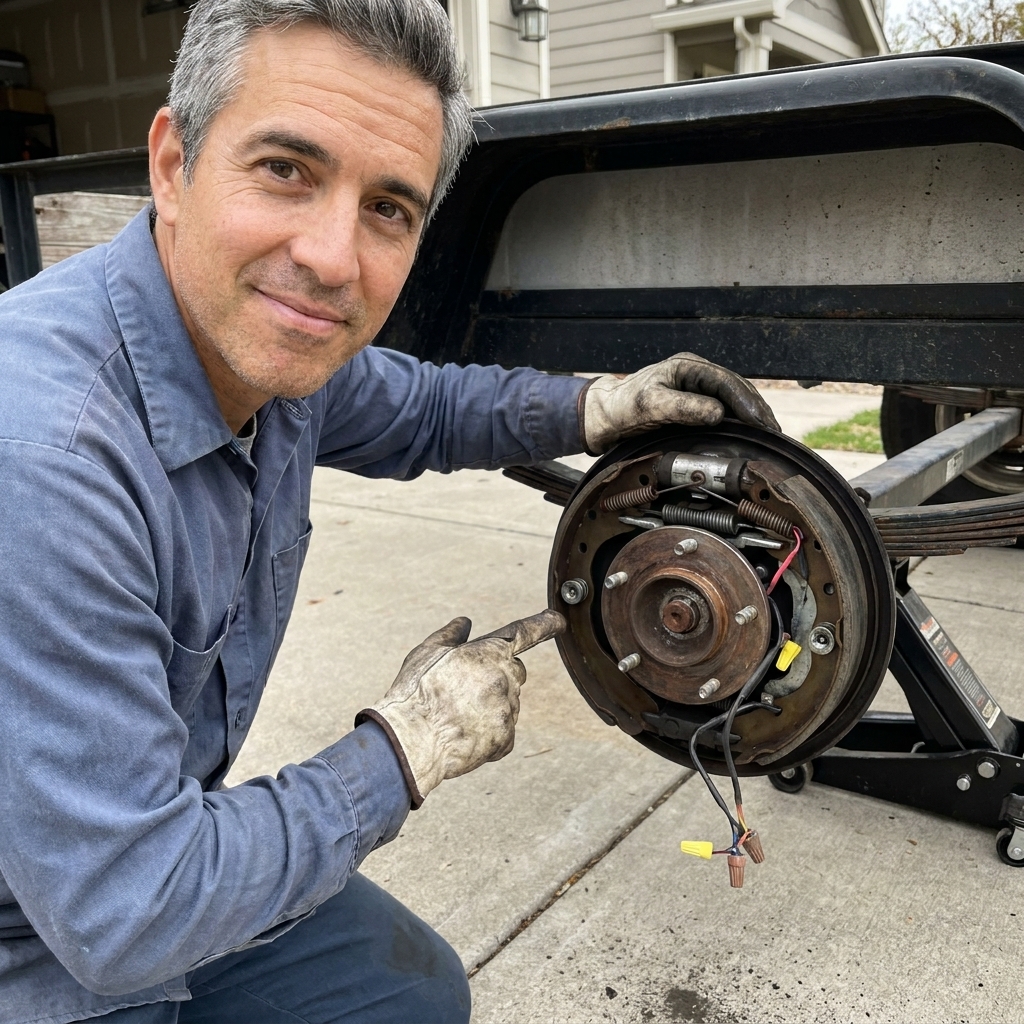
If you store a trailer in wet conditions, the brakes can surface-rust and grab the first time you tow. Bearings do not like water intrusion, and winter is when seals get tested.
- Wash the trailer underside if you towed on salted roads. Rinse thoroughly and let it dry.
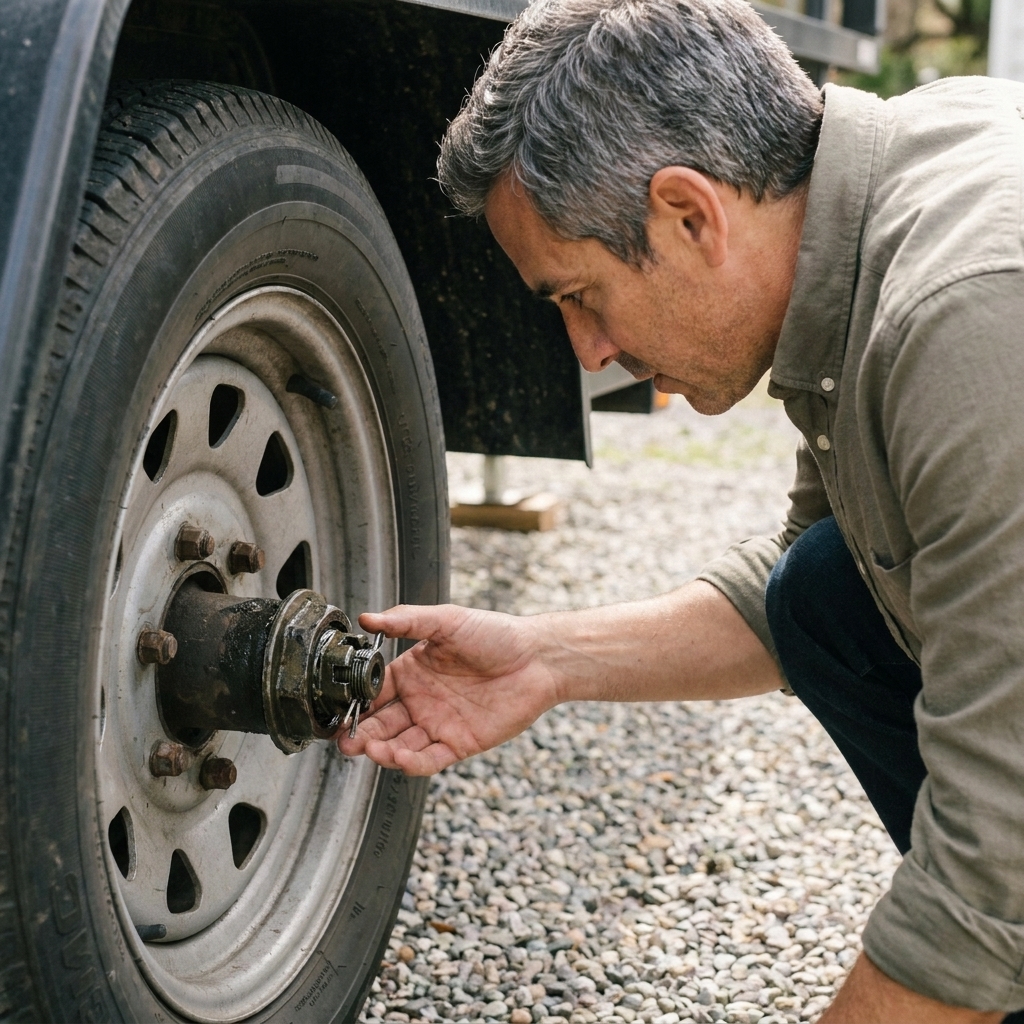
- Check bearing caps and seals for signs of grease sling or milky grease.
- If your service interval is due, repack or service bearings before storage. Spring trips are not when you want to discover a hot hub.
- When you bring it out of storage, do a slow test pull and brake check in an empty lot to confirm smooth braking and no grabbing.
Step 6: Park It Right
A good parking setup prevents movement, water intrusion, and unnecessary strain on the tongue jack and suspension.
Parking checklist
- Choose level ground if possible. Less stress on stabilizers, jacks, and tires.
- Chock both sides of at least one axle on the trailer. Chocks are non-negotiable.
- Be smart about the parking brake: for long storage in wet or freezing conditions, many owners avoid leaving a parking brake clamped down for months because it can stick. Use wheel chocks, follow your owner’s manual, and do what is appropriate for your setup and location.
- Set the trailer tongue jack so the trailer sits slightly nose-down if you are outside. That helps water shed away from doors and seams on many trailers. Do not overdo it.
- Release weight distribution tension if applicable. Storing with bars under tension can fatigue parts and make spring setup harder.
- Cover what needs covering: trailer roof vents (if your cover system allows), tires, propane regulator, and the coupler if it is exposed.
Bonus: Rodents and Freeze Prep
Two winter problems bite people who did everything else right: mice and freezing temps.
Rodent prevention basics
- Remove food and trash from the cab, camper, or trailer.
- Seal obvious entry points where you can, and check the trailer underbelly for openings.
- Protect common nesting spots like generator compartments and storage bays. Traps and regular checks beat relying on strong smells.
- Check intake areas for signs of nesting before the first spring start.
Quick freeze checks
- Windshield washer fluid: top off with a blend rated for your expected temps.
- Coolant: confirm antifreeze protection is in range for your climate if you are due for service.
- DEF note (diesel): DEF can freeze. Most modern systems are designed for it, but make sure the tank cap is tight, use fresh DEF, and follow OEM guidance if the truck will sit for an extended period.
- Trailer or RV plumbing: if your trailer has water systems, winterize the plumbing per the manufacturer instructions (blow-out, RV antifreeze, or both, depending on the rig). Towing gear is only half the story if there is water onboard.
Quick Winter Storage Checklist
- Treat fuel and run engine to circulate
- Top off tanks (gas or diesel) to reduce condensation
- Clean terminals, test batteries, connect smart maintainers or disconnect negatives
- Charge and maintain trailer breakaway battery
- Wash tires and wheels, inflate to correct pressure, install tire covers
- Clean and lubricate hitch components, protect 7-pin connector
- Inspect brakes, hubs, and bearings for service needs
- Chock trailer wheels and park level when possible
- Do a quick rodent and freeze-prep pass
Spring Wake-Up: 10-Minute Safety Sweep
When you are ready to tow again, do not just hook up and hit the highway.
- Check tire pressure on truck and trailer before you move.
- Test lights including brake lights and turn signals.
- Test trailer brakes with the brake controller manual lever at low speed.
- Confirm breakaway function per your trailer manufacturer instructions.
- Listen for bearing noise and feel hubs after a short tow. Warm is normal. Hot is not.
FAQ
Should I store my truck with a full tank in winter?
Usually, yes. A fuller tank leaves less air space, which reduces condensation and water contamination risk. Pair that with the right stabilizer for your fuel type. If your owner’s manual calls for a different approach for long-term storage, follow the OEM guidance.
Is it better to disconnect the battery or use a maintainer?
If you have reliable power access, a quality smart maintainer is usually best. If you do not, disconnecting the negative cable prevents parasitic draw, and removing the battery for scheduled charging is even better for long storage.
Do trailer tires really need covers?
If the trailer is outside, I consider tire covers essential. UV exposure is a major driver of sidewall cracking, and trailer tires often age out before they wear out.
Can I put the trailer on jack stands all winter?
You can, but only if you do it safely with stands rated for the load and placed at manufacturer-approved support points. If you are not 100 percent sure, leave it on the tires, keep them inflated properly, reduce stored load, and use covers.